
Issue a Certificate
The app provides a default certificate template but you can create a custom certificate template as your that too.
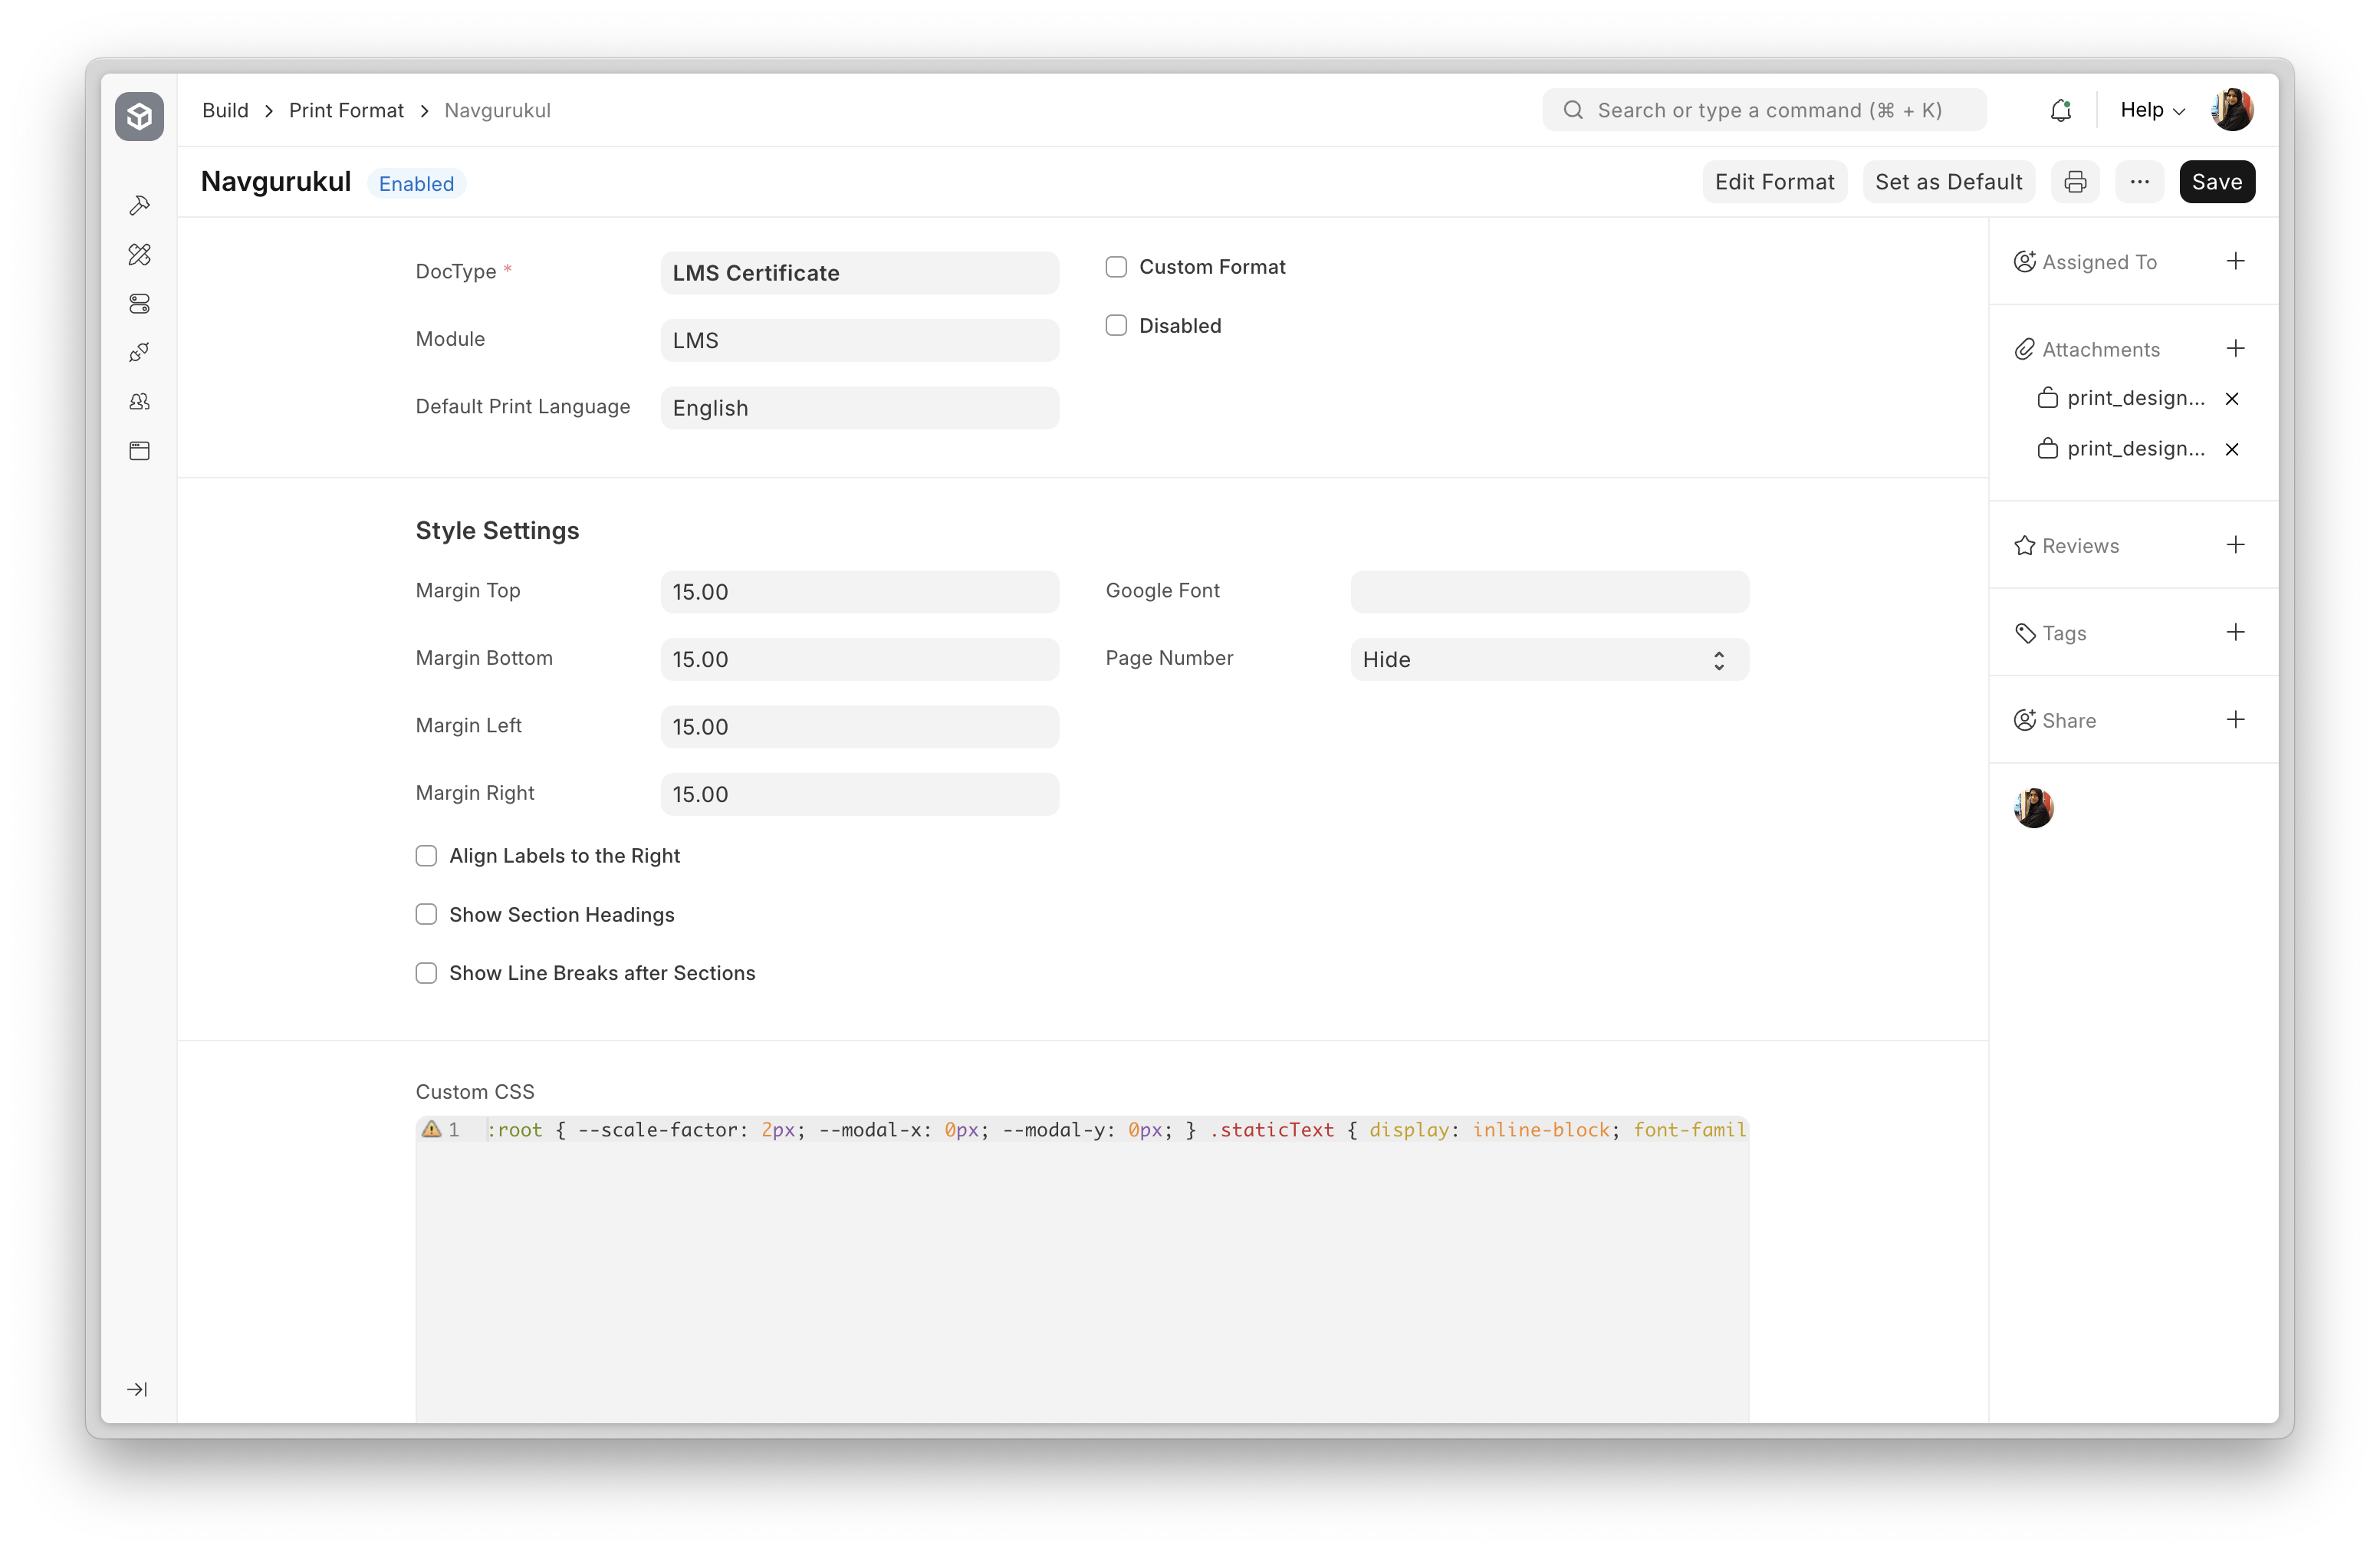
To create a custom certificate template, all you have to do is create a new Print Format.
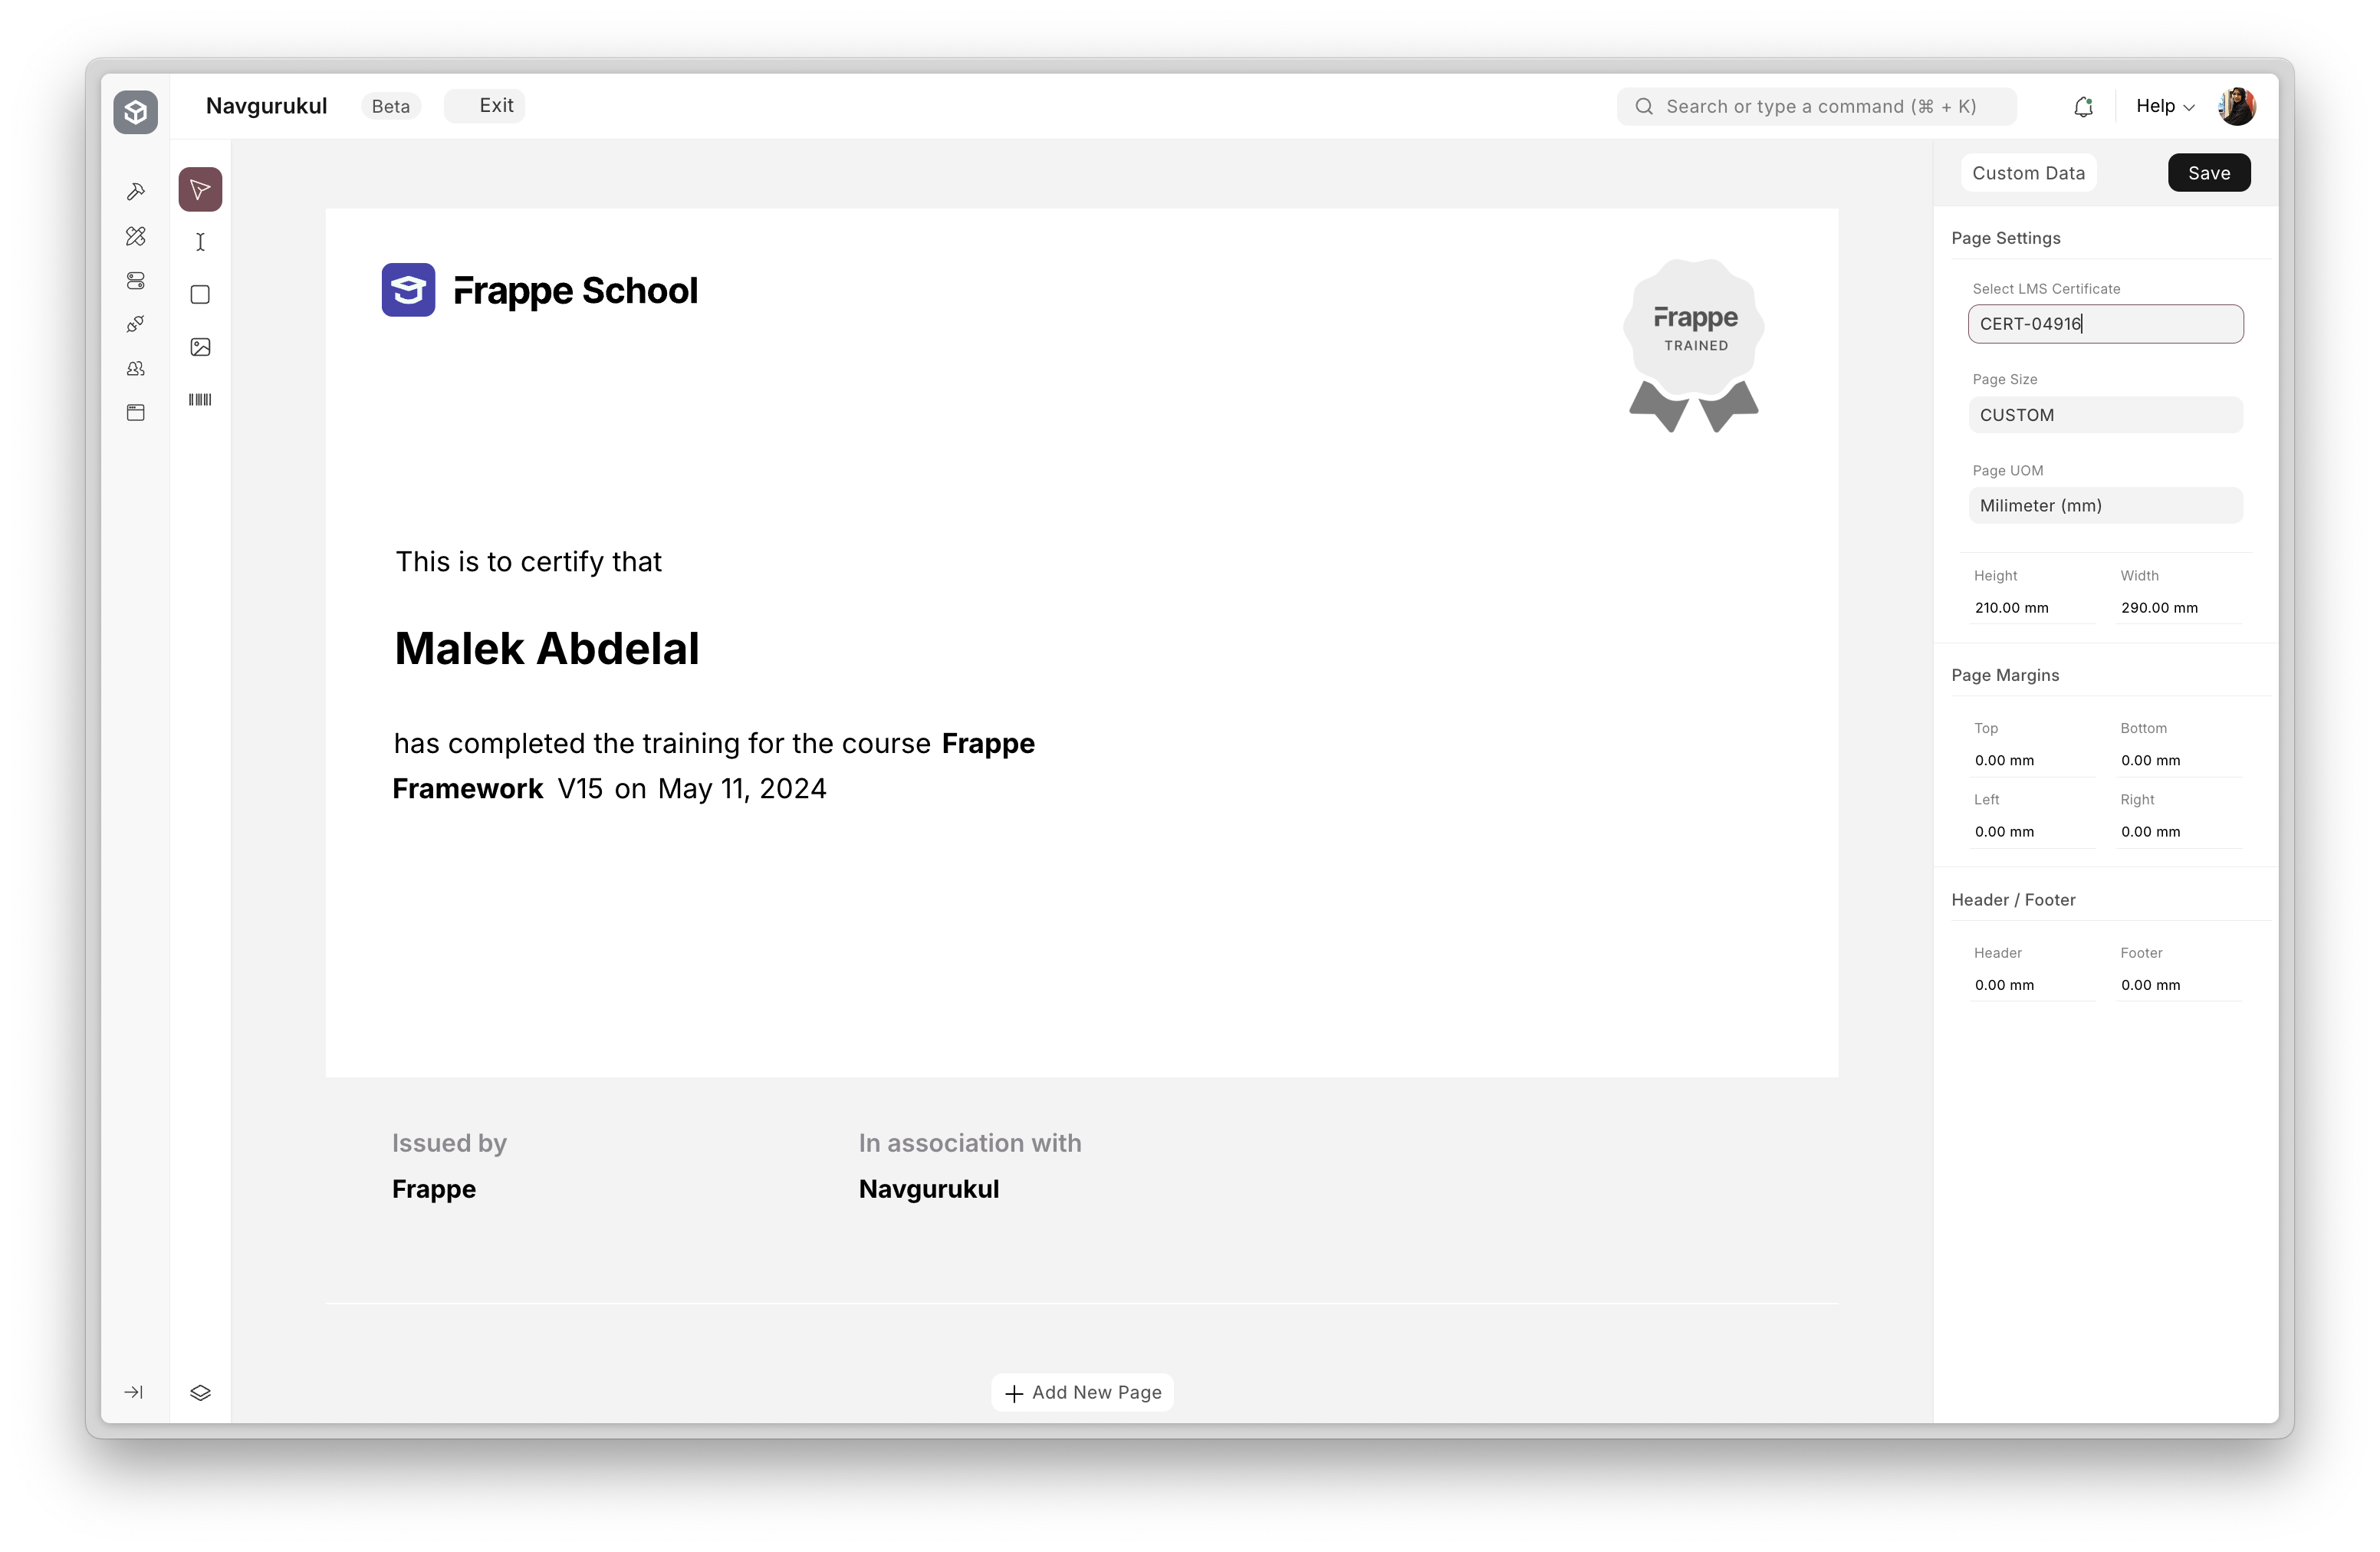
There are various ways to create a Print Format. You can either use the Print Format Builder or the Print Designer App.
Just remember to select the DocType as LMS Certificate.
To know more about how to create a Print Format refer this documentation
Last updated 5 months ago
Was this helpful?