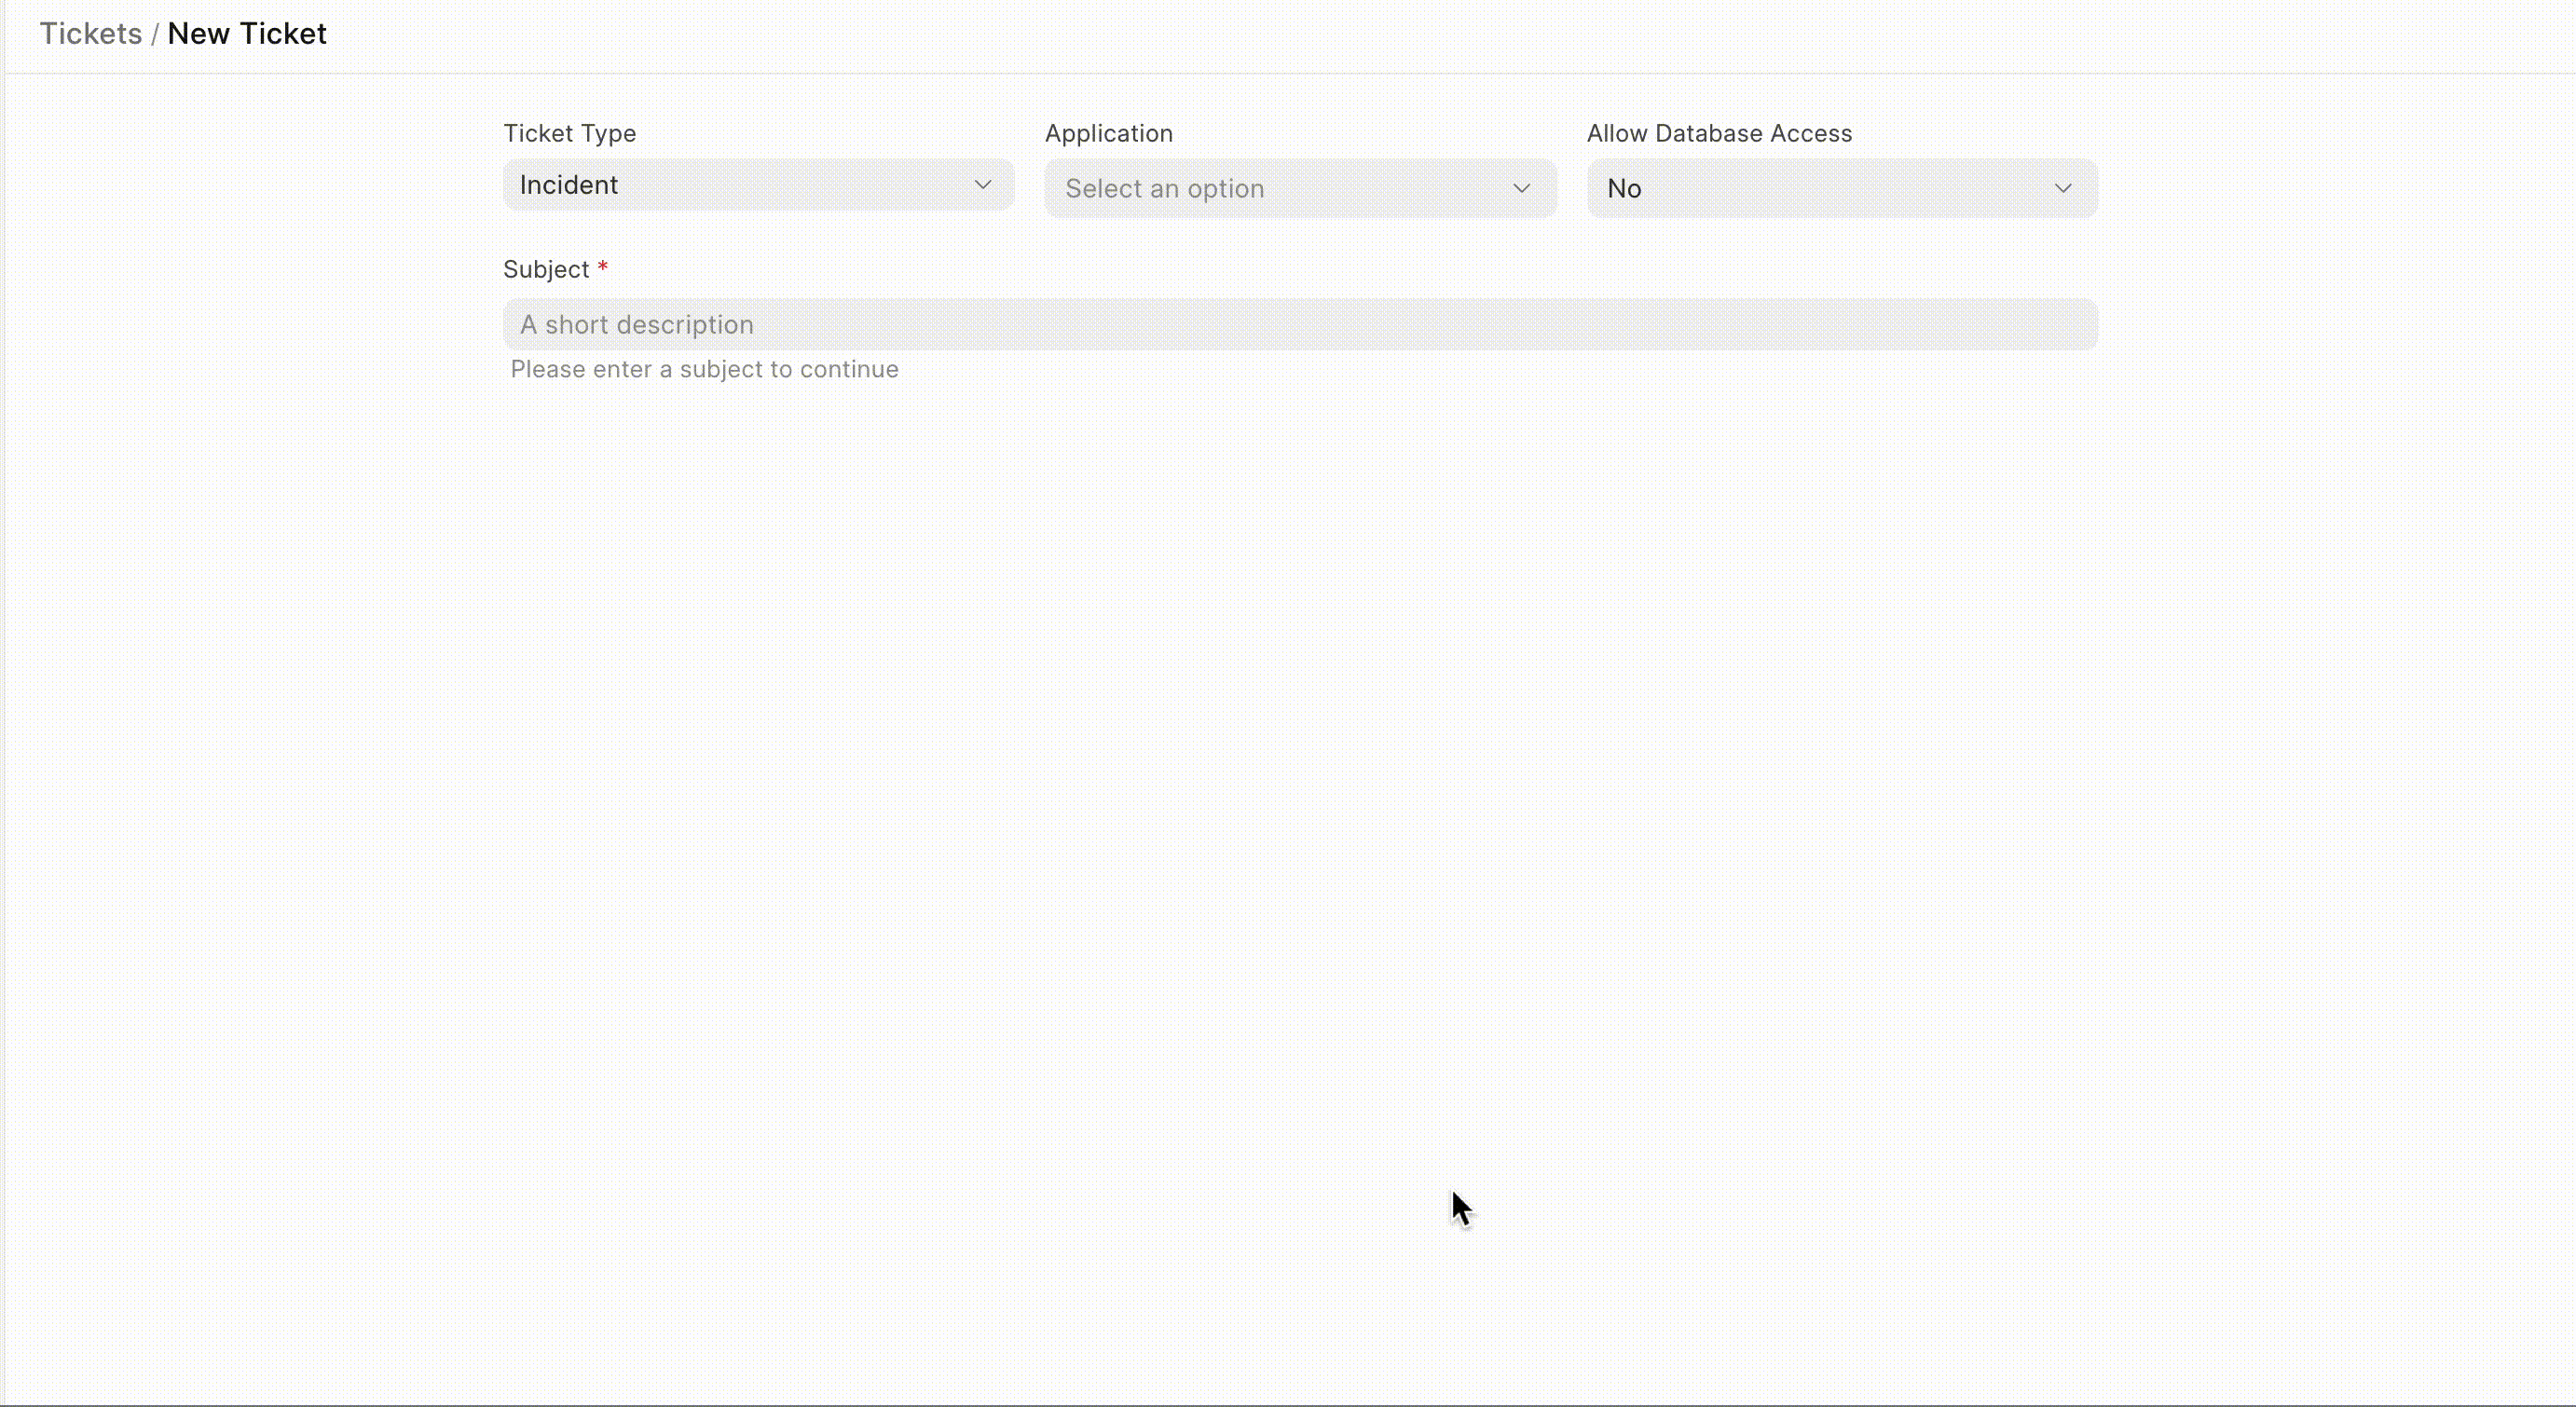
Dependency fields are those that have a parent-child relationship, such as the Category and Sub-category field values. The relevant Sub-categories will only be listed when the Category is also selected. Similarly, you may only need to list the specific issues when the main category is selected, or list the products based on the Category type.
Such dependency fields can be created using the Field Dependency feature.
Only Select or Link fieldtypes are supported.
Note: This is only applicable while creating tickets.
Adding a Custom Field
- Create a new field using customize form. To do so, switch to Desk and navigate to HD Ticket doctype, then use the Customize Form option (for more details, follow this documentation)
- Copy the field name you want the user to fill while creating ticket.
- Go to HD Ticket Template doctype (in desk) => open document named "default" => Paste the name in the table shown in "fields" section. You can click on "Hide from customer" to hide fields from the customer portal.
(url: http://your_site_name//app/hd-ticket-template/Default)
e.g.

Implementing Field Dependency
Now that you have added required custom fields in the HD Ticket Template, field dependency (customization) can be implemented in two ways:
- Creating field dependencies from the portal UI.
- Using HD Form Script in Desk
Creating field dependencies from the portal UI.
To create field dependencies from the portal UI, follow these steps:
- Open Settings from the User Dropdown.
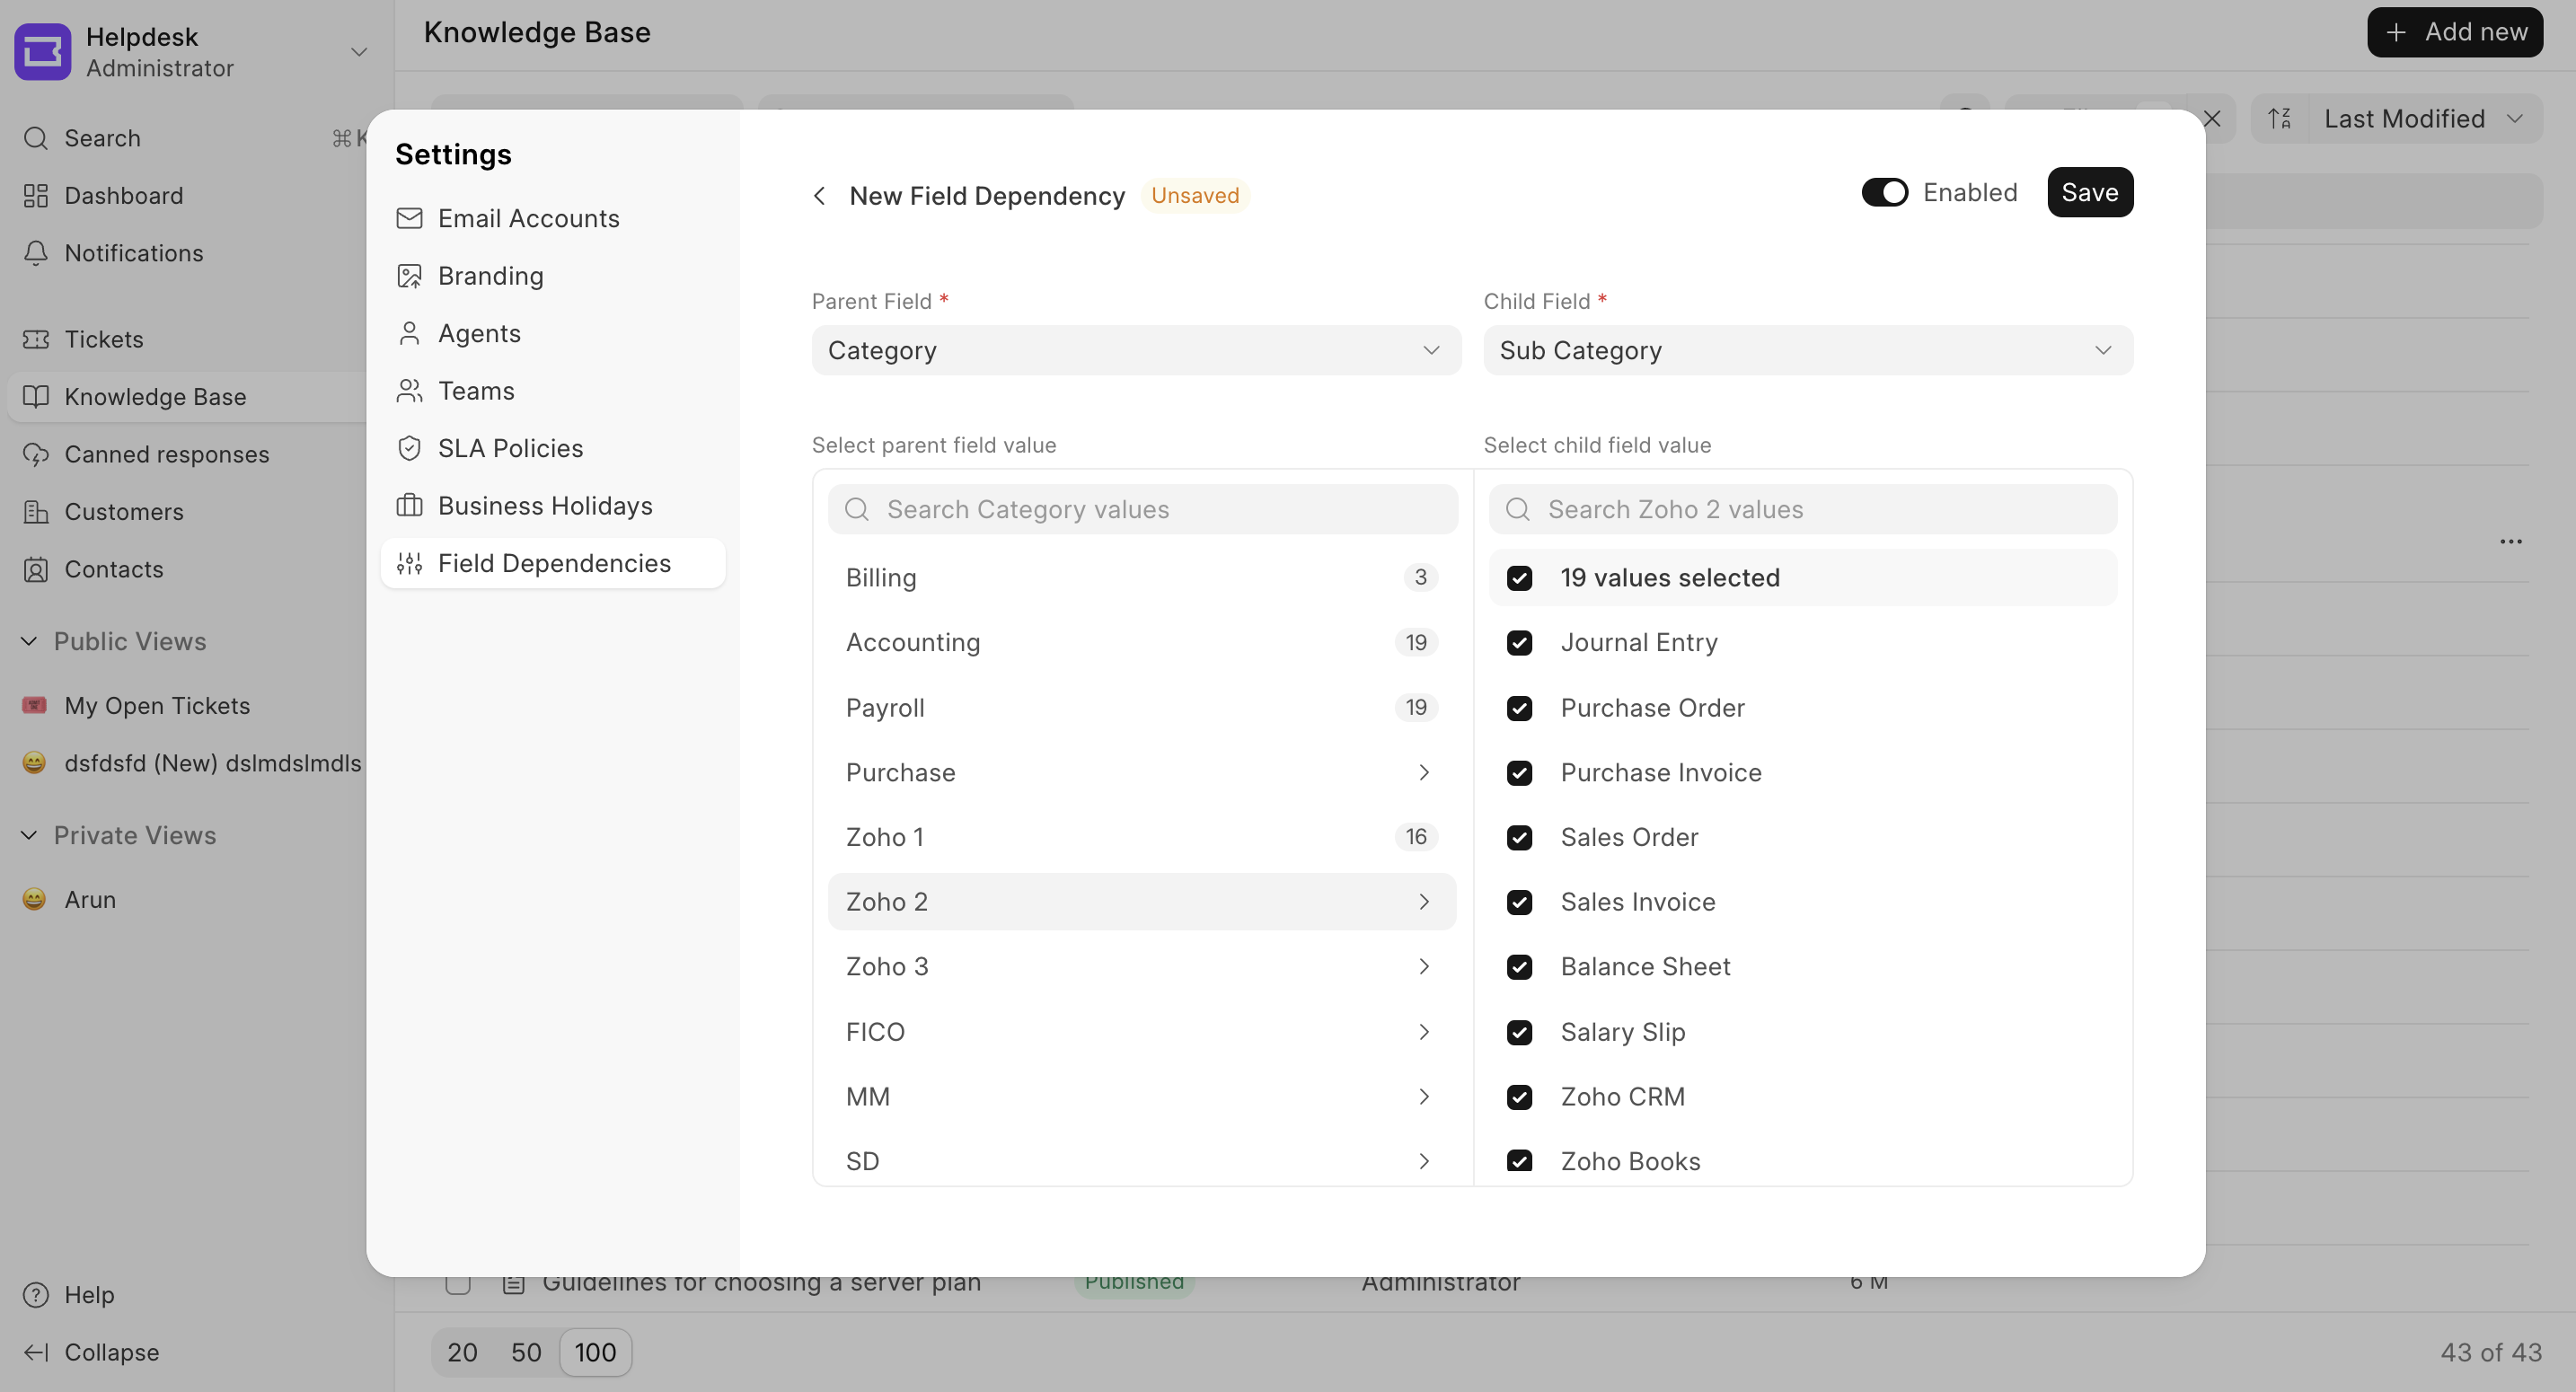
- Click on the Field Dependencies tab > Click on New.
- Select the parent field and child field. If fields are previously added from the Field Dependency UI, they wont be available for selection in the child field dropdown while creating new field dependency.
Note: Ensure that these fields are added in the HD Ticket template (default template).
- For each parent field value, select the corresponding child field values that should be available when that parent value is chosen. If there are no child values selected for the parent value, the child field will not be editable.
Handling visibility of child field
Set the condition for the child field to be visible or hidden based on the parent field's value. If disabled, the child field will always be visible.
If enabled, you can control when the child field appears - either for any parent field value ("Any") or only when specific parent field values are selected. You can click on "Clear" button to reset the value to "Any".
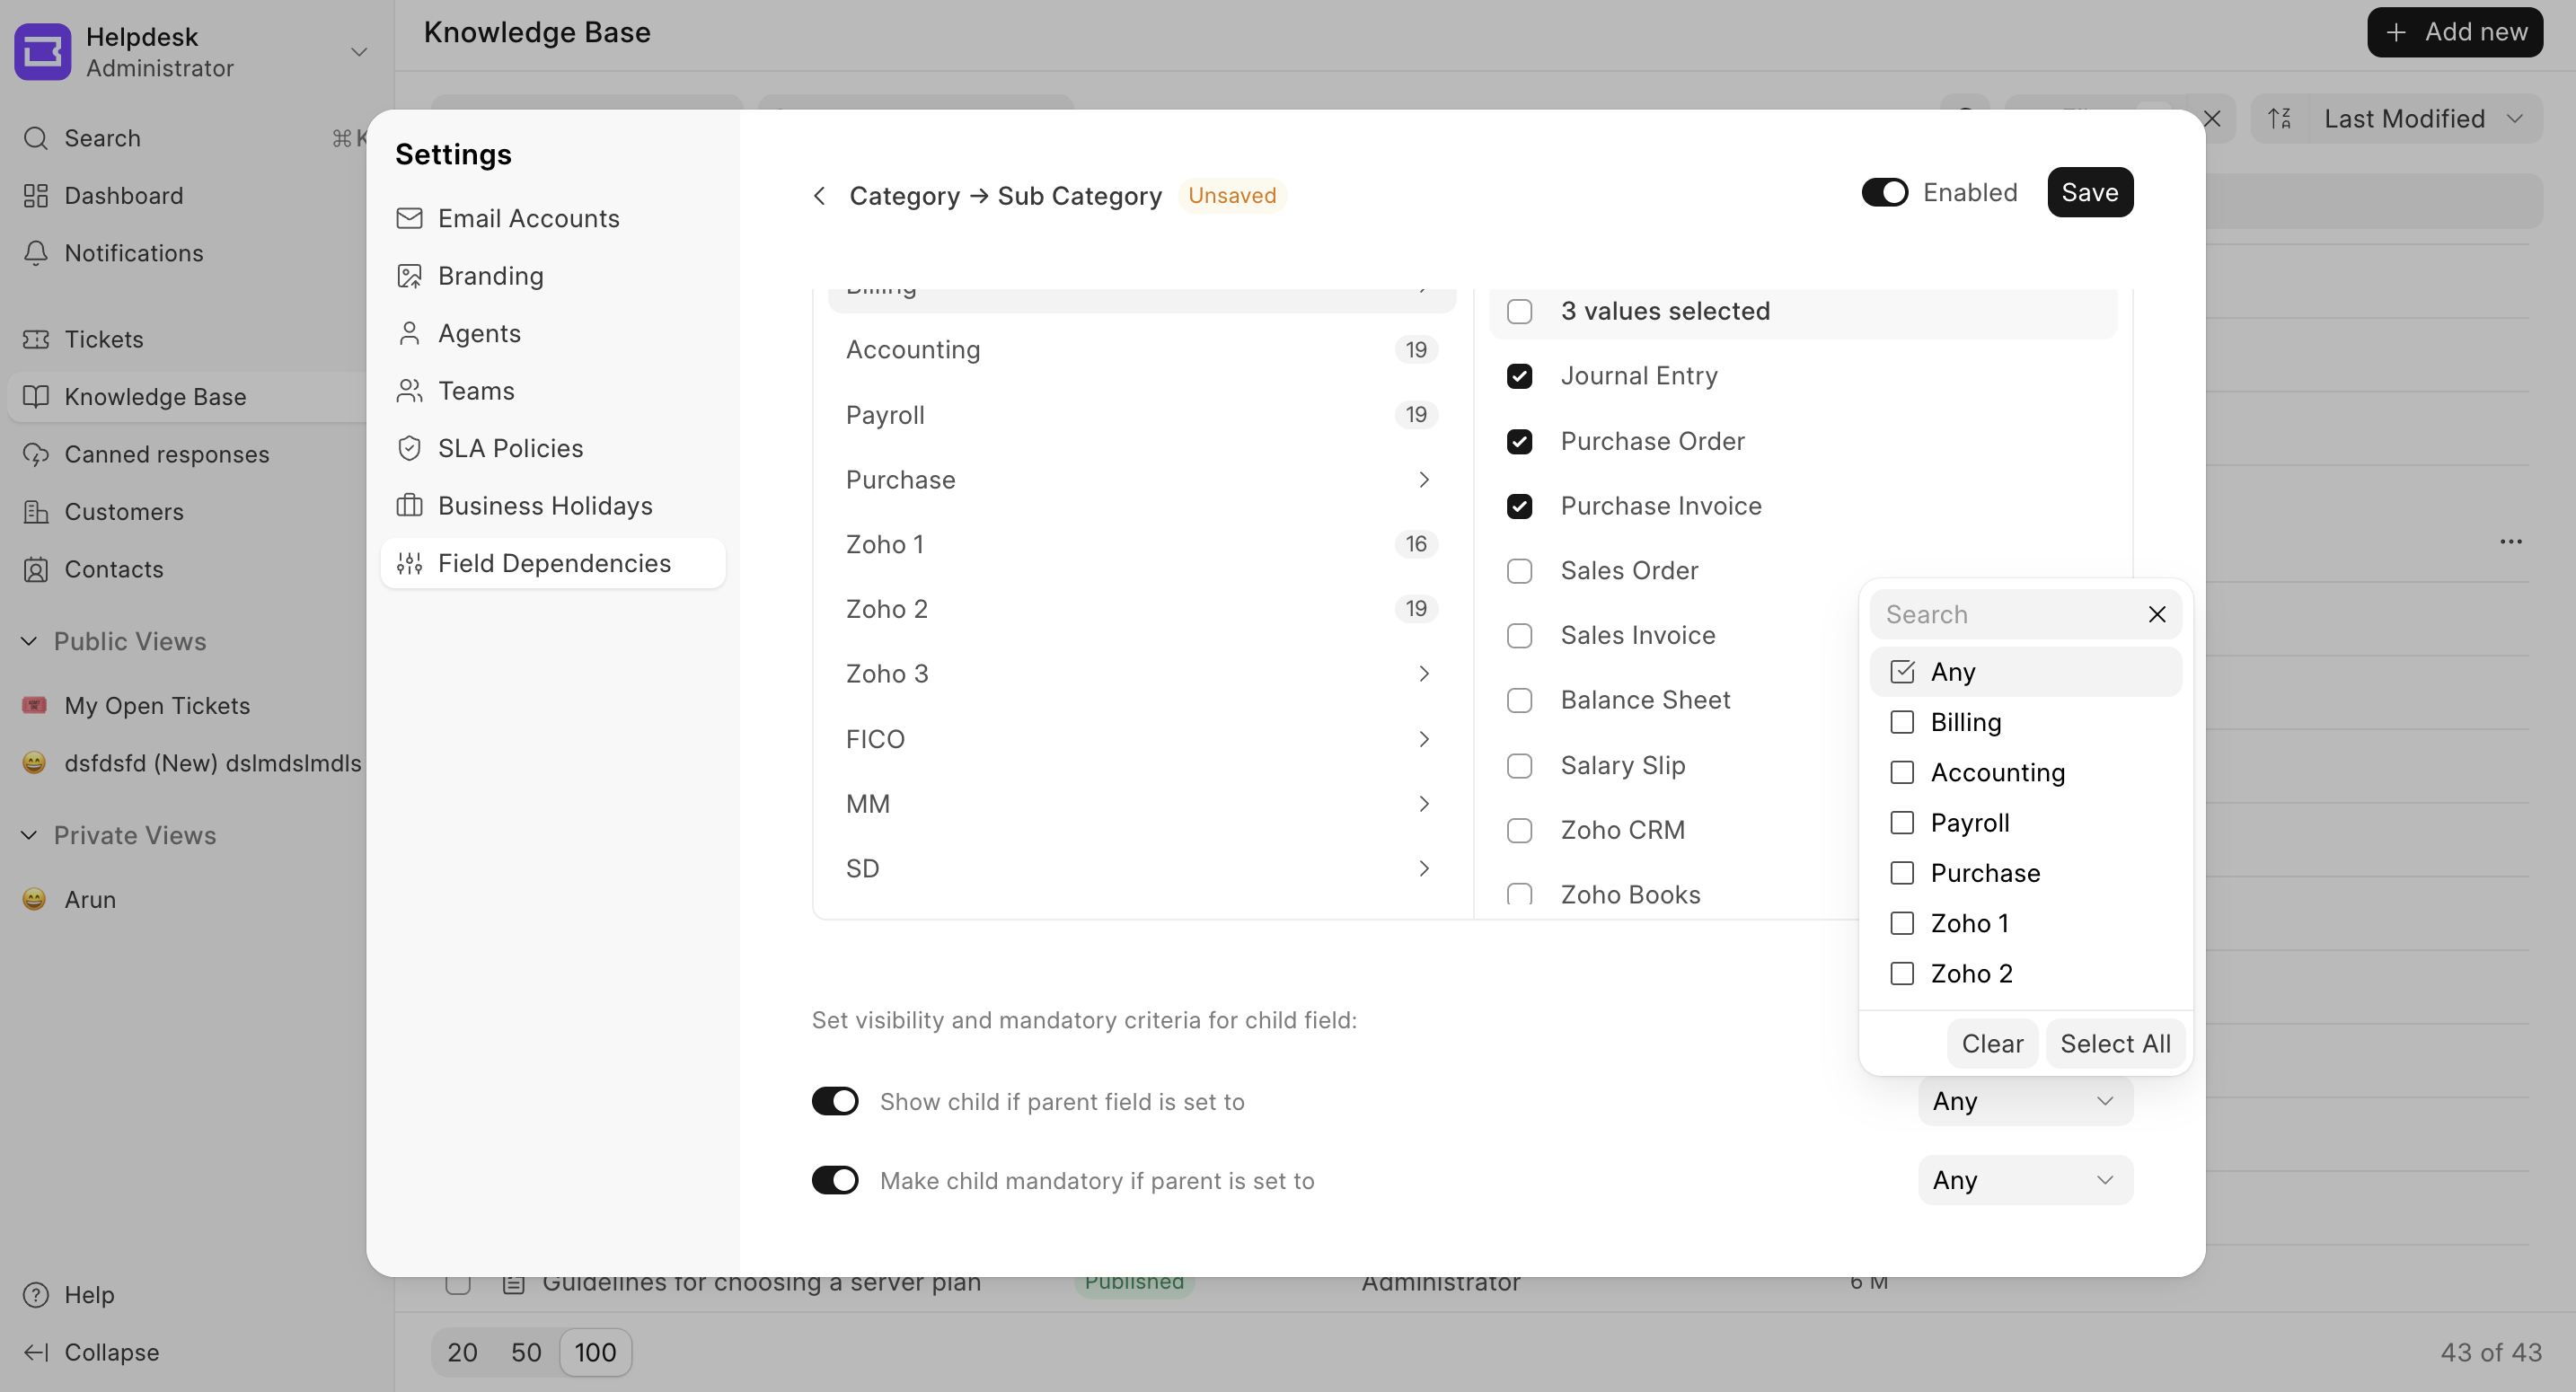
In this example, the child field "Sub Category", will be visible as soon as some value is set in the "Category" field.
Handling if the child field is mandatory
Set the condition for the child field to be mandatory or not based on the parent field's value.
If disabled, the child field will not be mandatory. If enabled, you can control when the child field is mandatory - either for any parent field value ("Any") or only when specific parent field values are selected. You can click on "Clear" button to reset the value to "Any".
Note: If the child field is required, user can't keep that field as empty
In this example, the child field "Sub Category", will be require only if "Category" field's value is one of "Billing / Accounting / Payroll".
Using HD Form Script in Desk
Open Desk: Switch to Desk and navigate to HD Form Script.
Select Doctype: Choose the Doctype (e.g., HD Ticket) where you want to add the custom action. You'll be presented with a boilerplate code.
Apply To: Choose "Form".
Enabling Script: Check "Apply on new page" & "Enabled" field.
Define Your onChange handler: Here's how to define different types of handlers for different Fields:
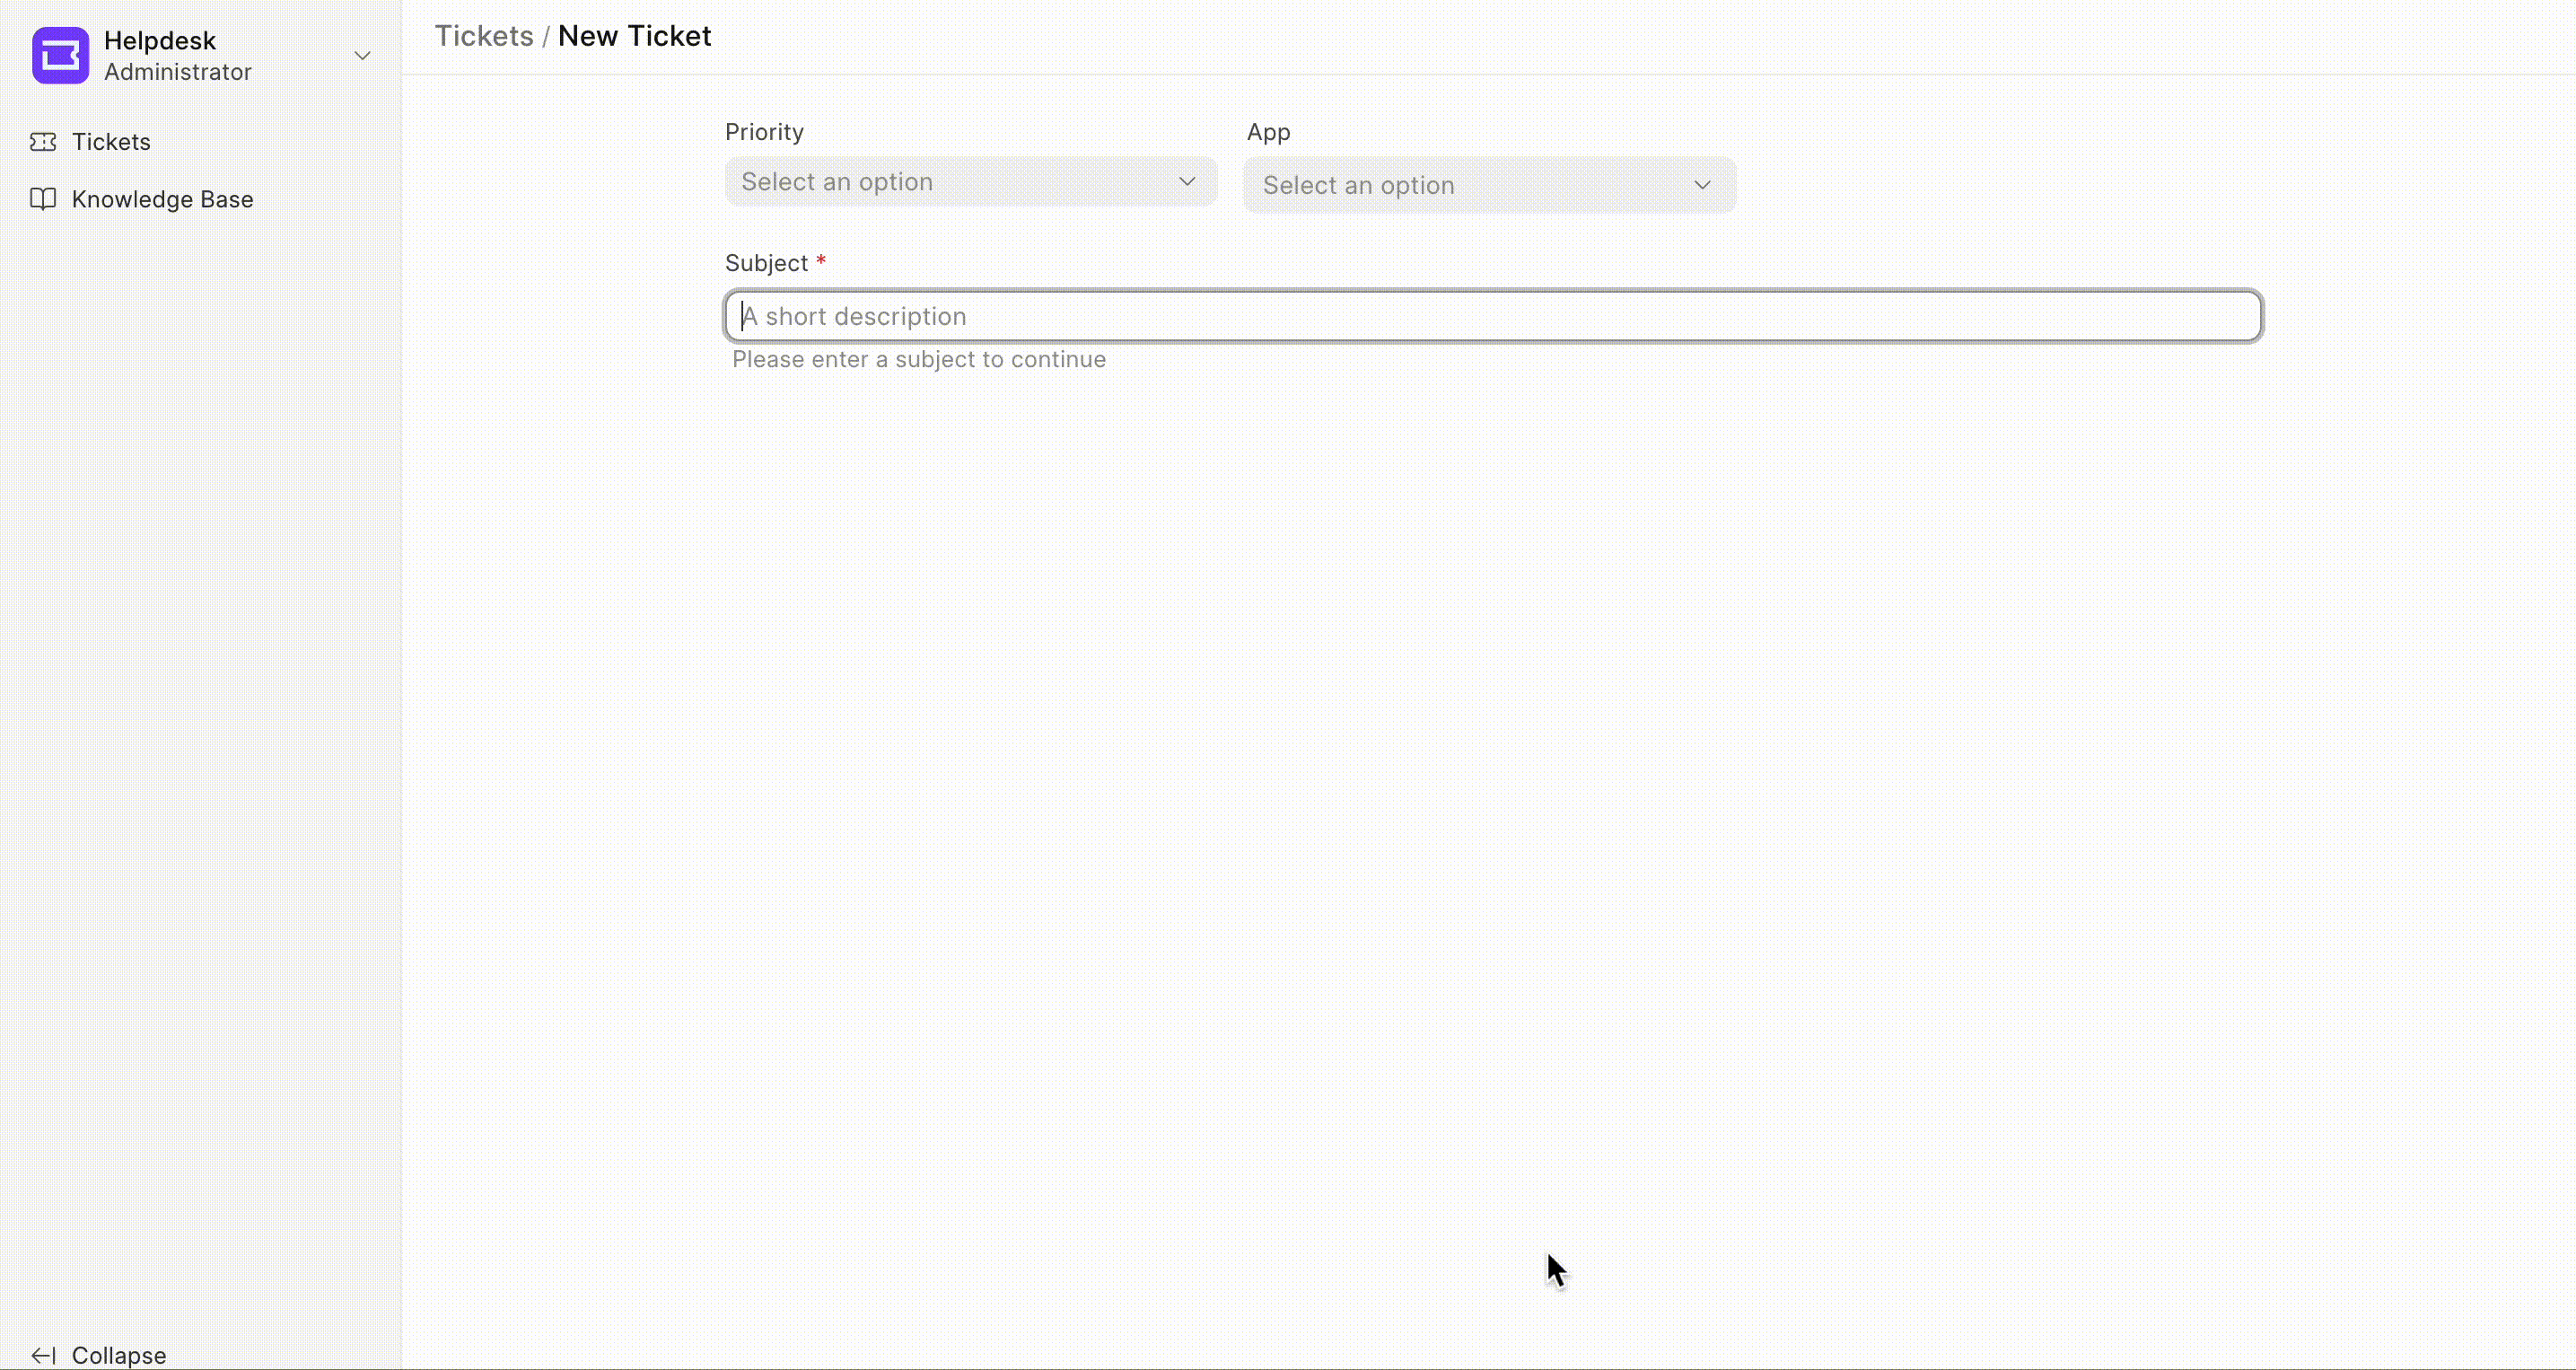
Let us say we have created two Select Fields called "App" & "Category" & based on the App selected I want to filter the options on "Category" field.
function setupForm({doc, applyFilters}) {

    function update_category(value) {
        if(value=="ERPNext"){
            options = ["Manufacturing","Accounting","Selling","Purchase"]
        }
        else if(value =="Frappe Cloud"){
            options = ["Payment","Bench Down","Site Down", "FC Marketplace"]
        }
        else if(value== "HRMS") {
            options = ["Attendance","Shift","Tax"]

        }
        applyFilters("custom_category",options)
    }

    return {
        onChange:{
//          works only for new ticket page
            "custom_app":(newVal)=>update_category(newVal)
        }
    }
}
In the example mentioned above when the custom_app field changes the update_cateogory function will be triggered and the new value of the custom_app field will be passed to the update_category function, and based on the new value we update the options using
apply_filters function
this function takes 2 values as an argument
-
Field you want to change (can be a Select field or a Link field).
-
The Options you wanna show in the dropdown. (make sure to use the correct spelling). If null is passed then the options will reset to default.
Here is an example of implementation:
Some more customisations
- To hide or show a field use
display_depends_onfunctionality using form customisation, watch this video to know more
e.g for update_category:
eval:doc.custom_app!==""
- To make a field mandatory bases on another field use
mandatory_depends_onfunctionality using form customisation. To know more read this
e.g for making a application field mandatory use this expression:
eval:doc.ticket_type==="Bug"
video showcasing mandatory_depends_on & display_depends_on