
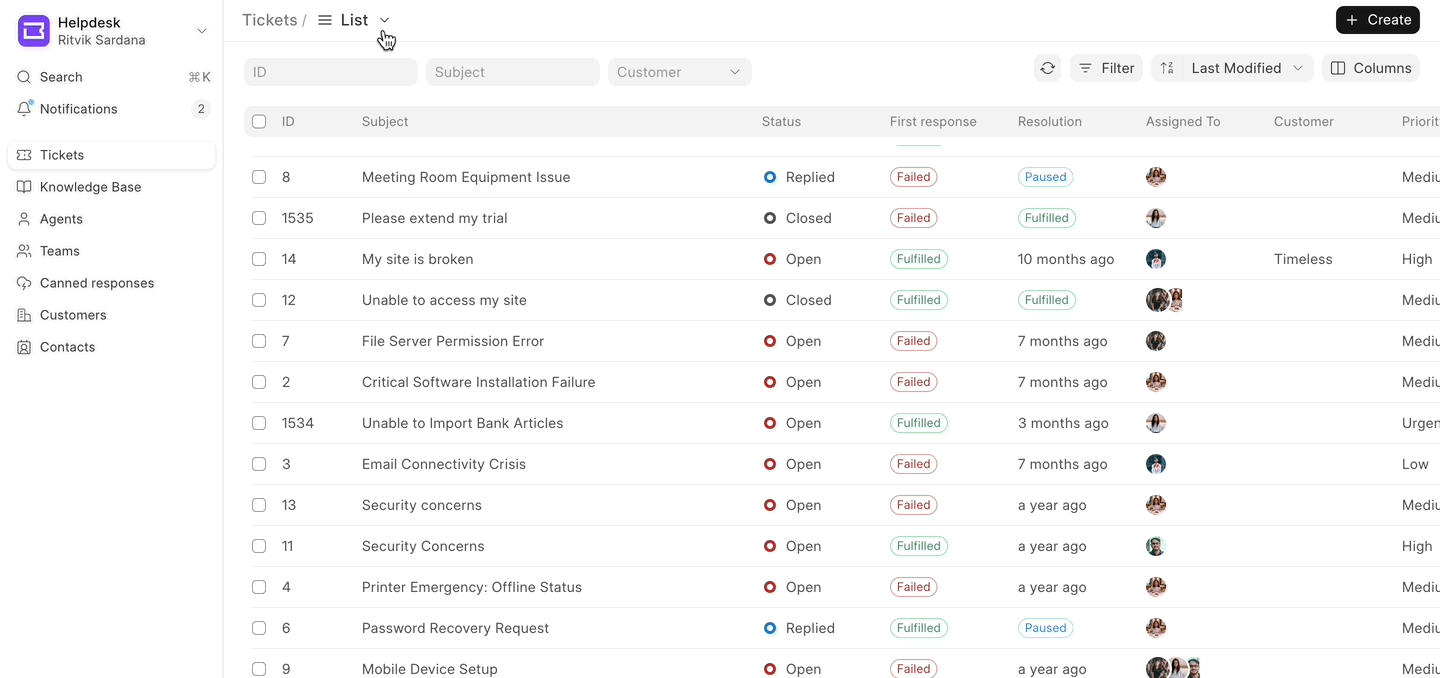
Managing Tickets with ease (Views)
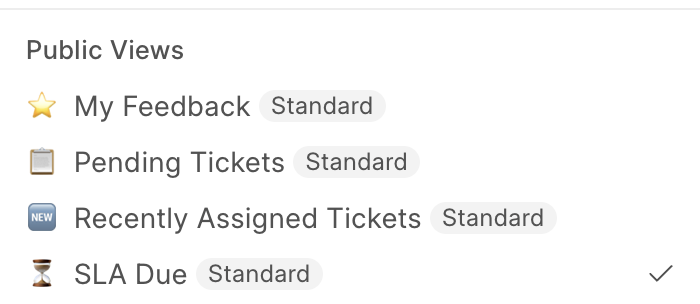
By default helpdesk provides you with 4 Standard Views. These views are visible in the dropdown selection at the top of the tickets list view.
- SLA Due
Tickets where the SLA is either failed or close to being failed, requiring immediate attention.
2. My Feedback
Feedback received on tickets handled by the logged in agent.
3. Recently Assigned Tickets
Tickets that have been recently assigned to the logged in agent and may need initial action.
4. Pending Tickets
Tickets which are awaiting the response of the logged in agent.
 Standard views
By default these are visible on the sidebar, if you want to hide these views from the sidebar, go to the dropdown in the ticket list view, click on triple dots and then "Hide from sidebar".
Note: Standard views can't be deleted.
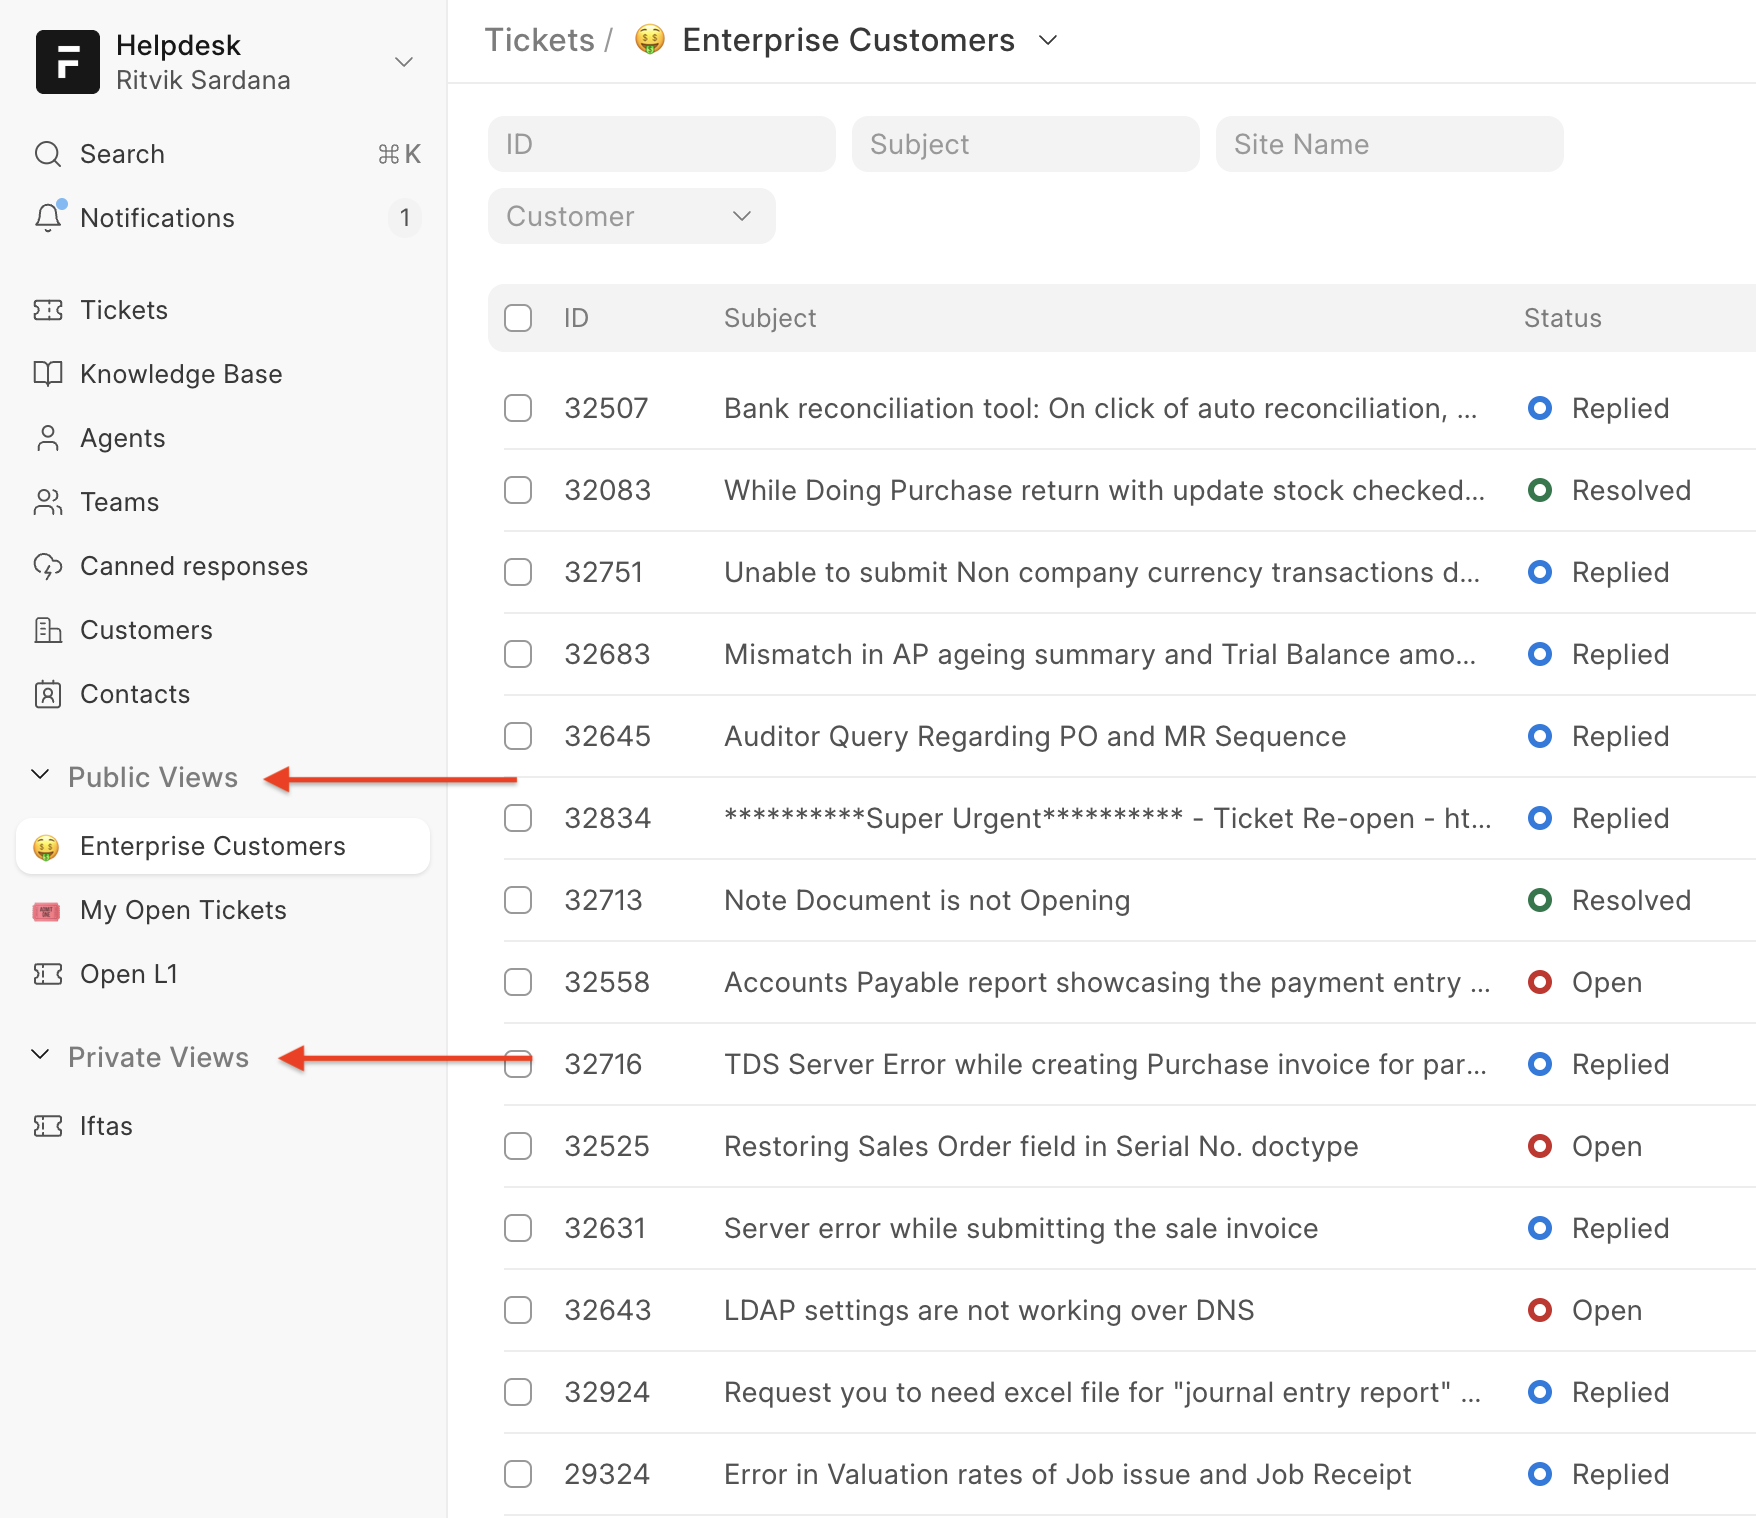
Custom Views
It becomes difficult for agents and customers to create different filters and constantly change them depending on their requirements. Custom views makes it easier for both types of users to segregate and maintain combinations of sort, filters, and columns.
Creating a view
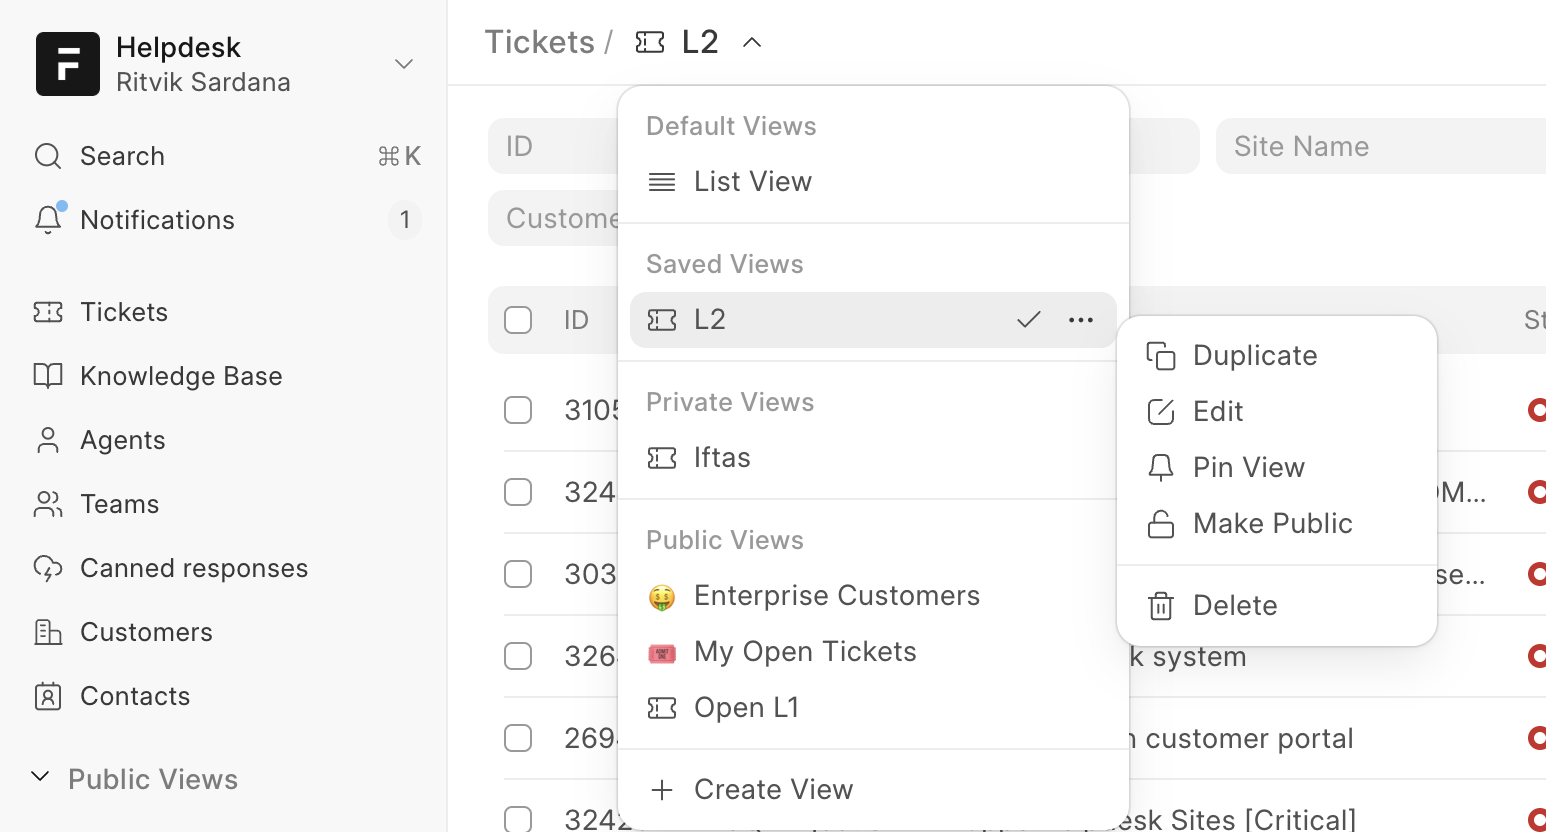
There are 4 types of views:
- Default view: The default view set by the user.
- Public view: visible to all the agents. (Only Agent managers are allowed to make actions on public views) such as users with the role of "Agent Manager" can create/edit/delete public views or even make it private.
- Saved views: Personal Views for easy filters, sort & column settings.
- Private views: These are shown on the sidebar for easy access.
Actions available on each view
Making views is also available on the customer portal side, all actions are possible except making public views.
Example of "My Open Tickets" View for Agents
Agents often need quick access to their open tickets. Public Views are perfect for this use case.
To create a view for "My Open Tickets", apply the following filters:
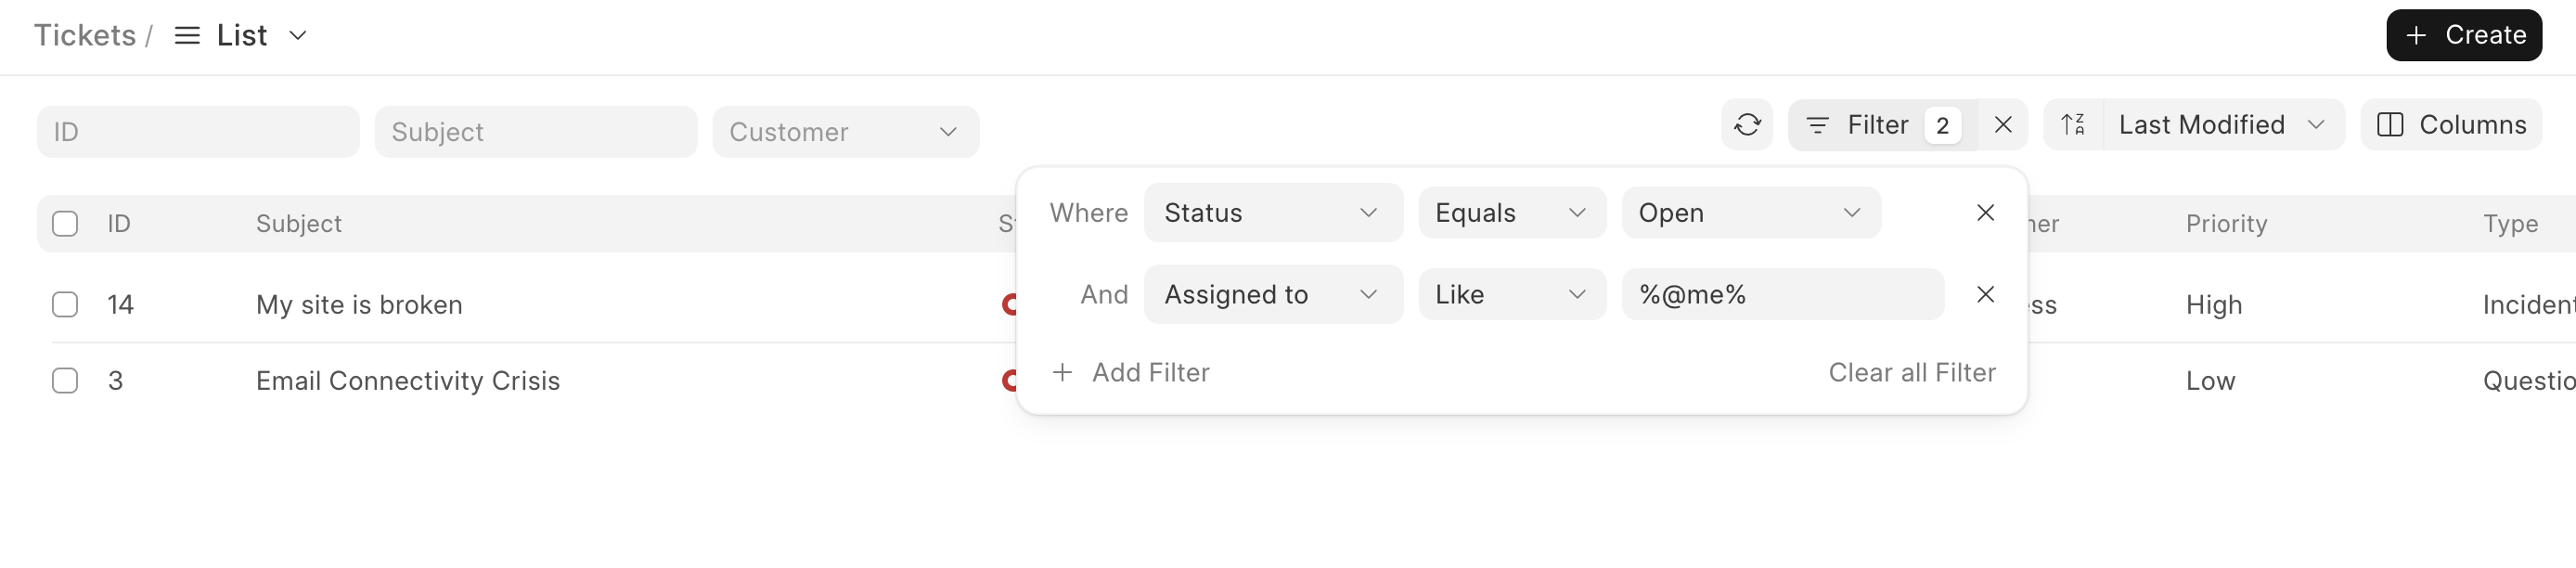
- Use the
@mefilter in the assign_to field. - This automatically resolves to the current logged-in user.
Once the view is created, mark it as Public. Now, every agent will be able to use this shared view to easily access their own open tickets, without having to set up private views individually.
Similarly you can build different views like "My Replied Tickets" & make them public.
Bulk Actions
- Exporting Tickets
- Use the checkboxes beside each ticket to select one or multiple rows.
- Once you selected the rows, a popover appears at the bottom.
- Click the three dots (•••) to:
- Export the selected tickets
- Or export all tickets in the list
- Delete Tickets
- Agents with the role of "Agent Manager" can delete tickets.
- Use the checkboxes beside each ticket to select one or multiple rows.
- Once you selected the rows, a popover appears at the bottom.
- Click the three dots (•••) => Delete => a confirmation dialog appears => Click Confirm to delete your tickets