
Setting Up Your Workspace
Once you've installed Frappe CRM, you'll be walked through a quick setup before you land in your workspace. It takes about two minutes.
Step 1: Set your preferences
You'll start with a Welcome screen. Pick your language, confirm your country, set your timezone, and choose your currency. These make sure dates, times, and deal values show up correctly across your CRM.
Hit Next when you're done.
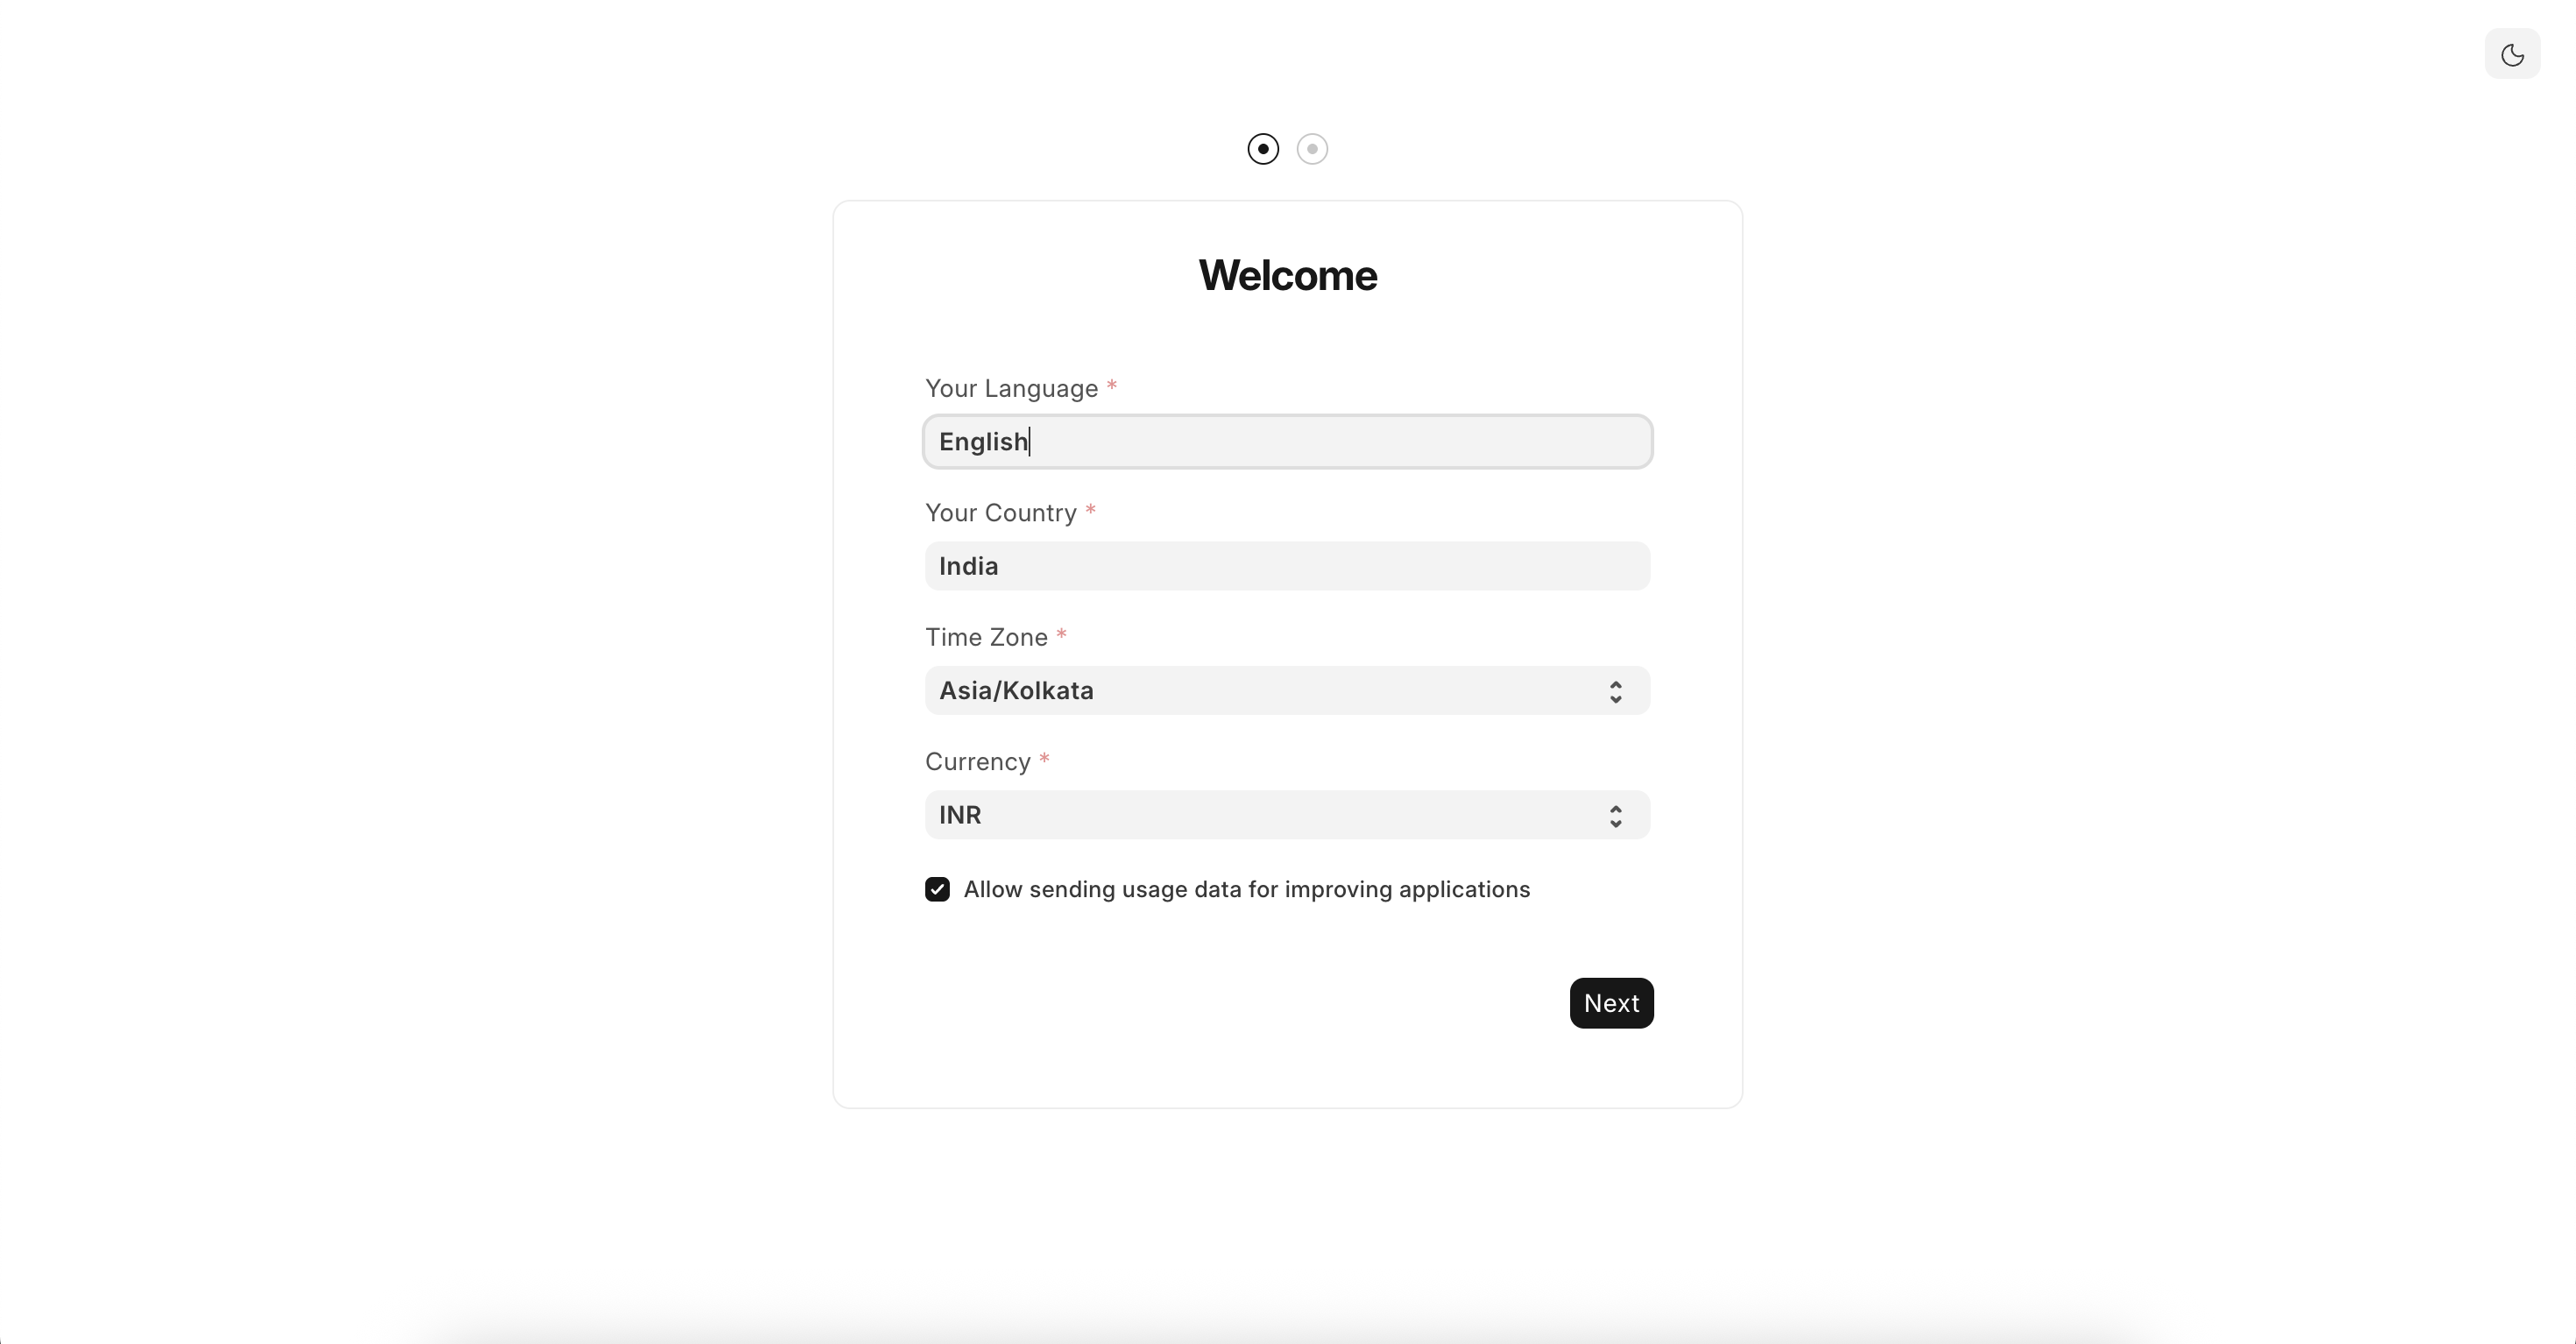 Setting up your preferences
Step 2: Set up your account
Enter your full name and email address. Your email will be your login ID going forward, so use one you actively check.
Hit Complete Setup, and you're in.
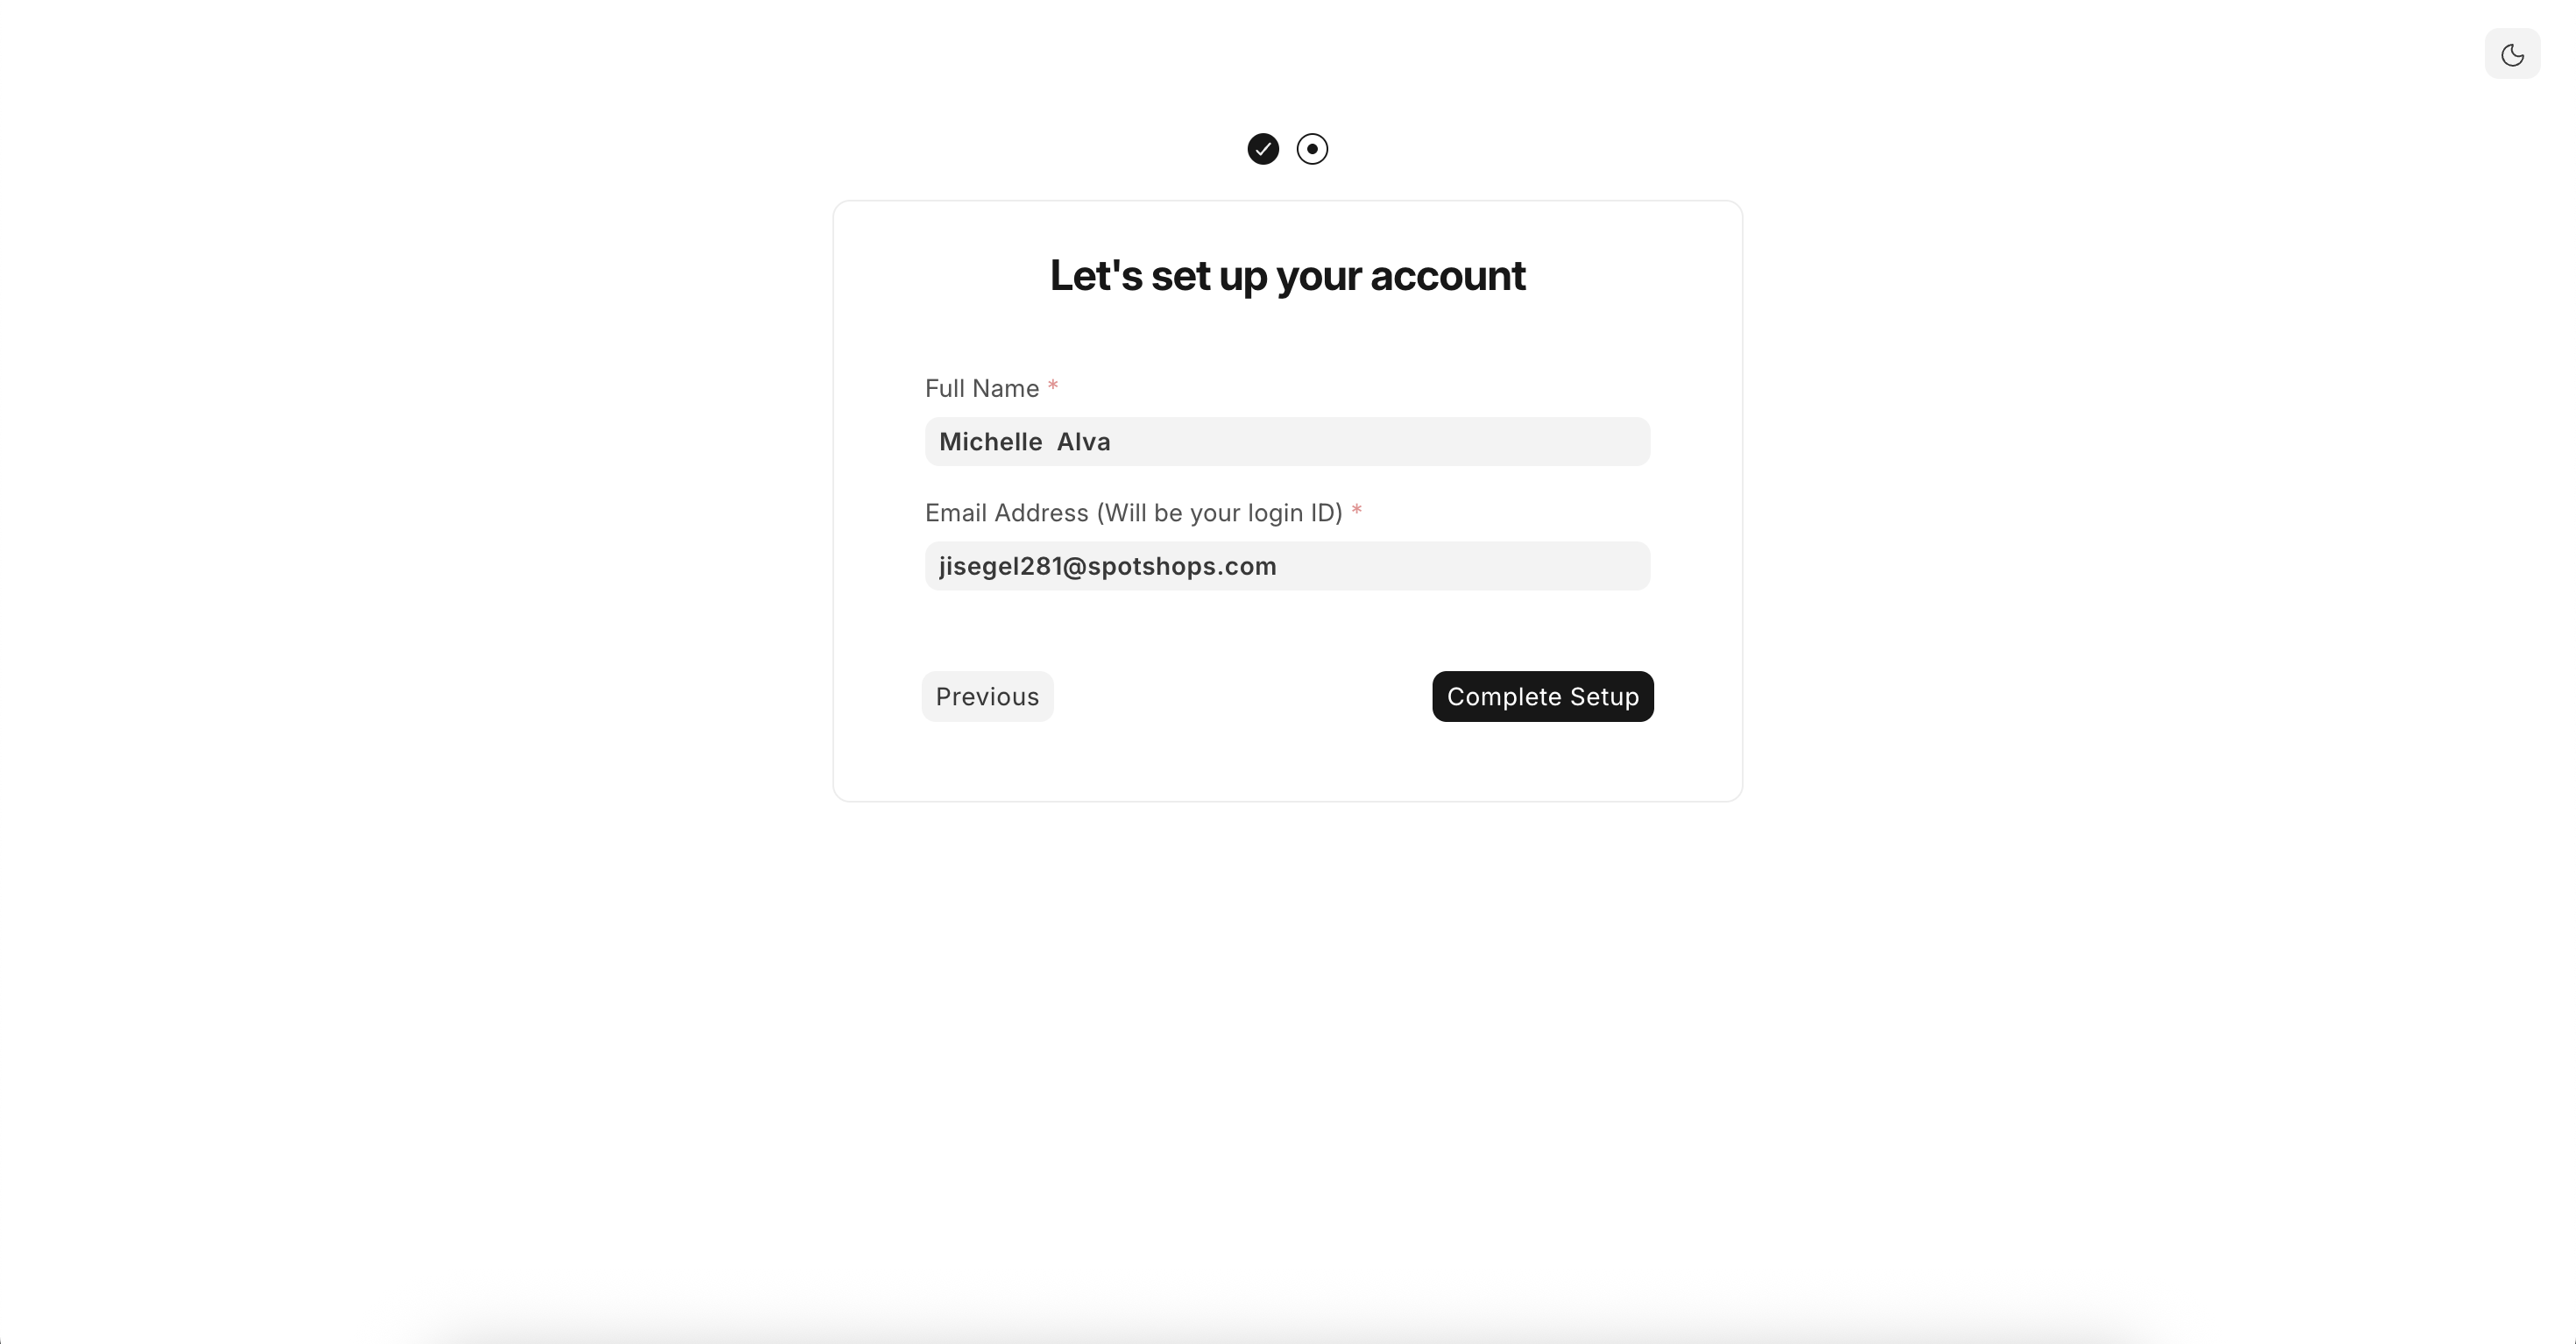 Setting up your first user (you)
Frontend and backend
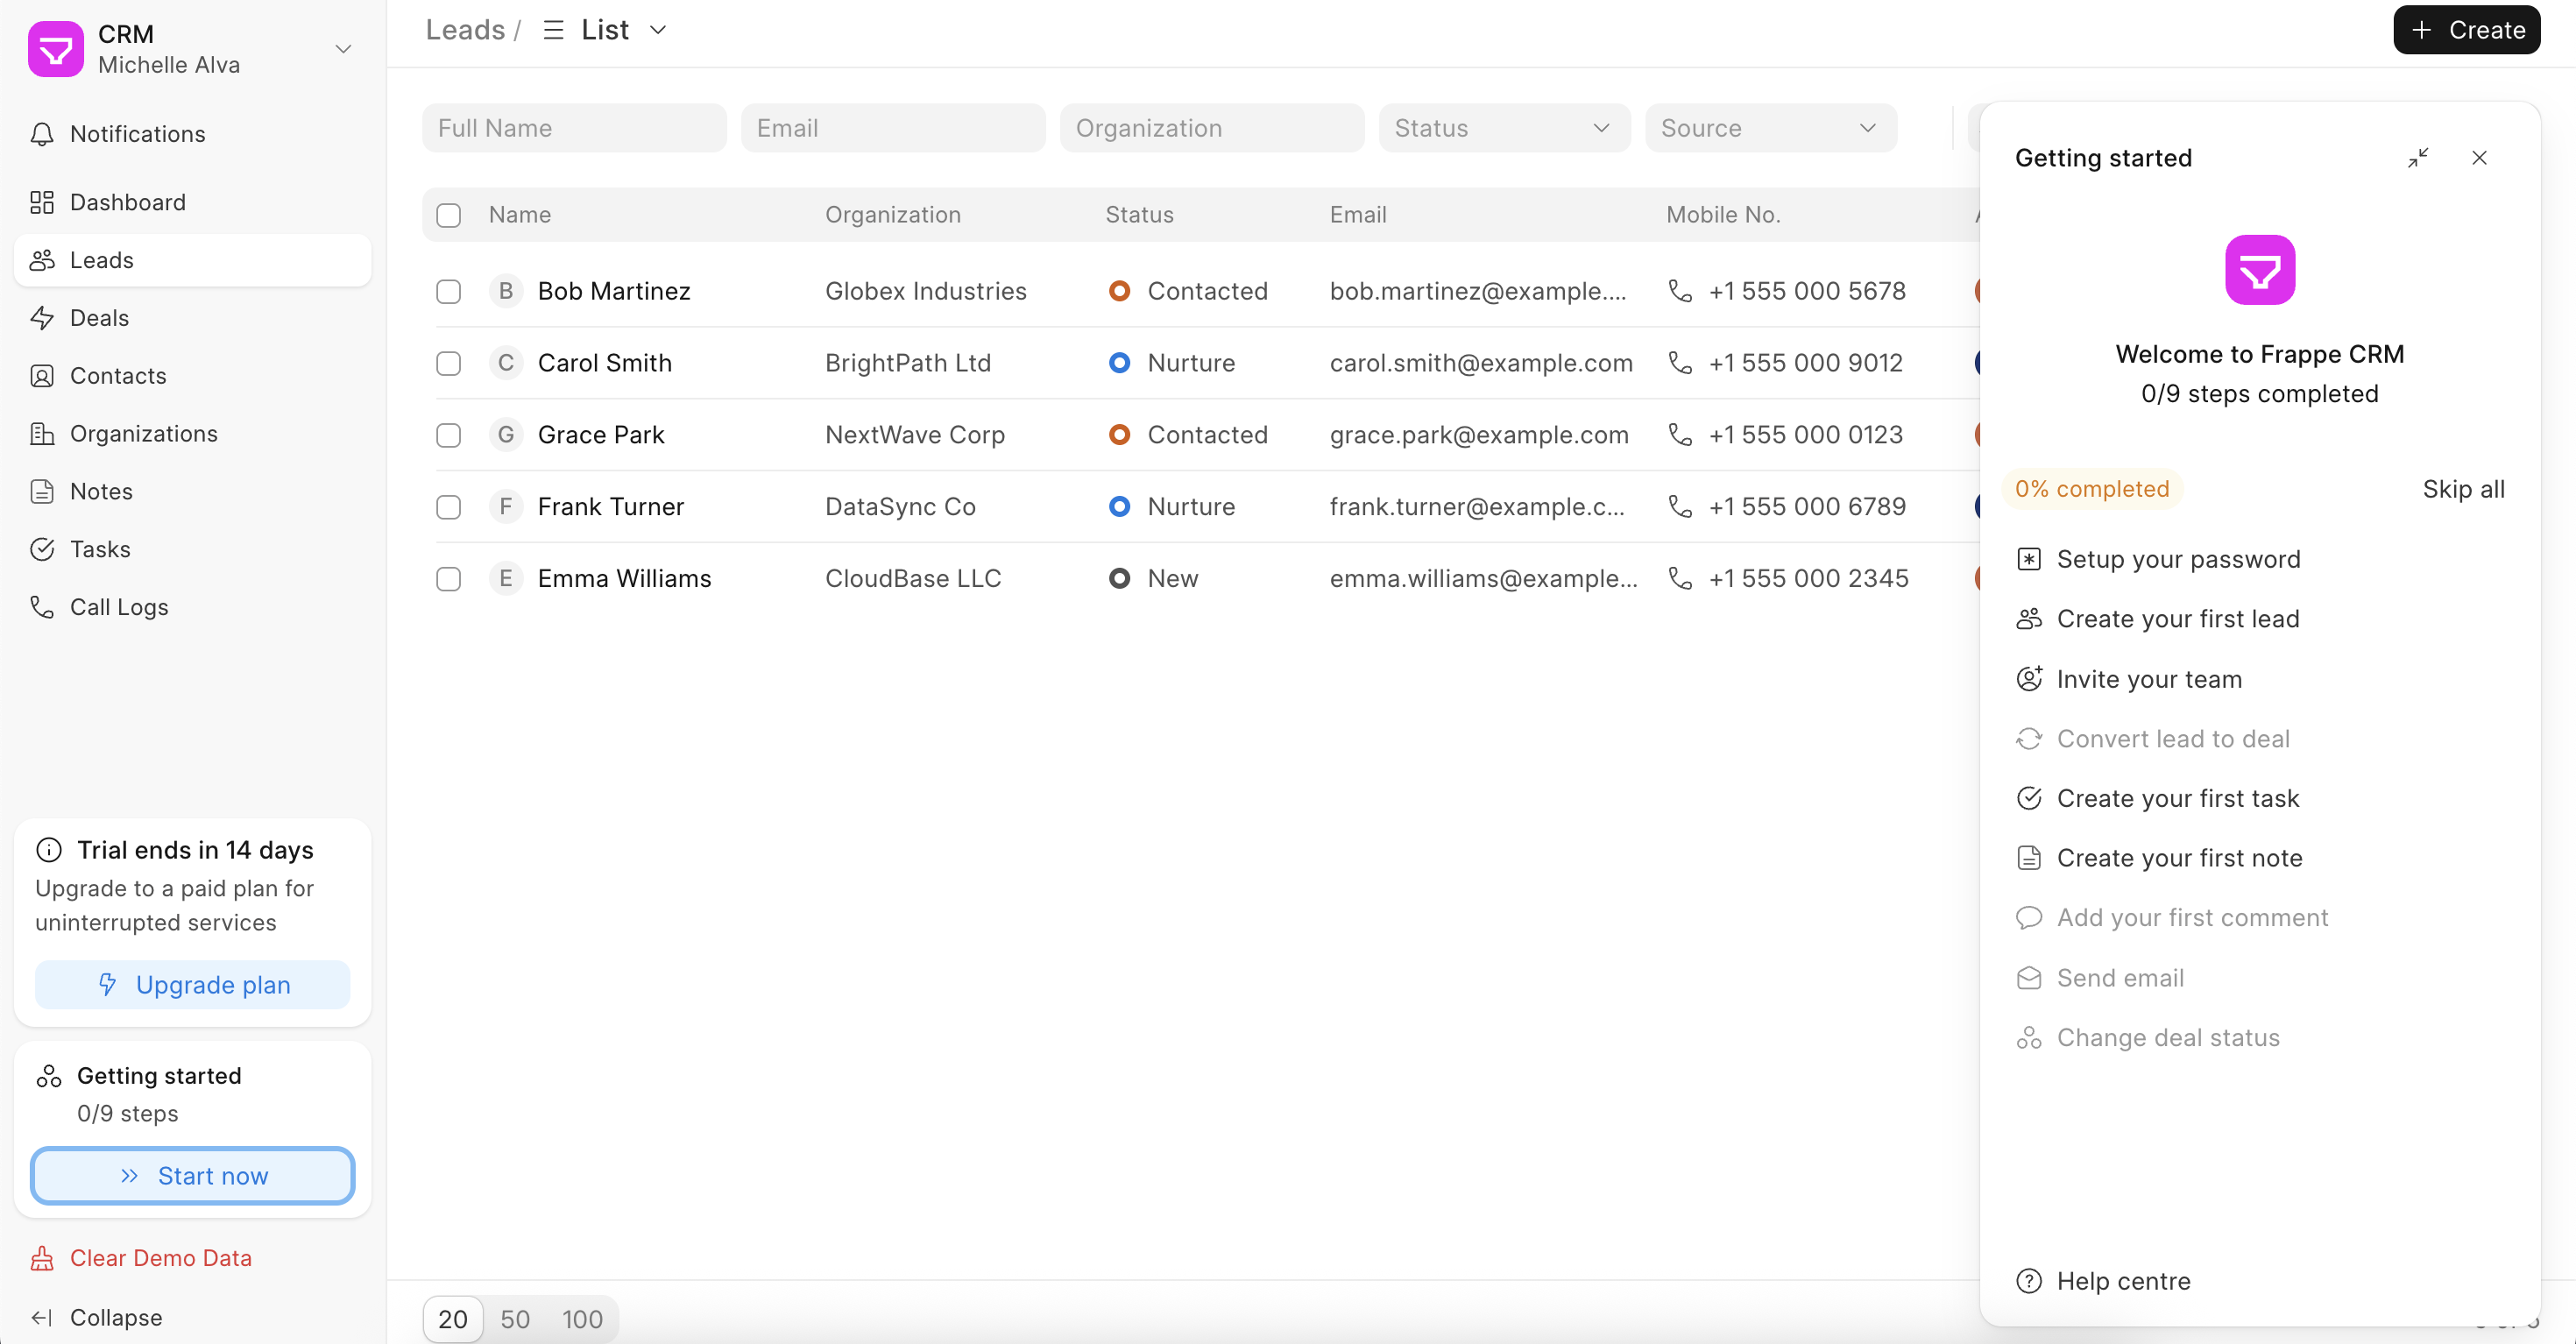
What you're looking at is the CRM frontend. This is what your sales team will use every day. It's clean, focused, and built for speed. When you first land inside the frontend, you'll see some demo data already in place – a few sample leads with names, organizations, and statuses.
But as the admin, you also have access to a more powerful backend view called Desk.
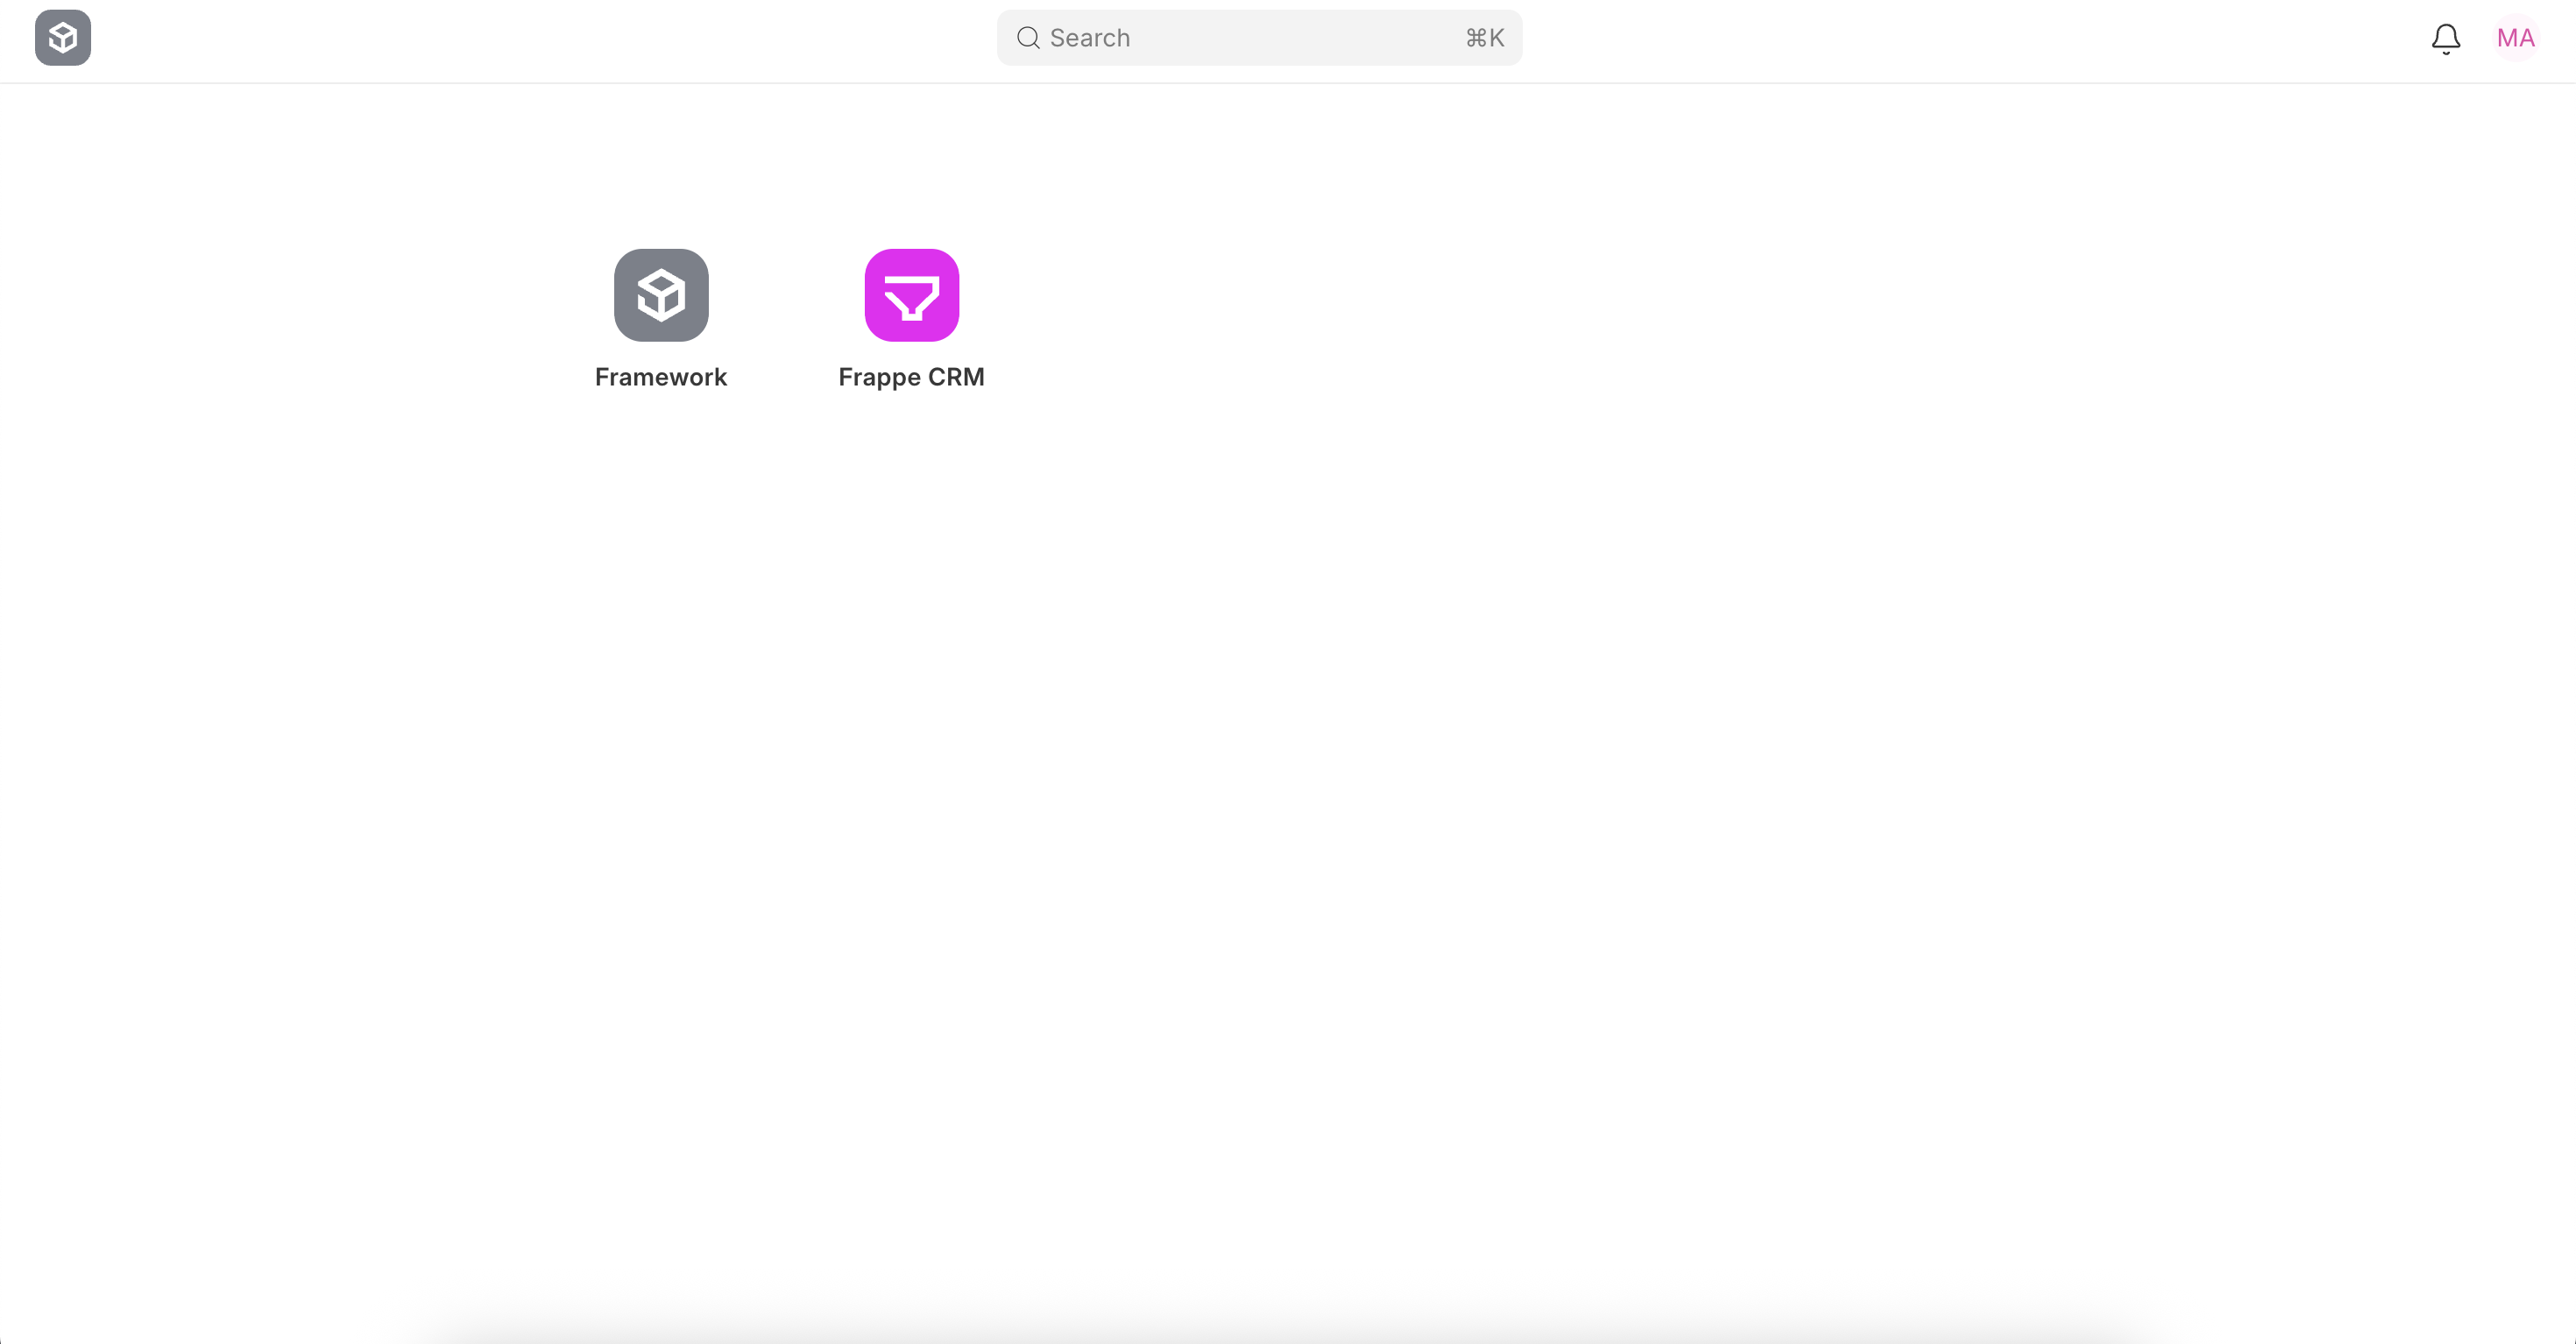
To get there, click on the CRM logo at the top left, then go to Apps > Desk.
 To navigate to desk view, click on Apps → Desk
 The backend view which shows all the apps installed installed on your site
You'll need it for things like writing scripts, adding custom fields, and some advanced configuration. To navigate around Desk, use the search bar (Command + Shift + K) to quickly find what you're looking for.
We're working on bringing more of this into the frontend, but for now, it's good to know it's there.
What's next?
Once you're comfortable with the basics, the next step is inviting your team and configuring your CRM to match your sales process. The next few pages cover that.