

















Customize Form adds your own fields to the forms of Frappe Books. For example, add a Delivery Date to sales invoices or a Color to items.
Only a System Manager can customize forms. All users see the custom fields, and can fill them in on the documents that they can edit. See Roles and Permissions.
Turn On Form Customization
Form customization is off in a new company.
- Click Setup > Settings in the sidebar.
- In General > Features, turn on Enable Form Customization.
- Click Save, and then click Yes to reload Frappe Books.
Customize Form then shows in the Setup group of the sidebar. If you turn it off later, the custom fields stay on the forms, but you cannot change them.
Add Custom Fields
- Click Setup > Customize Form in the sidebar.
- Click New.
- In Form Type, select the form that gets the fields, such as Item or Sales Invoice.
- In Custom Fields, click Add row.
- Enter the Label and select the Fieldtype. Frappe Books fills the Fieldname.
- To set more values, such as Options, click the Edit row button at the end of the row.
- Add a row for each field, and then click Save.
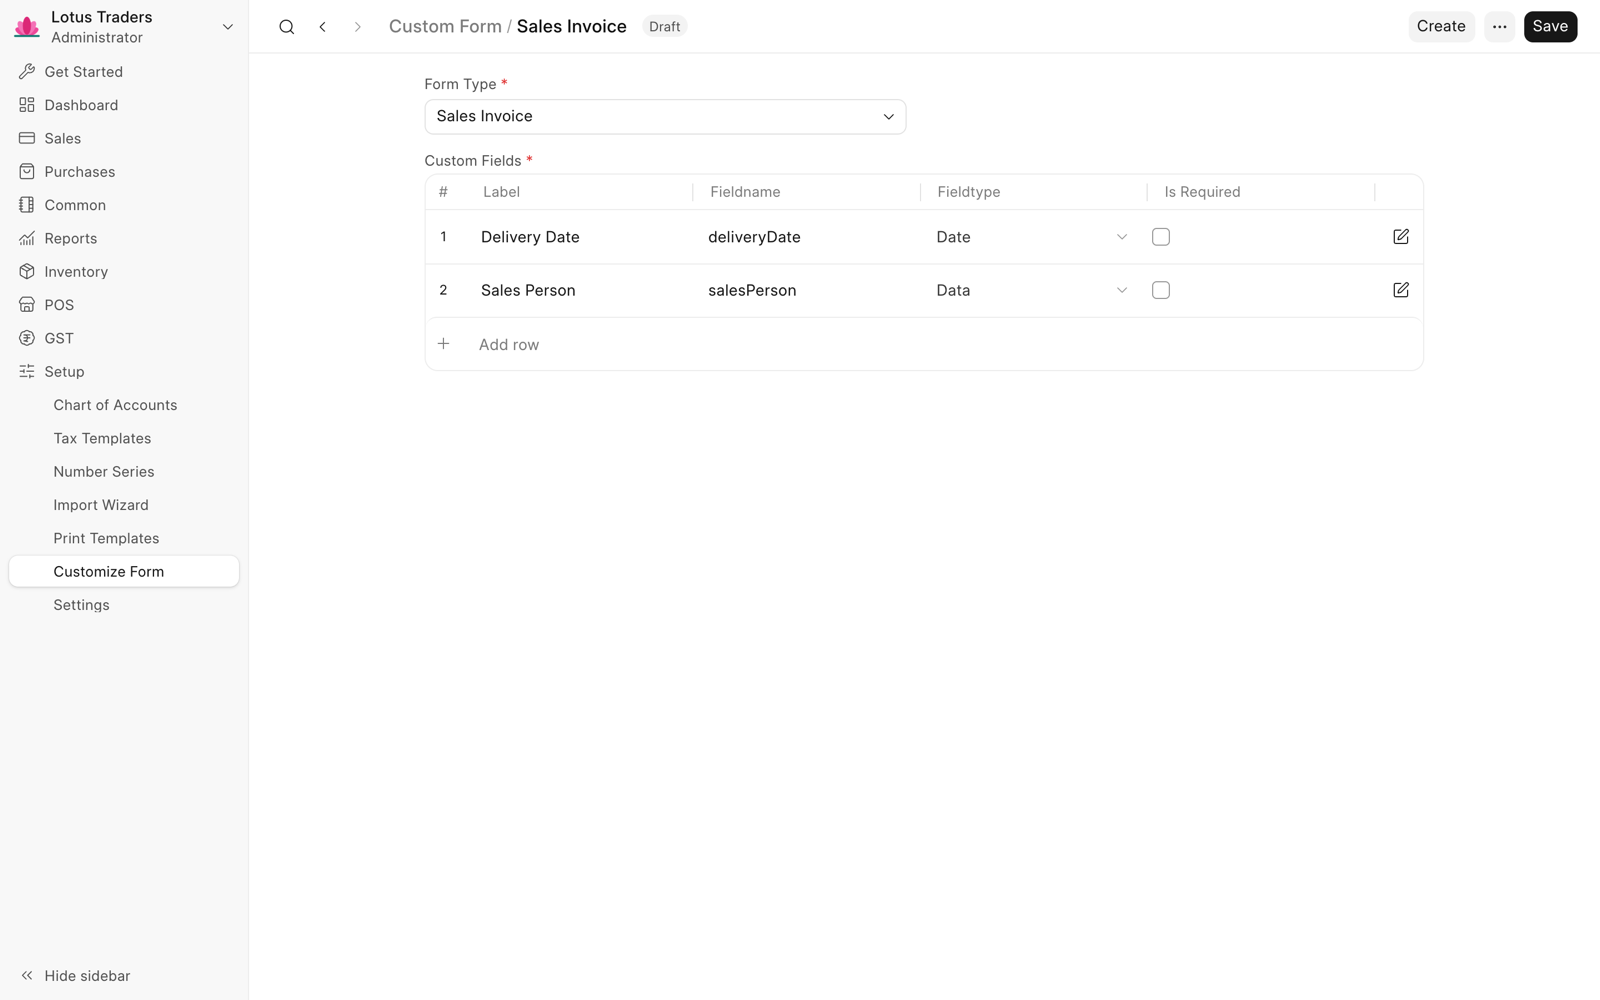
The fields show after you save. Each form type has one custom form. To add more fields later, open it from the list. Form Type also lists table rows, such as Sales Invoice Item for the item rows of a sales invoice. You cannot customize the settings or the ledger entries.
Custom Field Values
| Value | Description |
|---|---|
| Fieldname | The internal name, such as deliveryDate for Delivery Date. Frappe Books makes it from the label only once. It must be unique in the form. |
| Fieldtype | Data, Text, Int, Float, Currency, Check, Date, Date Time, Select, Autocomplete, Color, Link, Dynamic Link, Attach Image, Attachment, or Table. |
| Is Required | Users must fill in the field before they save. A required field needs a Default. |
| Options | Enter each option on a new line. A Select or Autocomplete field needs at least two. A Color field can have its own palette, such as #f98080. |
| Target | For Link and Table fields. The form type that the field links to. A Table needs a table row type. |
| References | For Dynamic Link fields. A Select field of the same form. Its options must be internal form type names, such as Books Party. |
| Form Tab | The default Custom adds a Custom tab. Enter Main for the first tab, or a new name for a new tab. |
| Form Section | The title of a section in the tab, or a new title for a new section at the end. The default Default is the first section. |
Custom fields show after the other fields of their tab and section, in the order of the rows.
Where Custom Fields Show
- Table rows: In the row panel. Click the Edit row button at the end of the row. On a phone, tap the row.
- Side panel: When you create a record from a link field, the panel shows only the required custom fields.
- Export and import: List exports and the Import Wizard include the custom fields.
- Print templates: The standard templates do not show custom fields. In your own template, the key is
doc.custom_books_and the fieldname in lowercase, such asdoc.custom_books_deliverydate.
Change or Remove Custom Fields
- Click Setup > Customize Form in the sidebar.
- Click the form type.
- Change the rows. To remove a field, move the pointer over the row number and click the x button.
- Click Save.
To remove all the custom fields of a form type, click … > Delete in its custom form.