

















A sales invoice is the bill that you send to a customer for a sale. When you submit it, Frappe Books records the income and the amount that the customer owes you.
Create a Sales Invoice
Before you start, add your customers and your sales items. For the steps, see Create Initial Entries.
- Click Sales > Sales Invoices in the sidebar.
- Click New.
- Select the Customer. Frappe Books fills the Account from the customer.
- In Items, click Add row.
- Select the Item. Frappe Books fills the rate and the tax of the item.
- Enter the Qty.
- Add a row for each item that you sell.
- Click Save.
- Click Submit and click Yes.
After you submit the invoice, you cannot edit it. For more information, see Save and Submit Documents. You can also make an invoice from a submitted sales quote. Invoices from the Point of Sale also show in the list.
When you submit the invoice, Frappe Books debits the Account of the invoice with the grand total. It credits the income account of each item and each tax account. A discount goes to the discount account. See Discount Accounting.
Invoice Fields
| Field | Description |
|---|---|
| Account | The receivable account of the customer, such as Debtors. |
| Price List | Shows when price lists are on. Frappe Books takes the item rates from this list. See Price List. |
| Taxes | The tax amount for each tax account. Frappe Books calculates it from the Tax of each item row. |
| Base Grand Total | The grand total in your company currency. Shows only when the customer uses a different currency. See Multi-Currency Invoicing. |
| Outstanding Amount | The amount that the customer still owes. |
| Notes | Text that shows on the printed invoice. New invoices get the Sales Invoice Terms from the settings. |
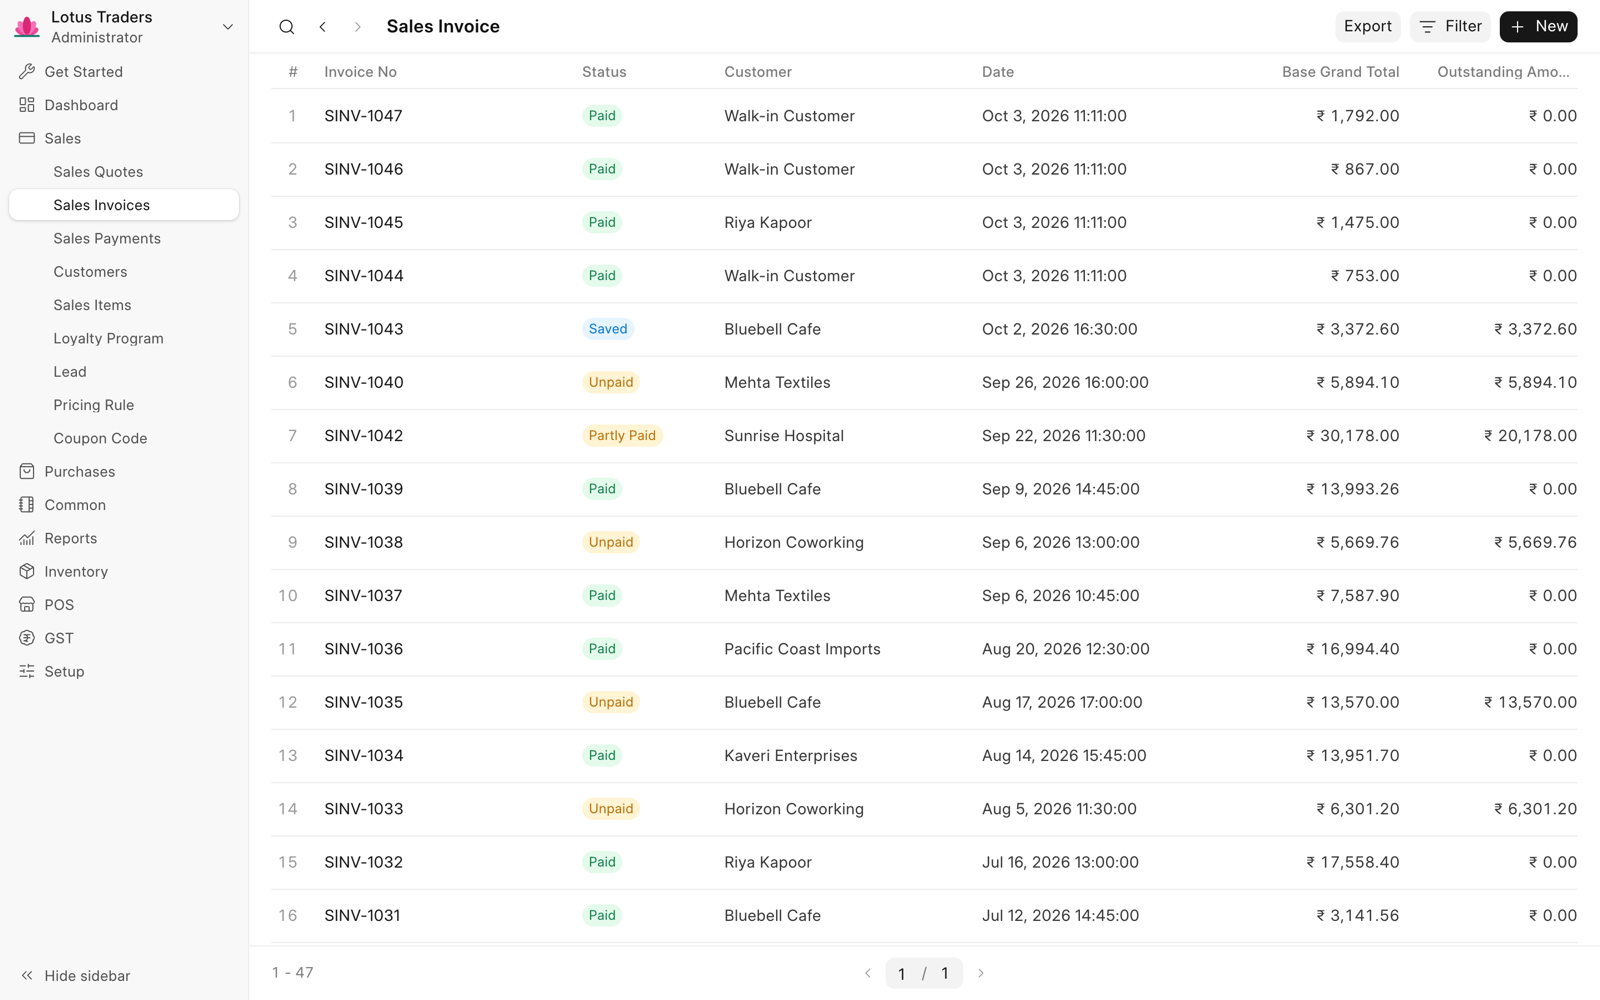
In an item row, Frappe Books fills the rate from the item or from the price list. If you enter a rate, Frappe Books keeps your rate. To charge no tax on a row, clear its Tax. To see the other fields of a row, such as the income Account, click the Edit row button at the end of the row.
The Loyalty Points Redemption, Coupons, and Pricing Rule Detail sections show only when their feature is on. See Loyalty Program, Coupon Code, and Pricing Rule.
The Settings tab shows only when one of its fields applies:
| Field | Shows When |
|---|---|
| Apply Discount After Tax | Discount accounting is on. See Discount Accounting. |
| Make Payment On Submit | A Sales Payment Account is set. See Automatic Payments. |
| Make Shipment On Submit | Inventory is on and a Shipment Location is set. See Automatic Shipments. |
After you submit an invoice, its status is Unpaid, Partly Paid, or Paid. A return has the status Return, and its original invoice gets the status Return Issued.
Receive a Payment
- Open the submitted sales invoice.
- Click Create > Payment. Frappe Books fills the Amount with the outstanding amount.
- Check the Payment Method and the To Account.
- Click Save.
- Click Submit and click Yes.
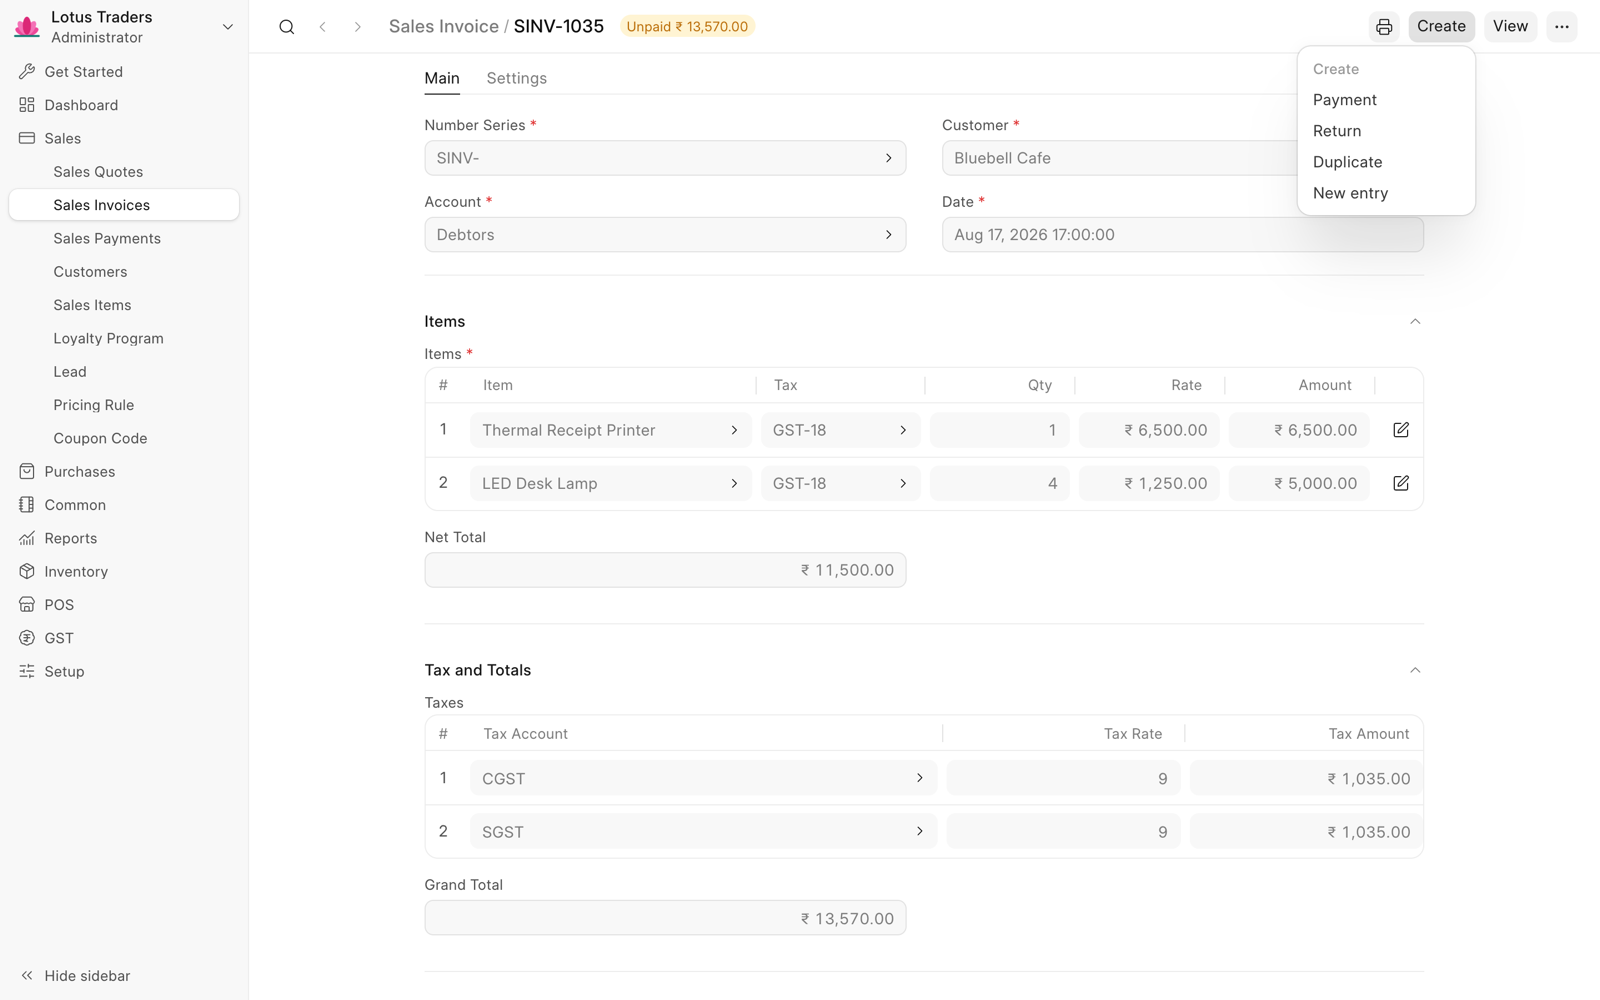
Frappe Books decreases the Outstanding Amount of the invoice and changes its status. To pay less than the outstanding amount, turn on Enable Partial Payment in the General settings. For more information, see Payments.
Automatic Payments
To make the payment when you submit the invoice, select a Sales Payment Account in the Auto Payments section of the Defaults settings. The list shows only cash and bank accounts.
Each new sales invoice then has Make Payment On Submit selected in its Settings tab. When you submit the invoice, Frappe Books submits a payment of the outstanding amount to this account. To skip the payment for one invoice, clear Make Payment On Submit before you submit.
Print a Sales Invoice
For the steps, see Print a Document. Frappe Books has two templates for sales invoices: Business - Sales Invoice and Business-POS - Sales Invoice. To set the template that opens first, select the Sales Invoice Print Template in the Defaults settings.
Shipments
When inventory is on, a shipment takes the sold items out of your stock. Frappe Books ships only items that have Track Inventory selected. For more information, see Shipment.
Automatic Shipments
To ship the items when you submit the invoice, select a Shipment Location in the Auto Stock Transfer section of the Defaults settings.
Each new invoice then has Make Shipment On Submit selected in its Settings tab. When you submit the invoice, Frappe Books submits a shipment from the Shipment Location. If an item does not have enough stock, the Insufficient quantity dialog opens. Click Yes to submit the invoice without the shipment, or click No to stop.
To ship the items later, open the invoice and click Create > Shipment. Stock Not Shipped shows the quantity that is not shipped yet.
Returns
A return is a sales invoice with negative quantities for items that a customer gives back. It reverses the ledger entries of the original invoice.
To make returns, turn on Enable Invoice Returns in the General settings. You cannot turn it off later.
- Open the submitted sales invoice.
- Click Create > Return. A new invoice opens with the items that earlier returns did not take back.
- Change the quantities to the quantities that the customer returned. You can enter positive numbers.
- Remove the rows of the items that the customer did not return.
- Click Save.
- Click Submit and click Yes.
To make a return manually, make a new invoice and select the original invoice in Return Against in References. The customer must be the same as on the original invoice, and each item must be on it. The returned quantities cannot be more than the invoiced quantities.
The outstanding amount of a return is negative. To pay the money back to the customer, open the return and click Create > Payment.
Cancel a Sales Invoice
Only a Books Manager or a System Manager can delete a sales invoice. See Roles and Permissions.
When you cancel an invoice, Frappe Books reverses its ledger entries. It also cancels the payments and the automatic shipment of the invoice. A submitted return, or a shipment that you made with Create > Shipment, stops the cancellation. Cancel these entries first.
To make a corrected invoice, open the cancelled invoice and click Create > Duplicate.
More Actions
| Action | Where |
|---|---|
| Linked entries | … > Linked entries in the page header, or Ctrl + L. Shows the payments, shipments, returns, and other entries of the invoice. |
| Accounting entries | View > Accounting entries. Opens the General Ledger for the invoice. |
The printer icon in the page header, or Ctrl + P. |
|
| Save or Submit | The main button in the page header, or Ctrl + S. |
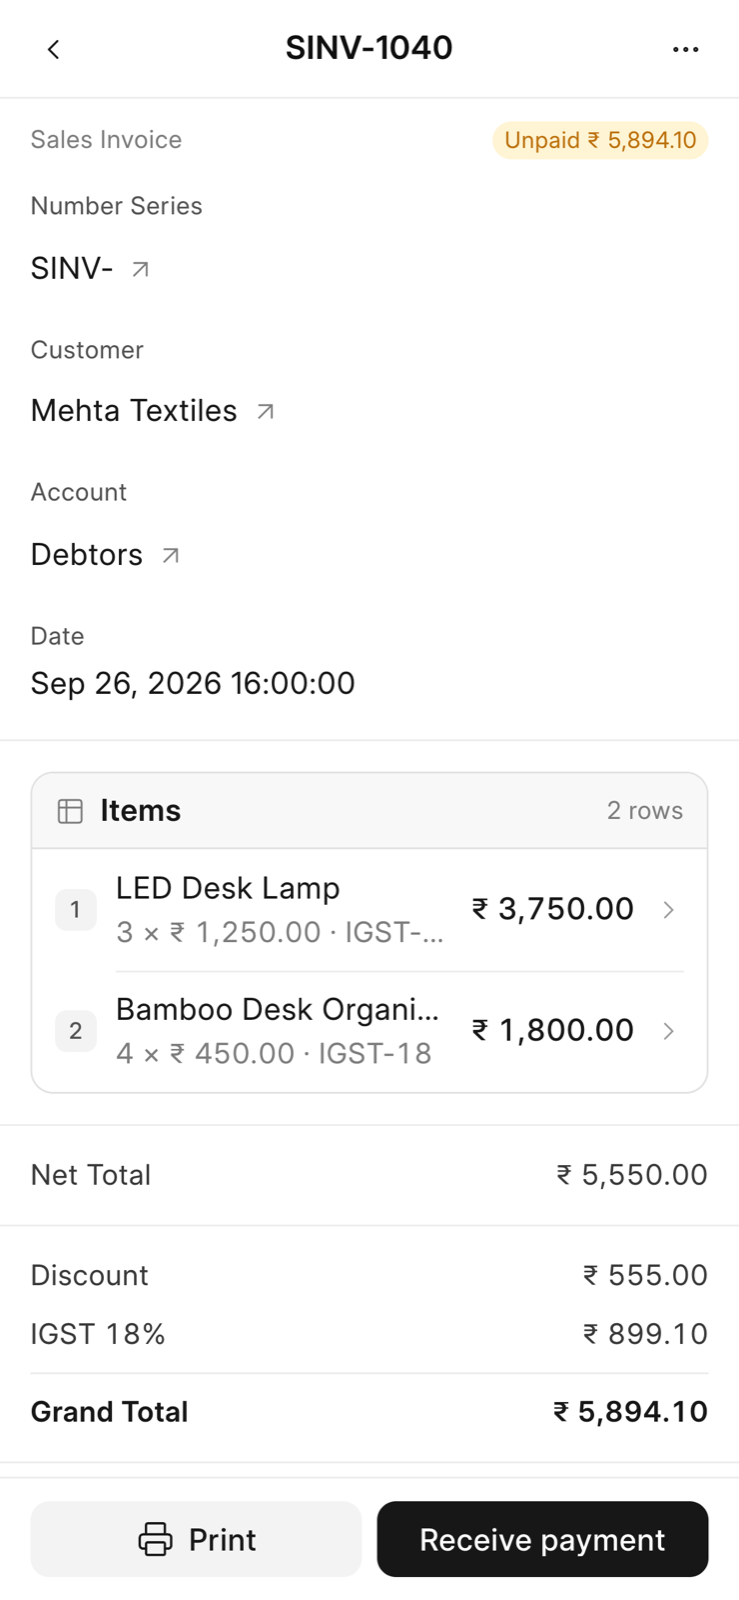
On macOS, use Cmd instead of Ctrl. On a phone, Linked entries and Accounting entries are in the … menu in the header.