
Scenario
This guide explains how to import existing Sales Invoice records from a legacy system into ERPNext using the Data Import Tool.
Prerequisites
Step A: Import Items:
Before importing Sales Invoices, ensure all referenced Items exist in ERPNext.
- Go to Data Import.
- Click New.
- Select:
- Document Type:
Item - Import Type:
Insert New Records
- Click Save.
- Click Download Template.
- Choose Basic (Mandatory Fields) or include additional fields if required. We will include an image for every item as well.
- Open the downloaded CSV file.
- To include images in the import:
- We first need to upload them to the Files -
Home > File List
 Images for items
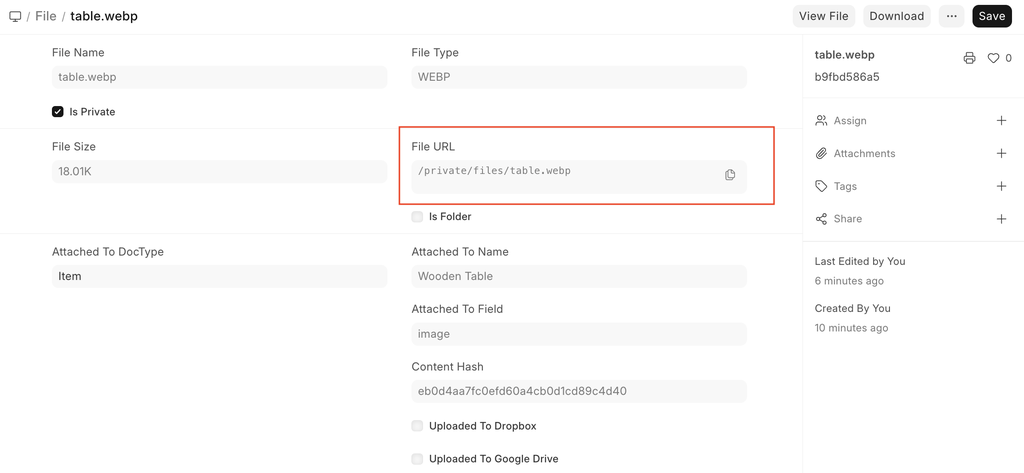
- For each Image, we can refer to the private link for importing it, as shown in the picture below
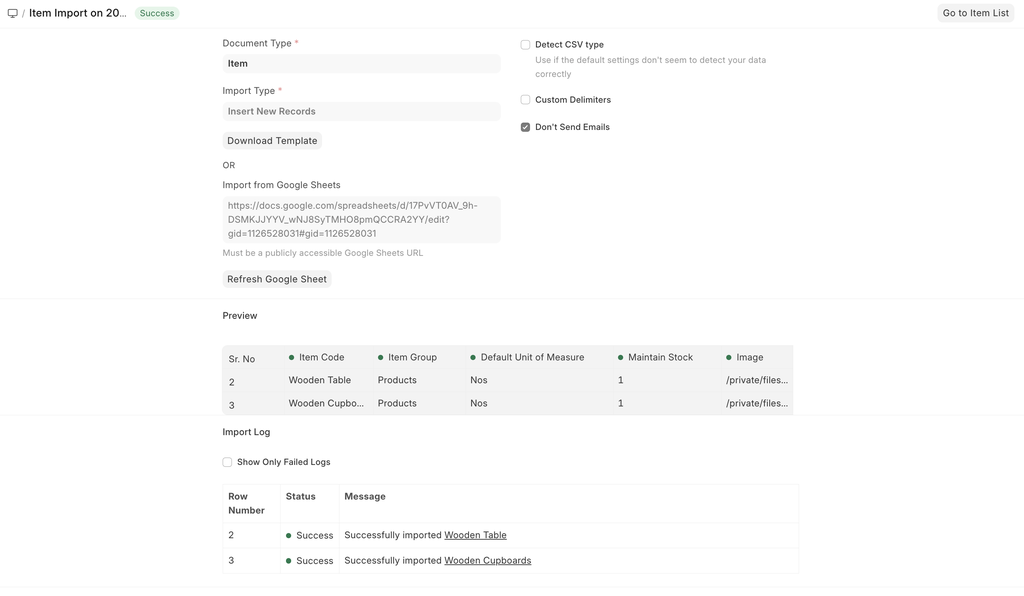
- Fill in the details for the item in the CSV. It would look like this:

- Save the csv and import it.
Step B: Import Customers:
Next, import the Customer records referenced in the Sales Invoices.
- Go to Data Import.
- Click New.
- Select:
- Document Type:
Customer - Import Type:
Insert New Records
- Click Save.
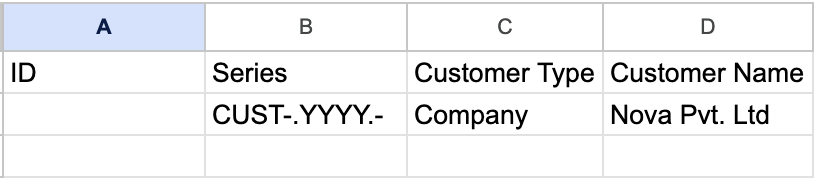
- Download the template and insert the relevant data and save the csv
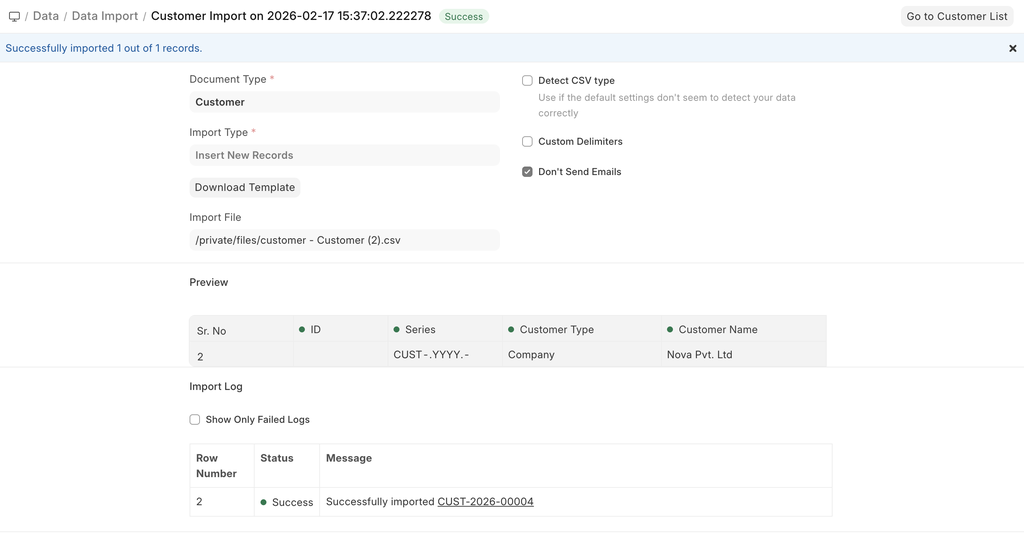
- We upload the csv and import the customer data
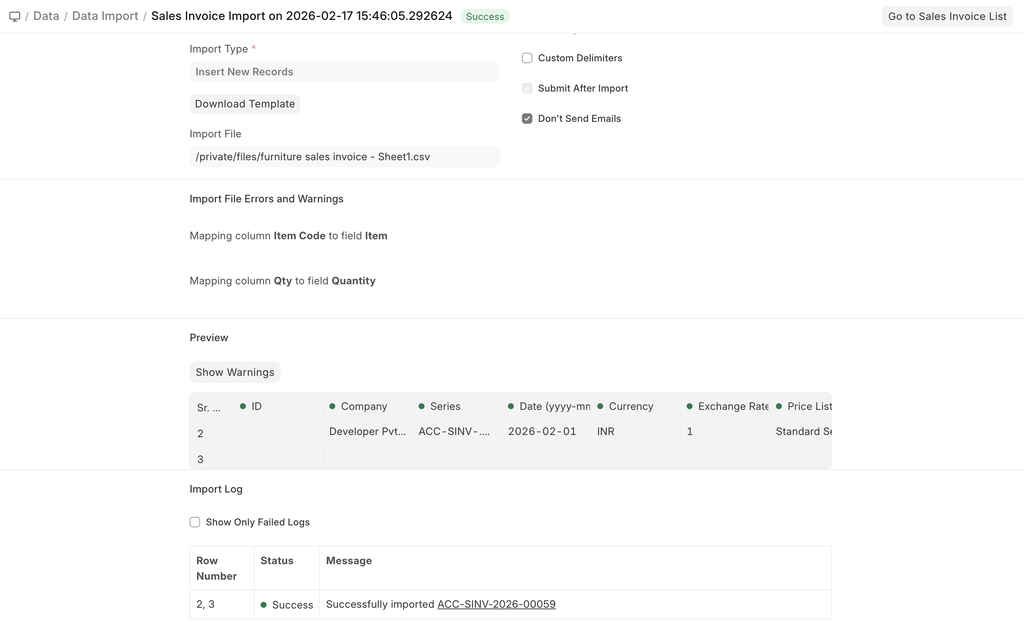
Step C: Import Sales Invoices
After Items and Customers are available in ERPNext, proceed with importing Sales Invoices.
- Go to Data Import.
- Click New.
- Select:
- Document Type:
Sales Invoice - Import Type:
Insert New Records
- Click Save.
- Now, in the downloaded template, we consider that the Sales Invoice, child table for items, has 2 entries, to handle that, we will be adding the records like this:

- We save the csv and import the file.
Last updated 1 hour ago
Was this helpful?