


















Print Format Editor
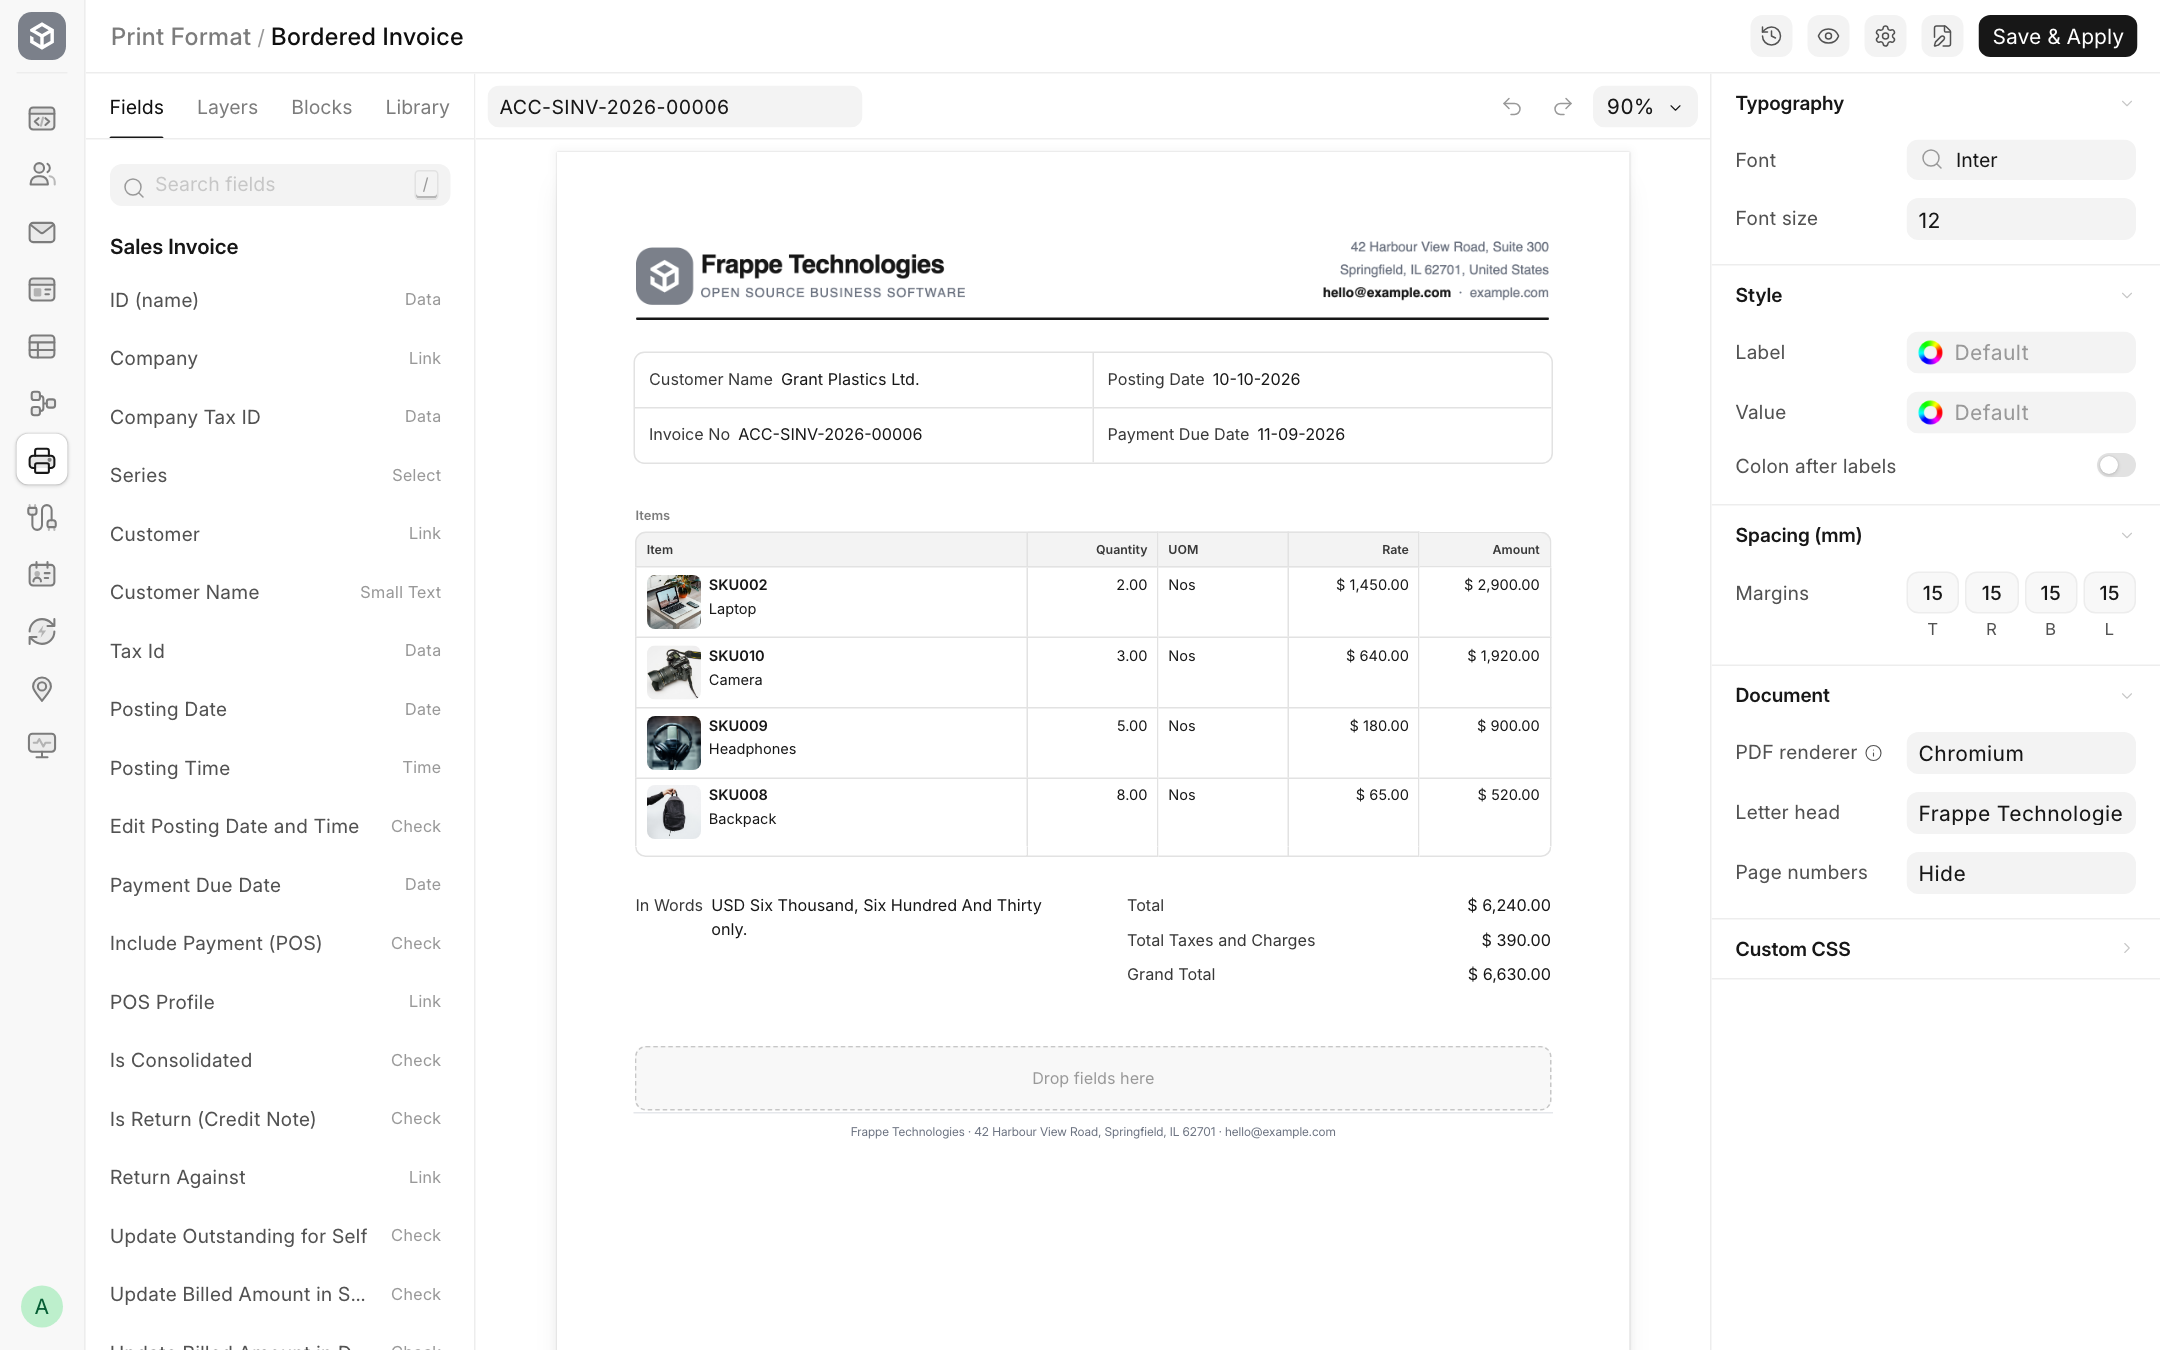
The Print Format Editor is where you design how a document looks on paper. You drag fields onto a page, arrange them in sections and columns, and see the result straight away with the values of a real document. No HTML or code is needed, but you can add your own when you want to.
Applies to Frappe v16 and later.
Before you start
You need:
- permission to create Print Formats. System Managers have it by default.
- at least one saved document of the type you are designing for, so the editor can show real values.
Create a print format
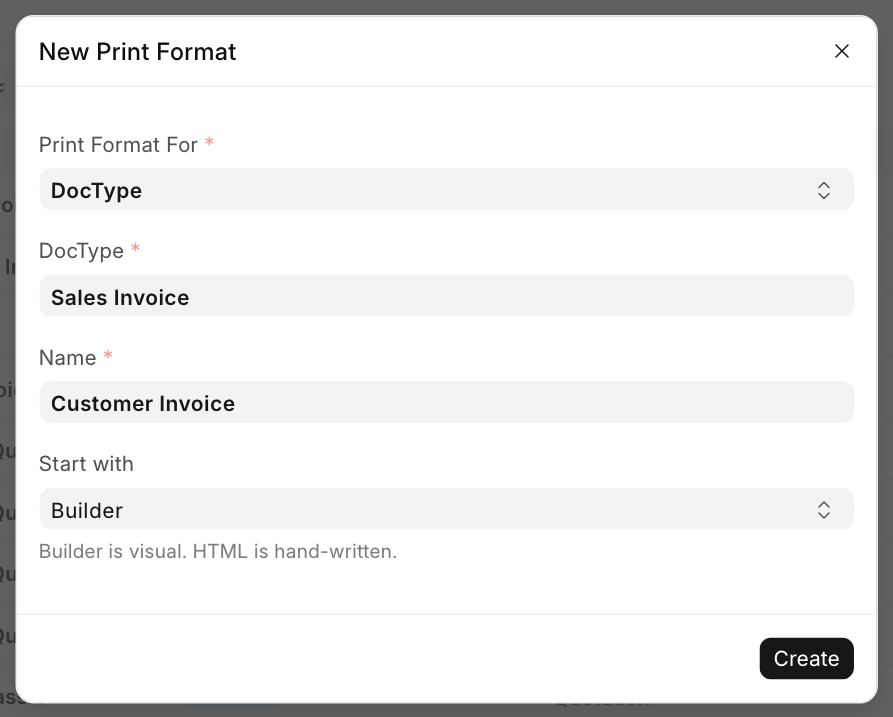
- Open the Print Format list and click Add Print Format.
- Set Print Format For to DocType and pick the DocType, for example Sales Invoice.
- Enter a Name, for example "Customer Invoice".
- Leave Start with on its default, the visual editor.
- Click Create. The editor opens.
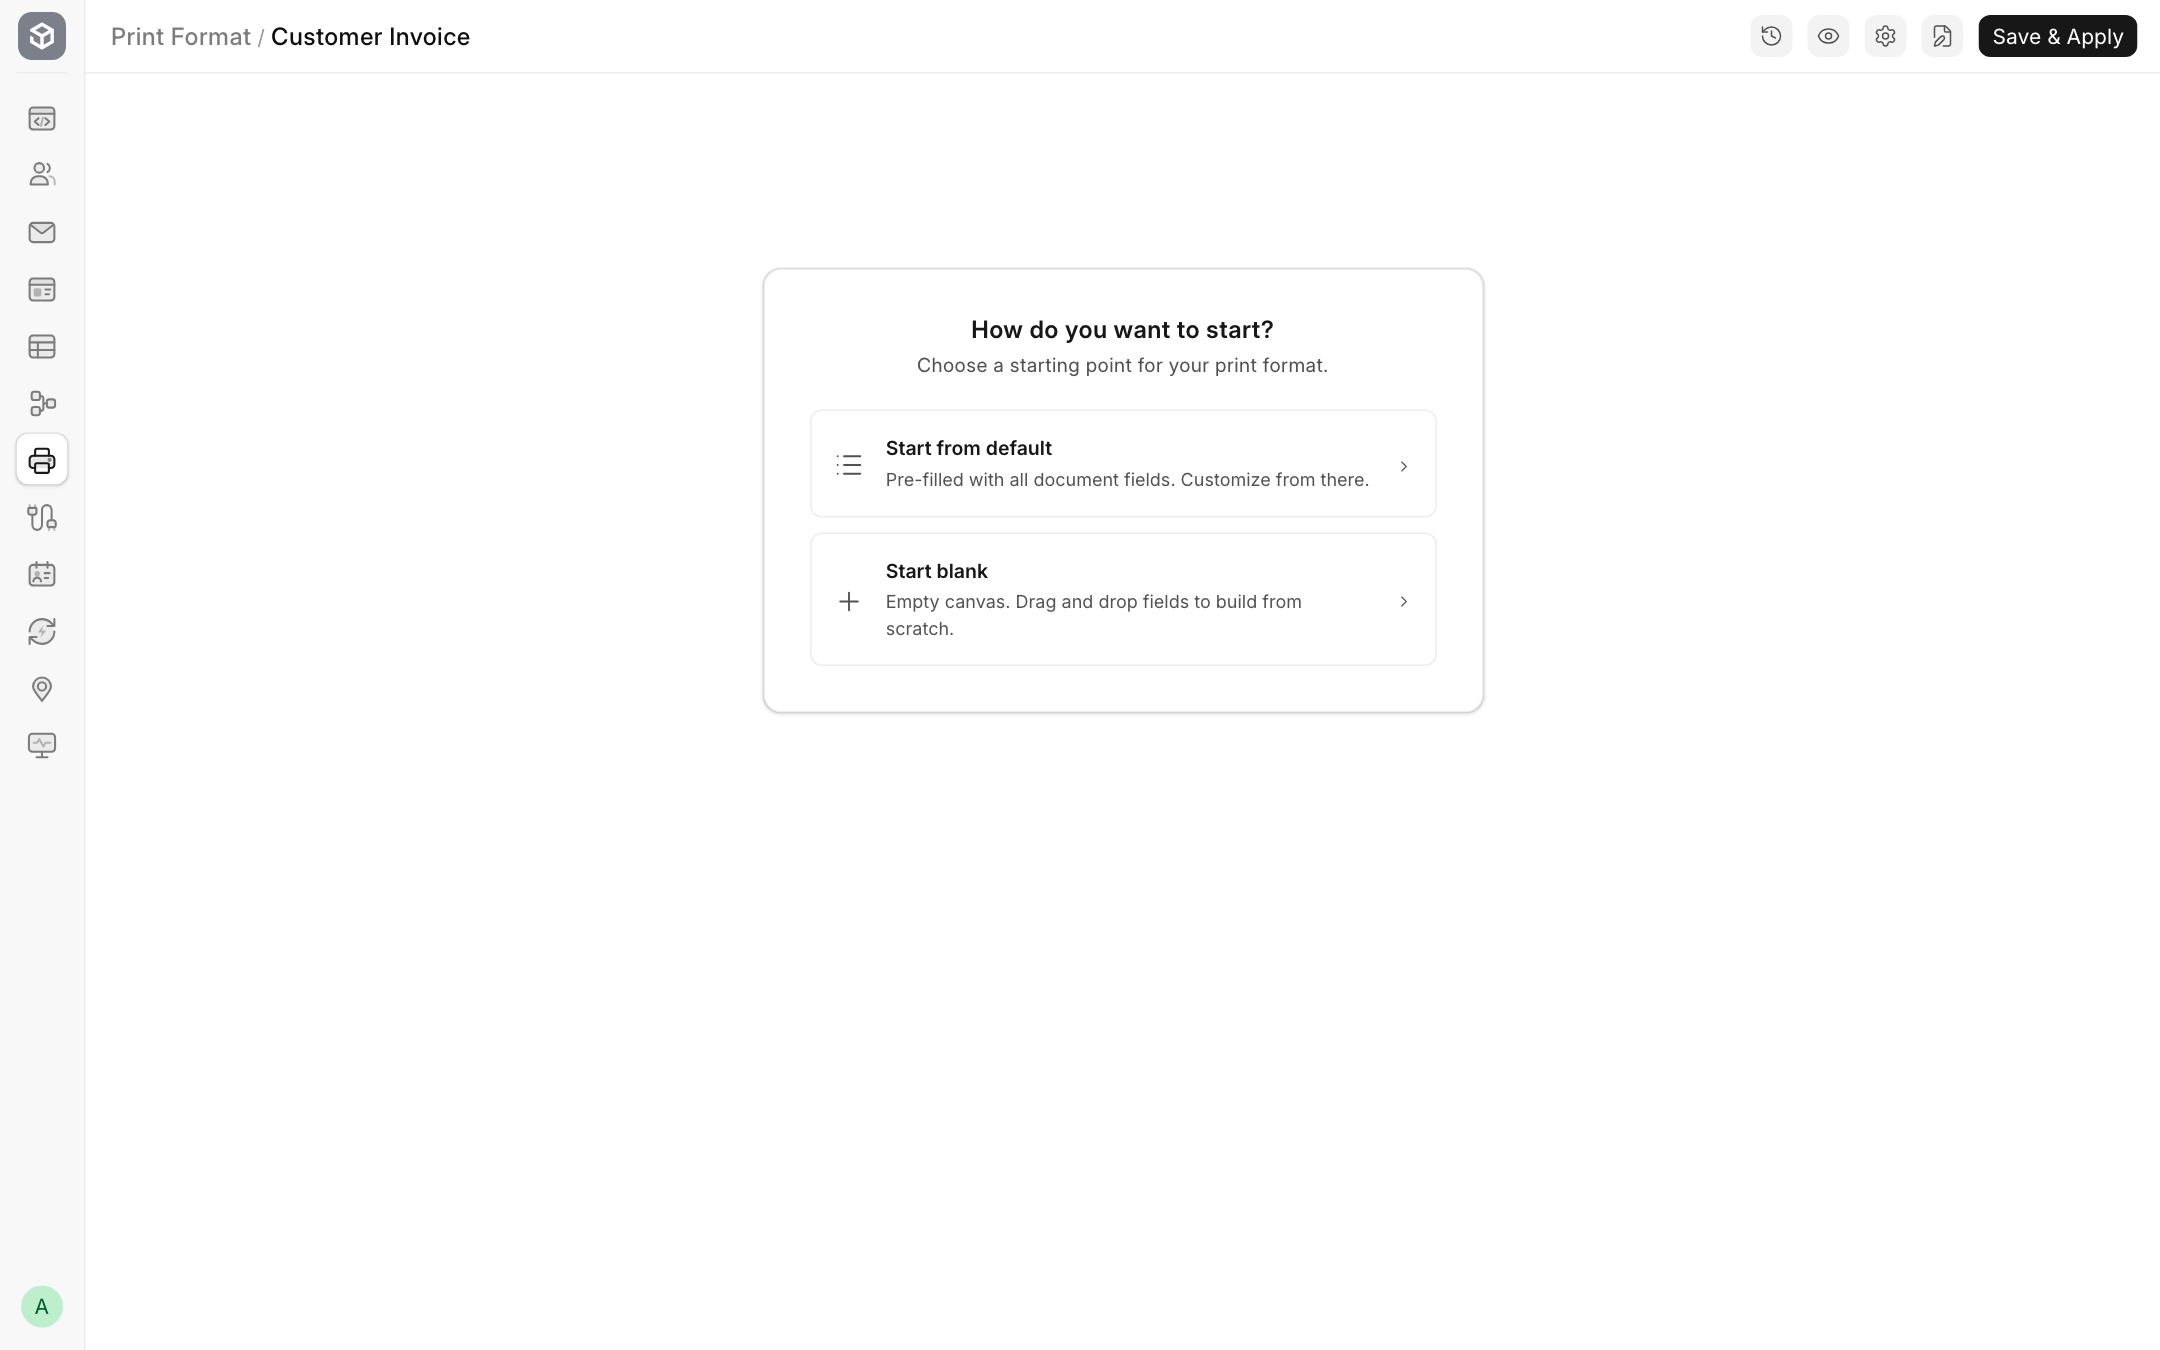
The editor then asks how you want to start:
- Start from default fills the page with every printable field of the document, in the same order as the form. Remove what you do not need. This is the quickest way to start.
- Start blank gives you an empty page to build up yourself.
You can also start from the print page. Open a document, press Ctrl+P, open the ⋯ menu and click Customize while the Standard format is selected.
A quick tour
| Area | What it does |
|---|---|
| Left panel | Four tabs. Fields lists every field of the document. Layers shows the page as a tree. Blocks holds things that are not fields, like text, images and barcodes. Library holds your saved snippets. |
| Page | The printout itself. Click anything to select it. Drag to move it. |
| Right panel | The settings of whatever you selected. With nothing selected it shows the page settings. |
| Preview document | The box above the page. Pick a document here and the page shows its real values. |
| Toolbar | Version History, Show Preview, Print Settings, Edit Print Format (opens the format's form) and Save & Apply. |
How a print format is built
A print format is a stack of sections, from top to bottom. Each section has one to four columns, and each column holds fields and blocks. Above and below the sections are the Header and Footer. They repeat on every page only when Repeat Header and Footer is on in Print Settings. When it is off, the header prints once at the top and the footer once at the end.
Header          letter head and header fields
Section         1 to 4 columns
  Column        fields and blocks, top to bottom
Section
  ...
Footer          footer fields and letter head footer
The pages below explain each part:
- Sections, columns and the page: sections, columns, borders, header, footer, letter head and page breaks.
- Fields: adding fields and changing how each one prints.
- Tables: child tables such as invoice items, their columns, styles and row filters.
- Blocks: text, images, barcodes, QR codes, linked values, custom tables, Custom HTML and Typst.
- Show or hide content: conditions for sections, fields, table rows and columns.
- Page settings and PDF renderer: font, colours, margins, page numbers, Chromium and Typst.
- Versions, snippets and shortcuts.
Saving your work
The editor keeps two copies of your format:
- The draft is what you see while editing. It is saved automatically as you work, and the toolbar shows Saving… and then Draft. Nothing prints differently yet.
- The published version is what prints. Click Save & Apply, or press Ctrl+S, to publish the draft.
If you leave the editor with changes that are not applied, it asks before you go. Your draft is kept, so you can come back to it later.
Preview with real data
Pick a document in the box above the page. Every field shows that document's value, and anything that will not print for it is greyed out with a dashed border. Hover over a greyed section to see why: it is hidden by its condition, or it has no values for this document.
Click Show Preview in the toolbar to see the PDF exactly as it will print.
Draft and cancelled documents can be previewed only when Allow Print for Draft or Allow Print for Cancelled is on in Print Settings.
Use the format
- On the print page, pick it in the Print Format box.
- To make it the default for its document type, select it on the print page and choose ⋯ > Set as Default Format.
Troubleshooting
| Problem | What to check |
|---|---|
| My change does not show when printing | Click Save & Apply. The draft is not printed. |
| A field does not print | Its value is empty, or its condition is false. Hover over it in the preview to see which. |
| A section starts on a new page | There is a Page Break above it, or Keep together is on and the section does not fit on the current page. |
| Typst (fast) cannot be selected | Hover over the info icon next to PDF renderer. It lists what Typst cannot render, for example a Custom HTML block. See Page settings and PDF renderer. |
| The letter head footer is missing in the PDF | Turn on Repeat Header and Footer in Print Settings. |
Related topics
- Printing a document
- Letter Head
- HTML print formats, for full control with HTML and Jinja