Payroll is the sum total of all compensation a business must pay to its employees for a set period of time or on a given date.
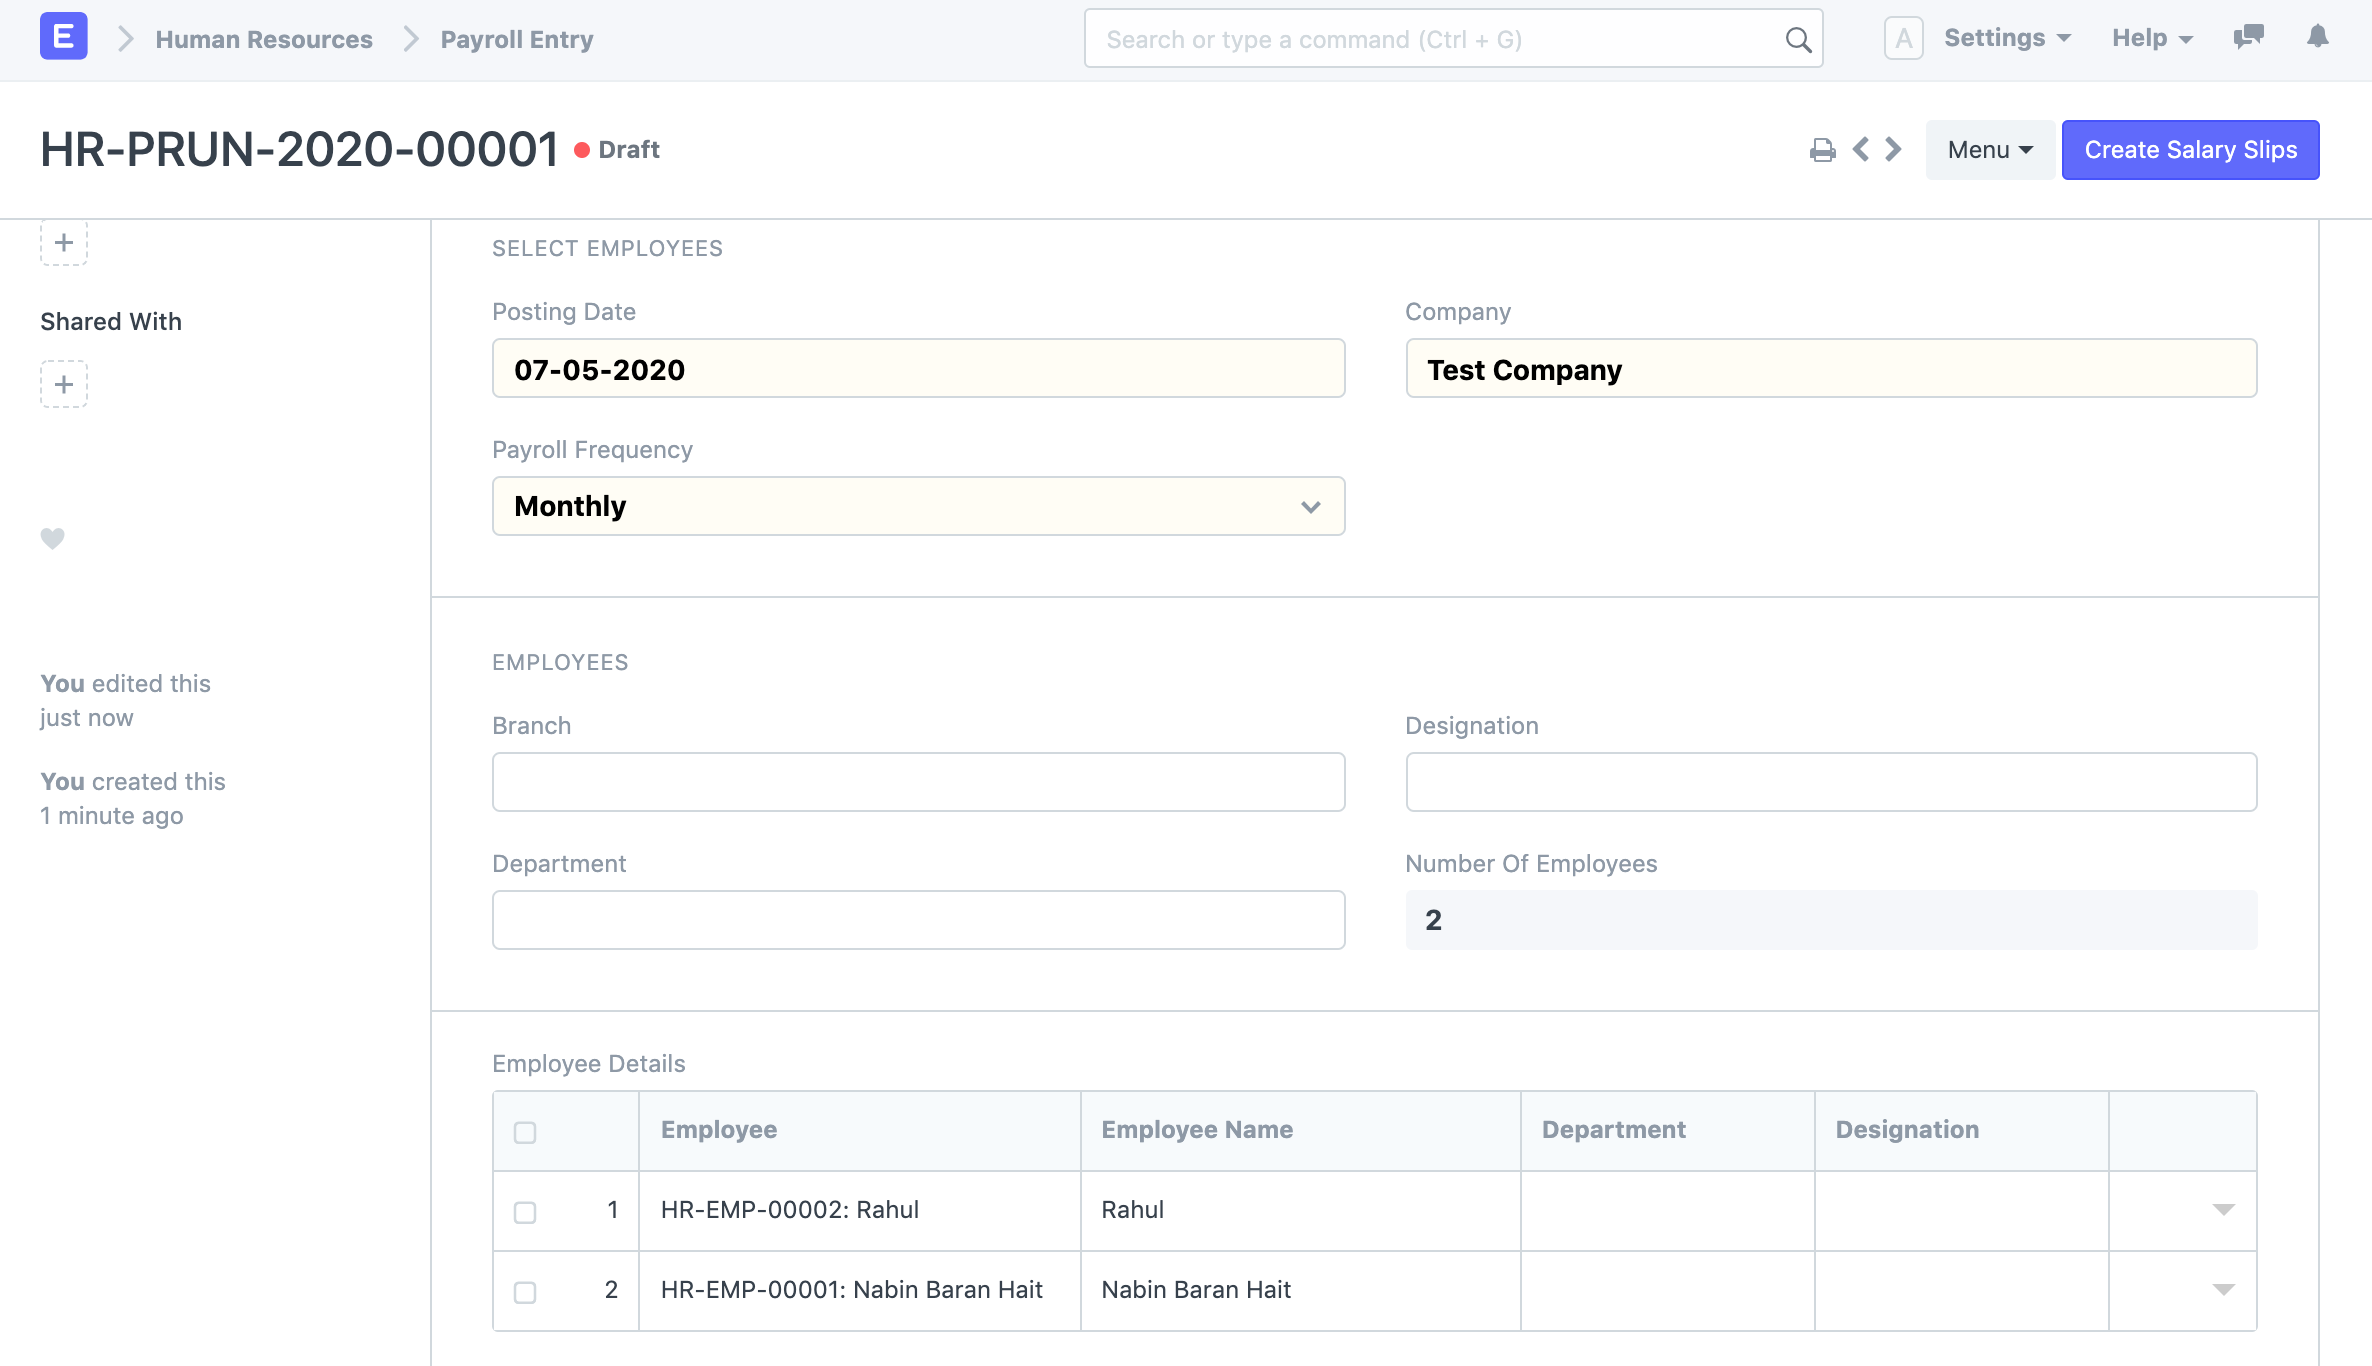
In ERPNext, Payroll Entry enables bulk processing of payroll for employees. In other words, processing salary slips of all employees in one go. The bulk processing can be Company-wide or based on these categories: Branch, Department, or Designation.
To access Payroll Entry, go to:
Home > Human Resources > Payroll > Payroll Entry
1. How to create a Payroll Entry
- Go to to Payroll Entry list, click on New.
- Select the Payroll Frequency.
- Select Branch, Designation and Department to filter out employees (optional).
- Select Project (optional) if you want to run the payroll against a project.
- Select 'Validate Attendance' and 'Salary Slip Based on Timesheet' checkboxes in case you want to deduct the salary based on attendance and if you want to also consider the timesheets of the employees respectively.
- Select the Payment Account to make the Bank Entry.
- Save.
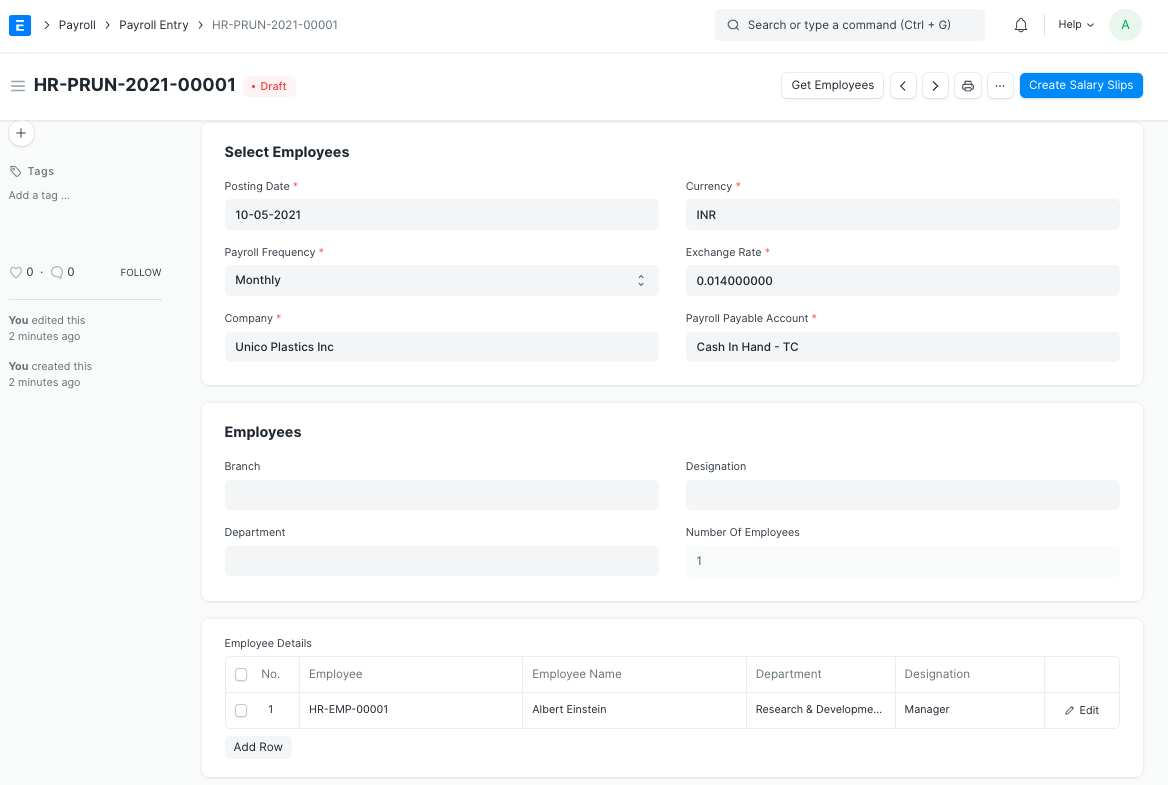
Once the information is saved, click on the Get Employees button to get a list of Employees for which the Salary Slips will be created based on the selected criteria.
Once the list of Employees is fetched, click on the Create Salary Slips button to generate Salary Slips.

Note: If the Salary Slips are already created, the system will not create any more Salary Slips. You can also just save the form as Draft and create the Salary Slips later.
2. Features
2.1 Salary Accrual
After verifying the Salary Slips, you can Submit them all together by clicking on the Submit Salary Slip button.

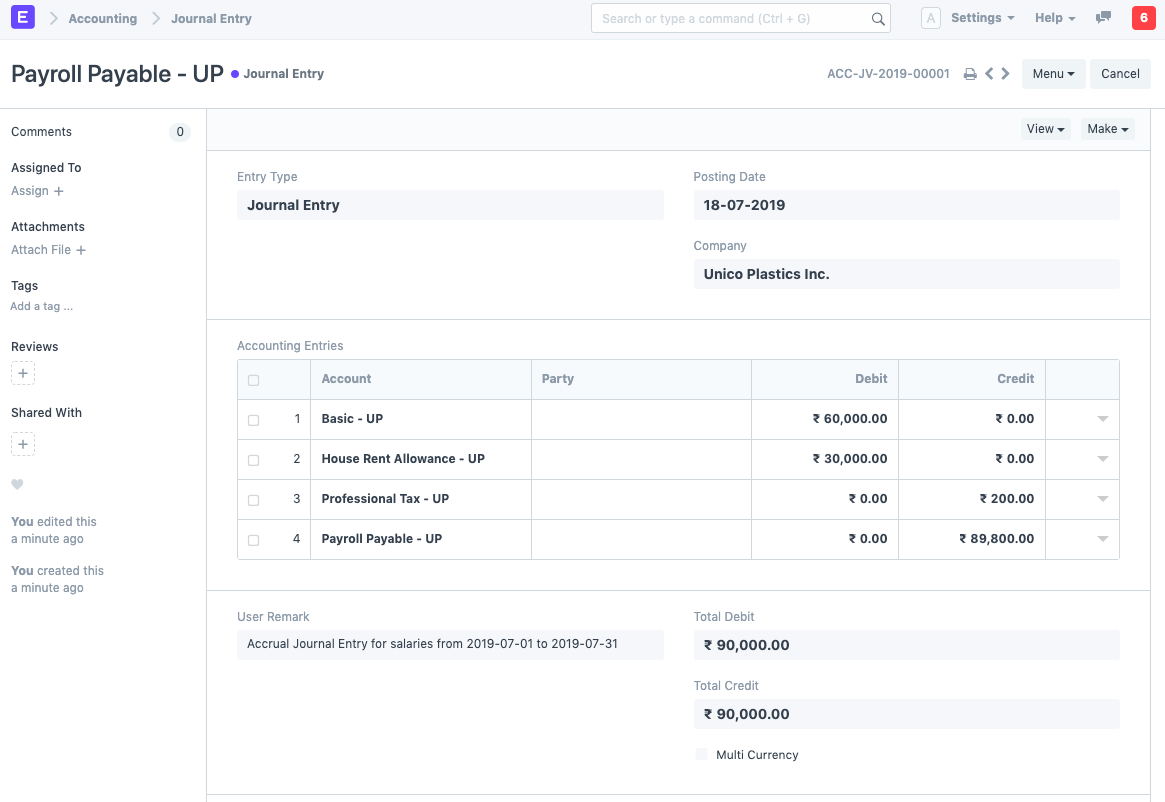
This will also book the default Payroll Payable account against respective Expense Heads (as configured in Salary Components) to record the accrual of salary to employees.
Cost Center:
You can select Cost Center in the Payroll Entry against which the expenses will be posted.
If you want to book expenses against multiple cost centers based on Employee/Department, you can do so by setting Payroll Cost Center in the Employee/Department master.
Even multiple cost centers can be assigned against a single Employee, you can do so via Salary Structure Assignment document.

Cost Center assigned in Salary Structure Assignment gets highest priority and then Employee and Department master respectively. The least priority is given to the Cost Center selected in Payroll Entry.

Note: Submitting Salary Slips one by one manually will not create the Journal Entry to record salary accrual.
2.2 Salary Payment
The final step is to book the Salary Payment.
Salaries in businesses are usually dealt with extreme privacy. In most cases, companies issue a single payment to the bank combining all salaries and the bank distributes the salaries to each employee’s salary account.
This way there is only one payment entry in the company’s books of accounts and anyone with access to the company’s accounts will not have access to the individual salaries.
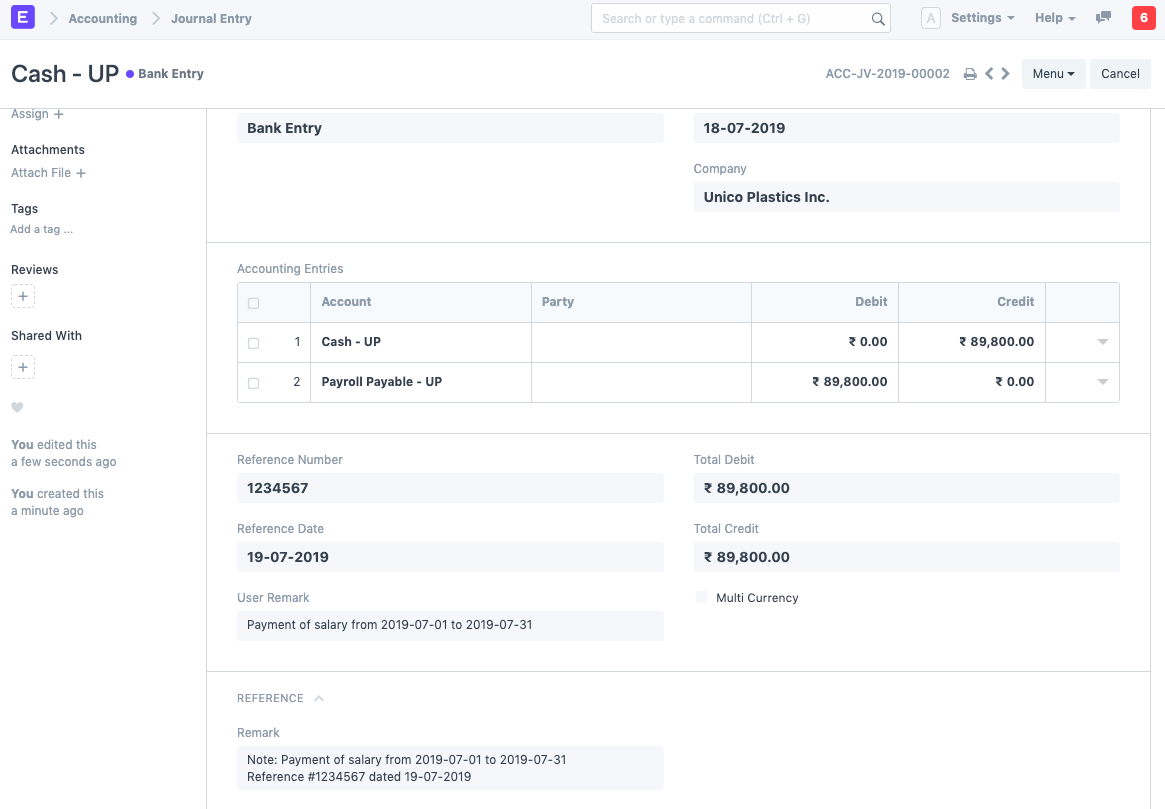
The salary payment entry is a Journal Entry that debits the total of the Earnings type salary component and credits the total of Deductions type salary component of all Employees to the default account set at Salary Component level for each component.
To generate your salary payment voucher from Payroll Entry, click on the Make Bank Entry button.
Payroll Entry will route you to Journal Entry with relevant filters to view the draft Journal Vouchers created. You will have to set the reference number and date for the transactions and Submit the Journal Entry.

Note: For Salary Components which are Flexible Benefits and has _Create Separate Payment Entry Against Benefit Claim_ checked, ERPNext will book separate draft Journal Entries.