
Renaming a single document
You can rename a document in ERPNext by going to Menu > Rename. This option will only be visible if you have the required permissions.
Rename Tool
Alternatively, using the Rename Tool, you can rectify or change multiple document IDs at once. You can rename IDs of up to 500 records at a time.
Let's assume you've realized your manual naming convention is making your inventory reports verbose. You need to convert 500 legacy item codes into your new naming standard. Now to rename these items:
Step 1: Create the spreadsheet
In a spreadsheet file, enter old Item IDs in the first column, new Item Ids in the second column. Save the spreadsheet file in a .csv format without the header.
| Old Name | New Name |
|---|---|
| Large Blue Shirt | SHIRT-BLUE-L |
| Small Red Shirt | SHIRT-RED-S |
| Medium White Shirt | SHIRT-WHT-M |
| AA Batteries 4pk | BATT-AA-04 |
| AAA Batteries 8pk | BATT-AAA-08 |
Step 2: Upload data file
To upload the data file, search for "Rename Tool" on the awesomebar.
Select the DocType that you want to rename. Here, DocType will be Item. Then browse and upload the data file and click Rename.
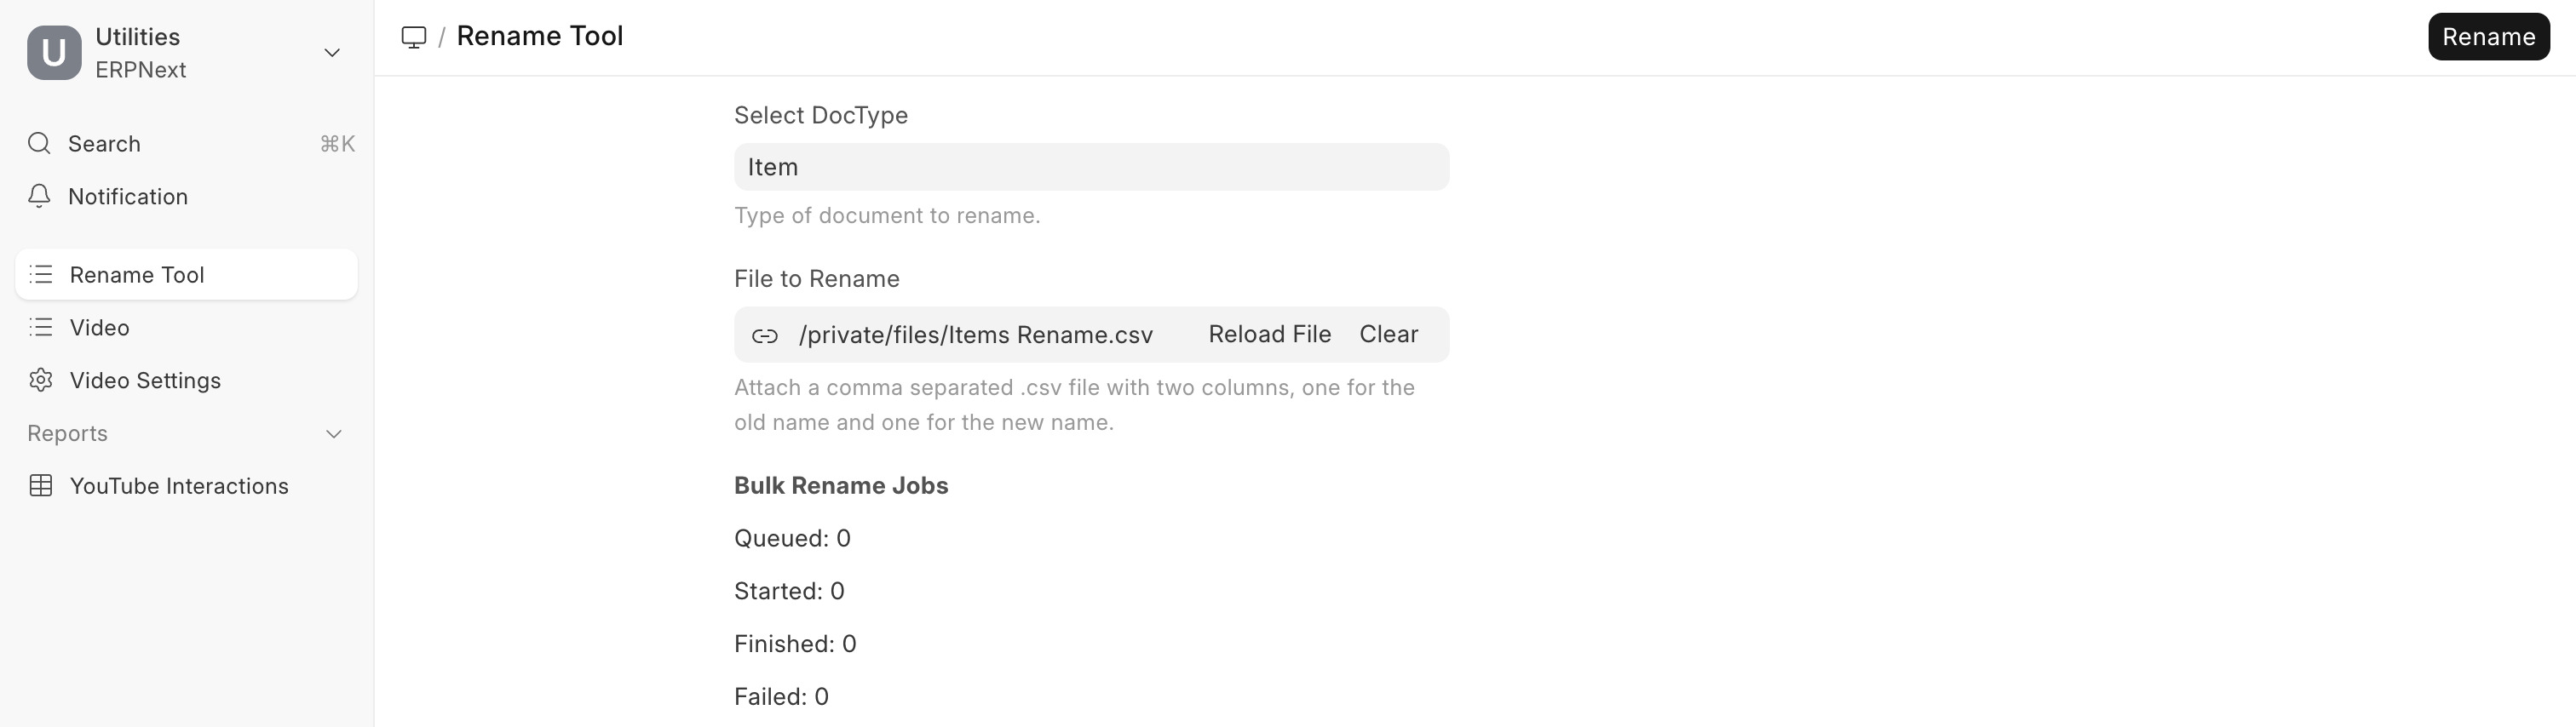
The Bulk Rename Jobs shows the progress of the process for each entry, from the queuing state to either finished or failed.
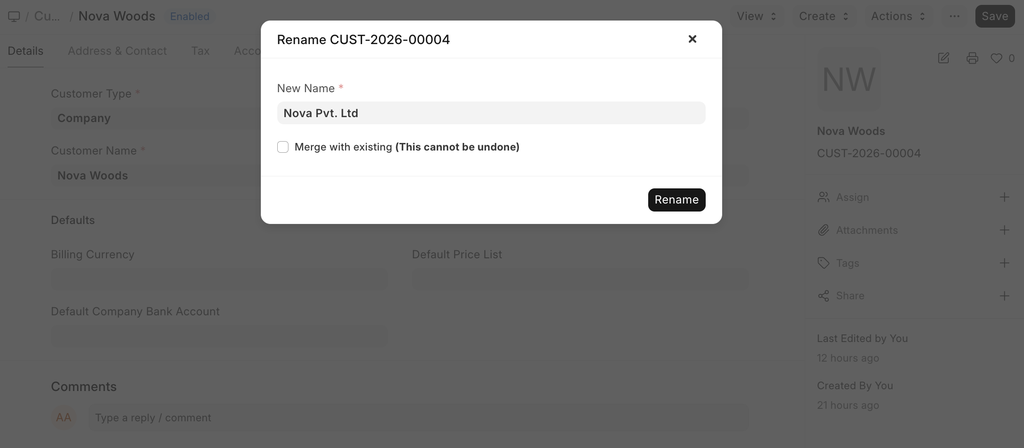
Merging Documents
You can also merge documents by renaming them. For example, if you have a customer named Steve and a duplicate named Steve1, you can go to either of them, click on Menu > Rename, and tick the 'Merge with existing' checkbox. This will merge all the linked documents of both documents.
To do this in bulk with the Rename Tool, change the "Merge" column to "1" or "TRUE" and upload this file to trigger renaming.
| Old Name | New Name | Merge |
|---|---|---|
| Steve1 | Steve | 1 |