
Distributed Cost Center
A distributed cost center is a way to spread an accounting amount across multiple cost centers instead of booking the full amount to one team, branch, location, or business unit. Use it when a single expense or income entry benefits more than one part of the company and the accounting impact should be split in a fixed ratio.
In ERPNext, this is usually managed with Cost Centers and Cost Center Allocation. Cost Centers define the accounting segments, and a Cost Center Allocation defines how an amount from one main cost center should be distributed to other cost centers from a specified date.
When To Use It
- Shared office expenses that must be divided between departments.
- Marketing, rent, software, or utility costs shared by multiple branches.
- Centralized expenses that should be reported under operational cost centers.
- Management reporting where profit and loss should reflect each responsible unit.
Prerequisites
- Create the required Cost Centers for the company.
- Keep the parent-child cost center hierarchy clean, because allocations depend on the cost centers selected.
- Decide the allocation percentage for each target cost center. The percentages in an allocation should add up to 100%.
Step 1: Review Or Create Cost Centers
Go to Accounting > Cost Center. The list shows the company cost center structure, including parent cost centers and enabled child cost centers. Create separate cost centers for every department, branch, channel, or reporting segment that should receive a share of distributed expenses.

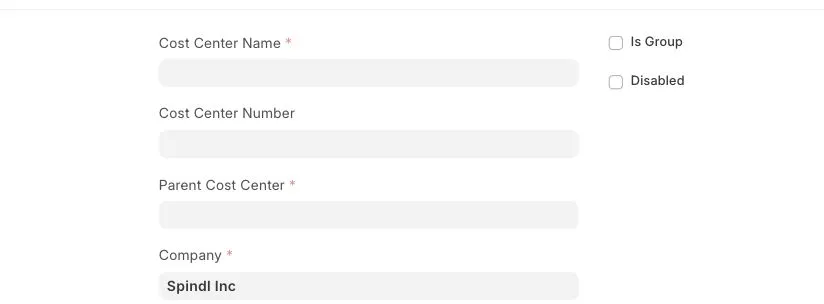
Step 2: Add The Cost Center Details
When you create a Cost Center, enter the Cost Center Name, Company, and Parent Cost Center. Use parent cost centers to group related child cost centers, for example by company, location, sales channel, or department. Mark a cost center as a group only when it should act as a parent and not receive direct accounting entries.
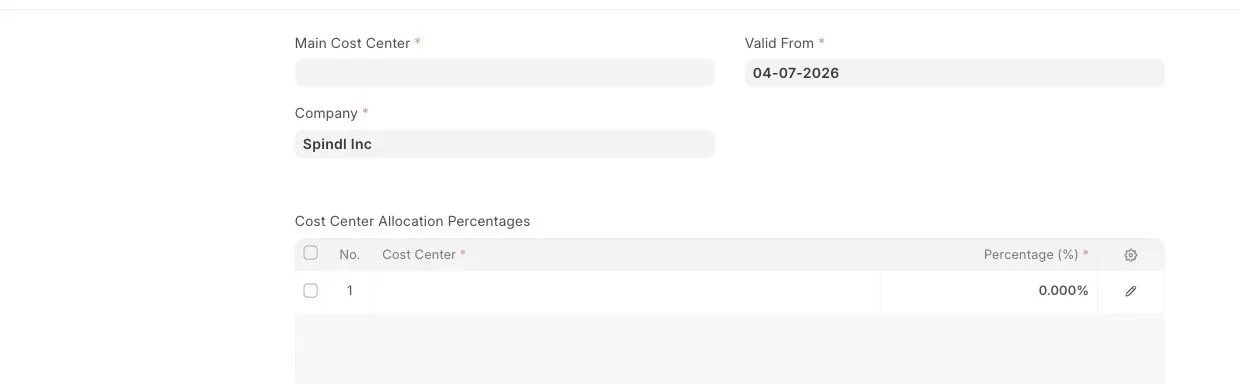
Step 3: Create A Cost Center Allocation
Go to Accounting > Cost Center Allocation and create a new allocation. Select the Main Cost Center and the Company, then set the Valid From date. In the Cost Center Allocation Percentages table, add each target cost center and its percentage share.
For example, if a shared expense should be divided between Retail and Wholesale, add both cost centers in the table and enter the percentage each should receive. ERPNext uses the allocation from the valid-from date when distributing accounting impact for the selected main cost center.
How Distribution Works
- A transaction is posted against the main cost center.
- ERPNext checks whether a Cost Center Allocation exists for that main cost center and date.
- The amount is distributed to the target cost centers based on the configured percentages.
- Reports such as Profit and Loss Statement, General Ledger, and Budget Variance can then show the distributed impact by cost center.
Example
A company pays a shared software subscription of 10,000 for teams that report under Retail and Wholesale. Instead of booking the full amount to one cost center, configure an allocation such as Retail 60% and Wholesale 40%. When the expense is posted to the main cost center, the reporting impact is split as 6,000 for Retail and 4,000 for Wholesale.
Best Practices
- Use clear cost center names so reports are easy to read.
- Keep allocation percentages reviewed whenever teams, departments, or branch usage changes.
- Use a new Valid From date when the distribution ratio changes, instead of editing old accounting periods without review.
- Check financial reports after posting transactions to confirm the cost is appearing under the expected cost centers.