

















A Bank identifies a financial institution in ERPNext. Bank Accounts, Bank Guarantees, statement mappings, and some integrations reference this master. Create one Bank record per institution, not one per account number.
Before you begin
Collect the official Bank name, SWIFT or BIC code when applicable, website, and the statement-column names used by your import file. A Bank master does not create a General Ledger account. Create the ledger separately in the Chart of Accounts.
Create a Bank
- Go to Accounting > Banking > Bank.
- Select Add Bank.
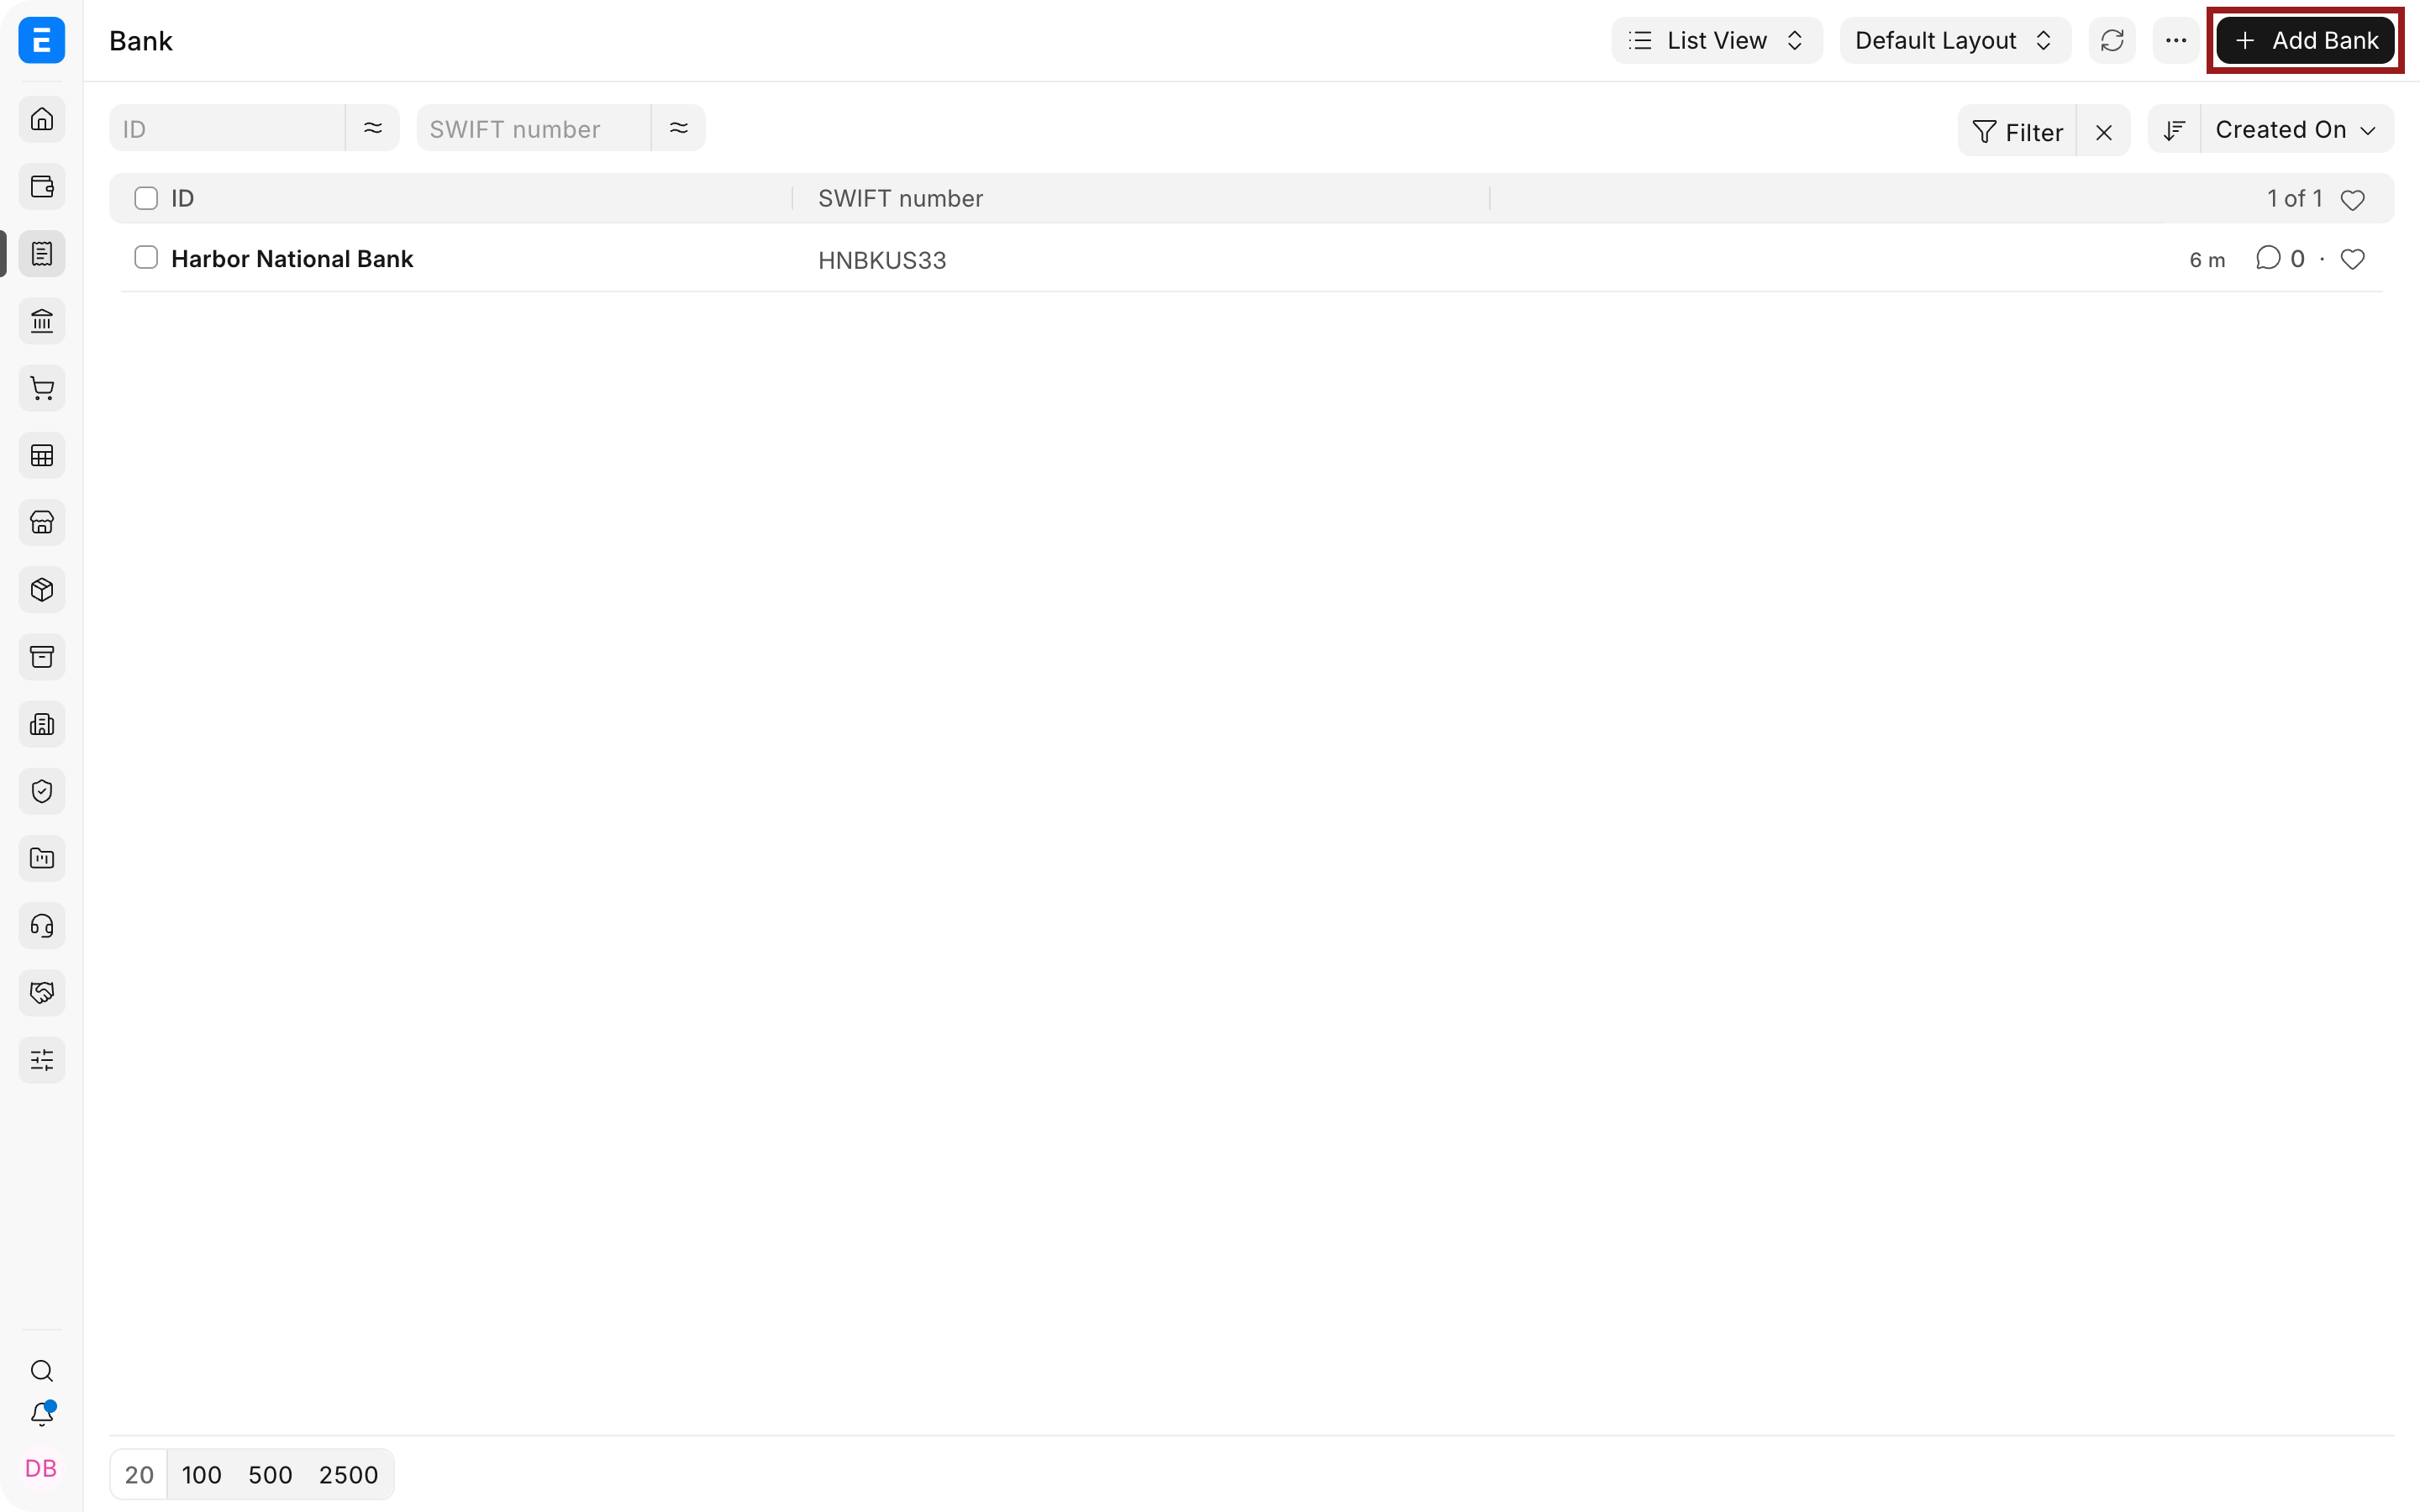
- Enter the Bank name. Use the full institution name so users can distinguish it from similarly named banks.
- Enter the SWIFT number and Website when they are relevant.
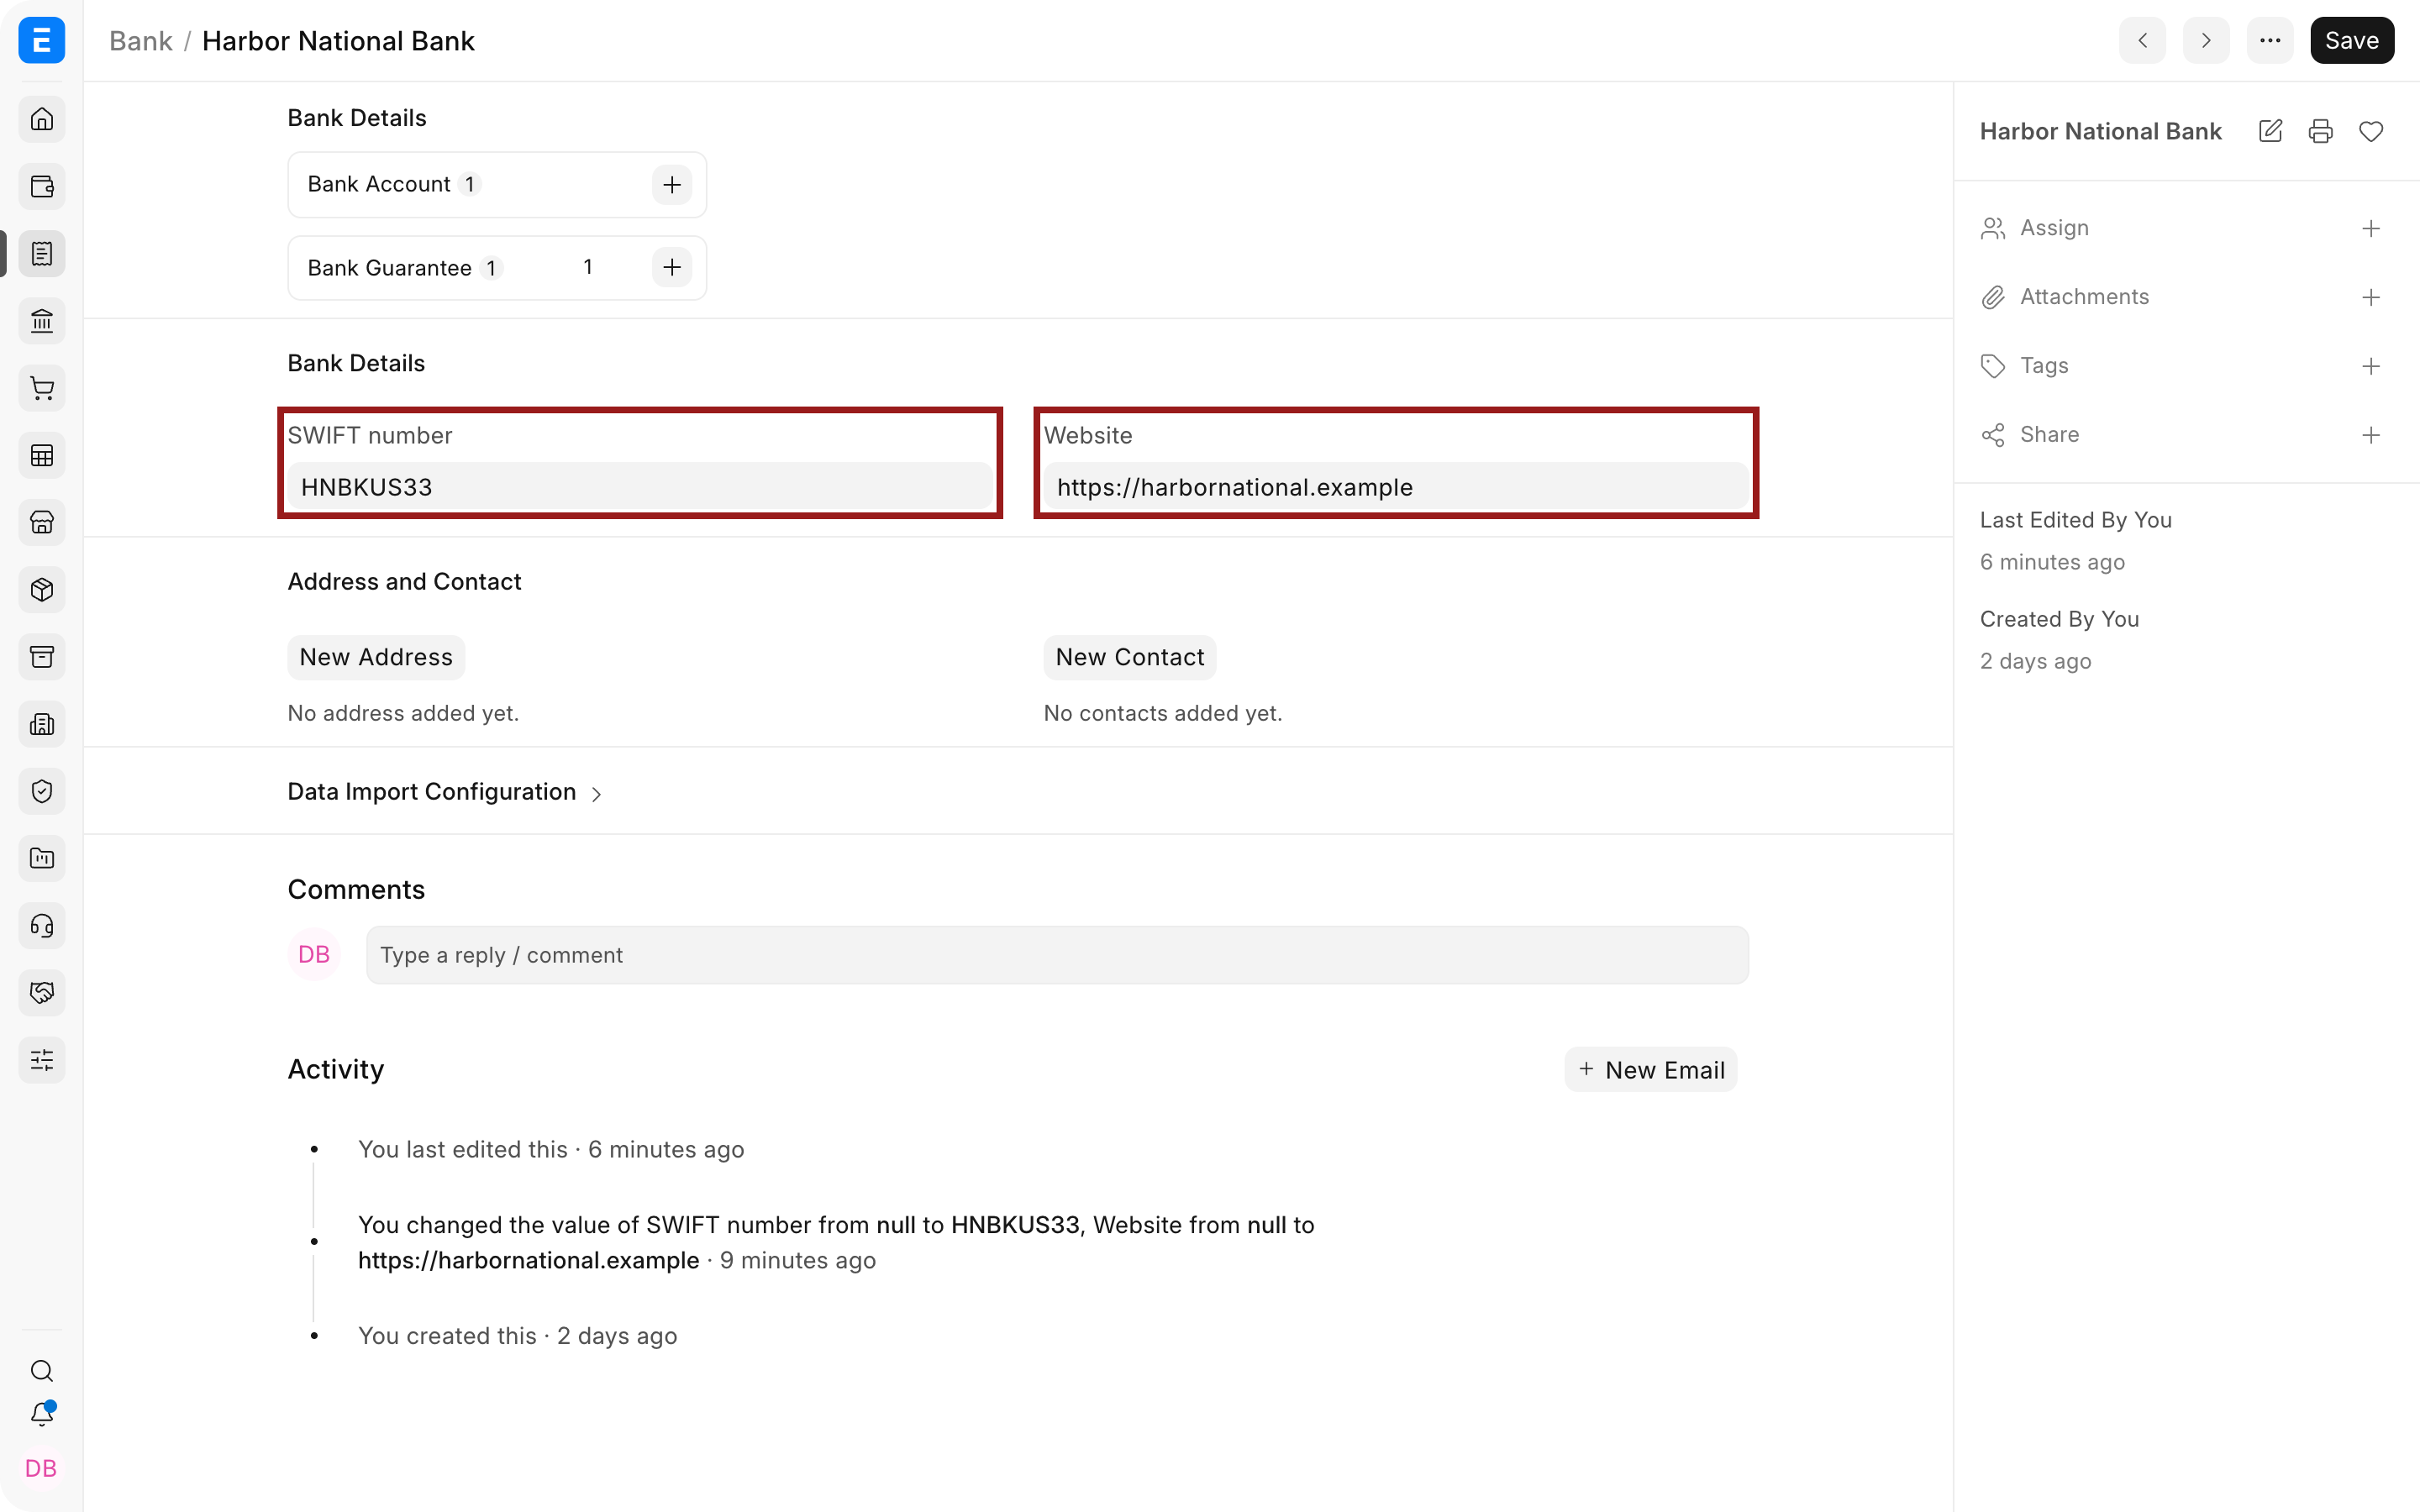
- Save the Bank.
- Create one or more Bank Accounts linked to it.
Important fields and what they mean
| Field | What it controls |
|---|---|
| Bank Name | The institution name shown on linked Bank Accounts and banking records. |
| SWIFT number | The Bank Identifier Code used for international payment instructions. It does not replace the account number. |
| Website | The institution's public website for reference. Do not store a private online-banking URL. |
| Bank Transaction Mapping | Maps statement columns to ERPNext Bank Transaction fields for supported import flows. |
| Plaid Access Token | Supports the Plaid integration where configured. Treat integration credentials as secrets and follow the integration setup. |
Configure Bank Transaction Mapping
Use mapping when the bank statement headings do not match the names expected by ERPNext.
- Open the Bank record.
- Expand the statement or Data Import configuration section.
- Add one row for each required Bank Transaction field.
- Enter the exact column heading used by the statement file.
- Save, then test with a small statement.
Typical mappings cover date, deposit, withdrawal, description, reference number, transaction identifier, and party details. Do not map two different source columns to the same target without confirming how the importer handles them.
The mapping belongs to the Bank because different institutions export different layouts. If one institution provides several incompatible statement formats, standardize the files before import or document the supported format clearly.
Next steps
After saving the Bank:
- create the Bank-type Account in the Company Chart of Accounts;
- create the Company Bank Account and link the ledger;
- create party Bank Accounts when Customer or Supplier banking details must be stored;
- configure a Mode of Payment for receipts and payments;
- test Bank Transaction import and Bank Reconciliation.
You can also create linked Bank Accounts or Bank Guarantees from the Bank dashboard.
Troubleshooting
The Bank does not appear in Bank Account
Confirm that the Bank record was saved and that the name has not been disabled or renamed during another user's session.
Imported columns are blank or shifted
Compare the statement headings with the Bank Transaction Mapping. Check whitespace, capitalization, date format, amount direction, and whether the file includes extra heading rows.
SWIFT validation fails downstream
Use the official BIC supplied by the institution. A SWIFT code normally identifies the Bank, while the account number or IBAN identifies the account.
Should branches be separate Bank masters?
Usually they should not. Use branch and account identifiers on the Bank Account unless the institutions operate as genuinely separate banks in your process.
Frequently asked questions
Can several Company Bank Accounts use the same Bank?
They can. Create separate Bank Account records for each real account and link all of them to the same Bank master.
Does deleting a Bank remove bank transactions?
Linked records normally prevent deletion. Disable or retain the master when historical transactions depend on it.
Should login credentials be stored in the Bank record?
They should not. Use the supported integration settings and secret-management approach. Never place usernames, passwords, or tokens in public notes.