


















Import Accounting Masters
Import masters before opening transactions and balances. Use ERPNext’s Data Import tool for records that do not have a specialized importer.
Import order
- Groups and parent records
- Company-independent masters
- Company-specific masters
- Parties and addresses
- Items and Warehouses
- Banks, payments, taxes, and terms
For example, import Customer Groups and Territories before Customers, and Item Groups and UOMs before Items.
Download the ERPNext template
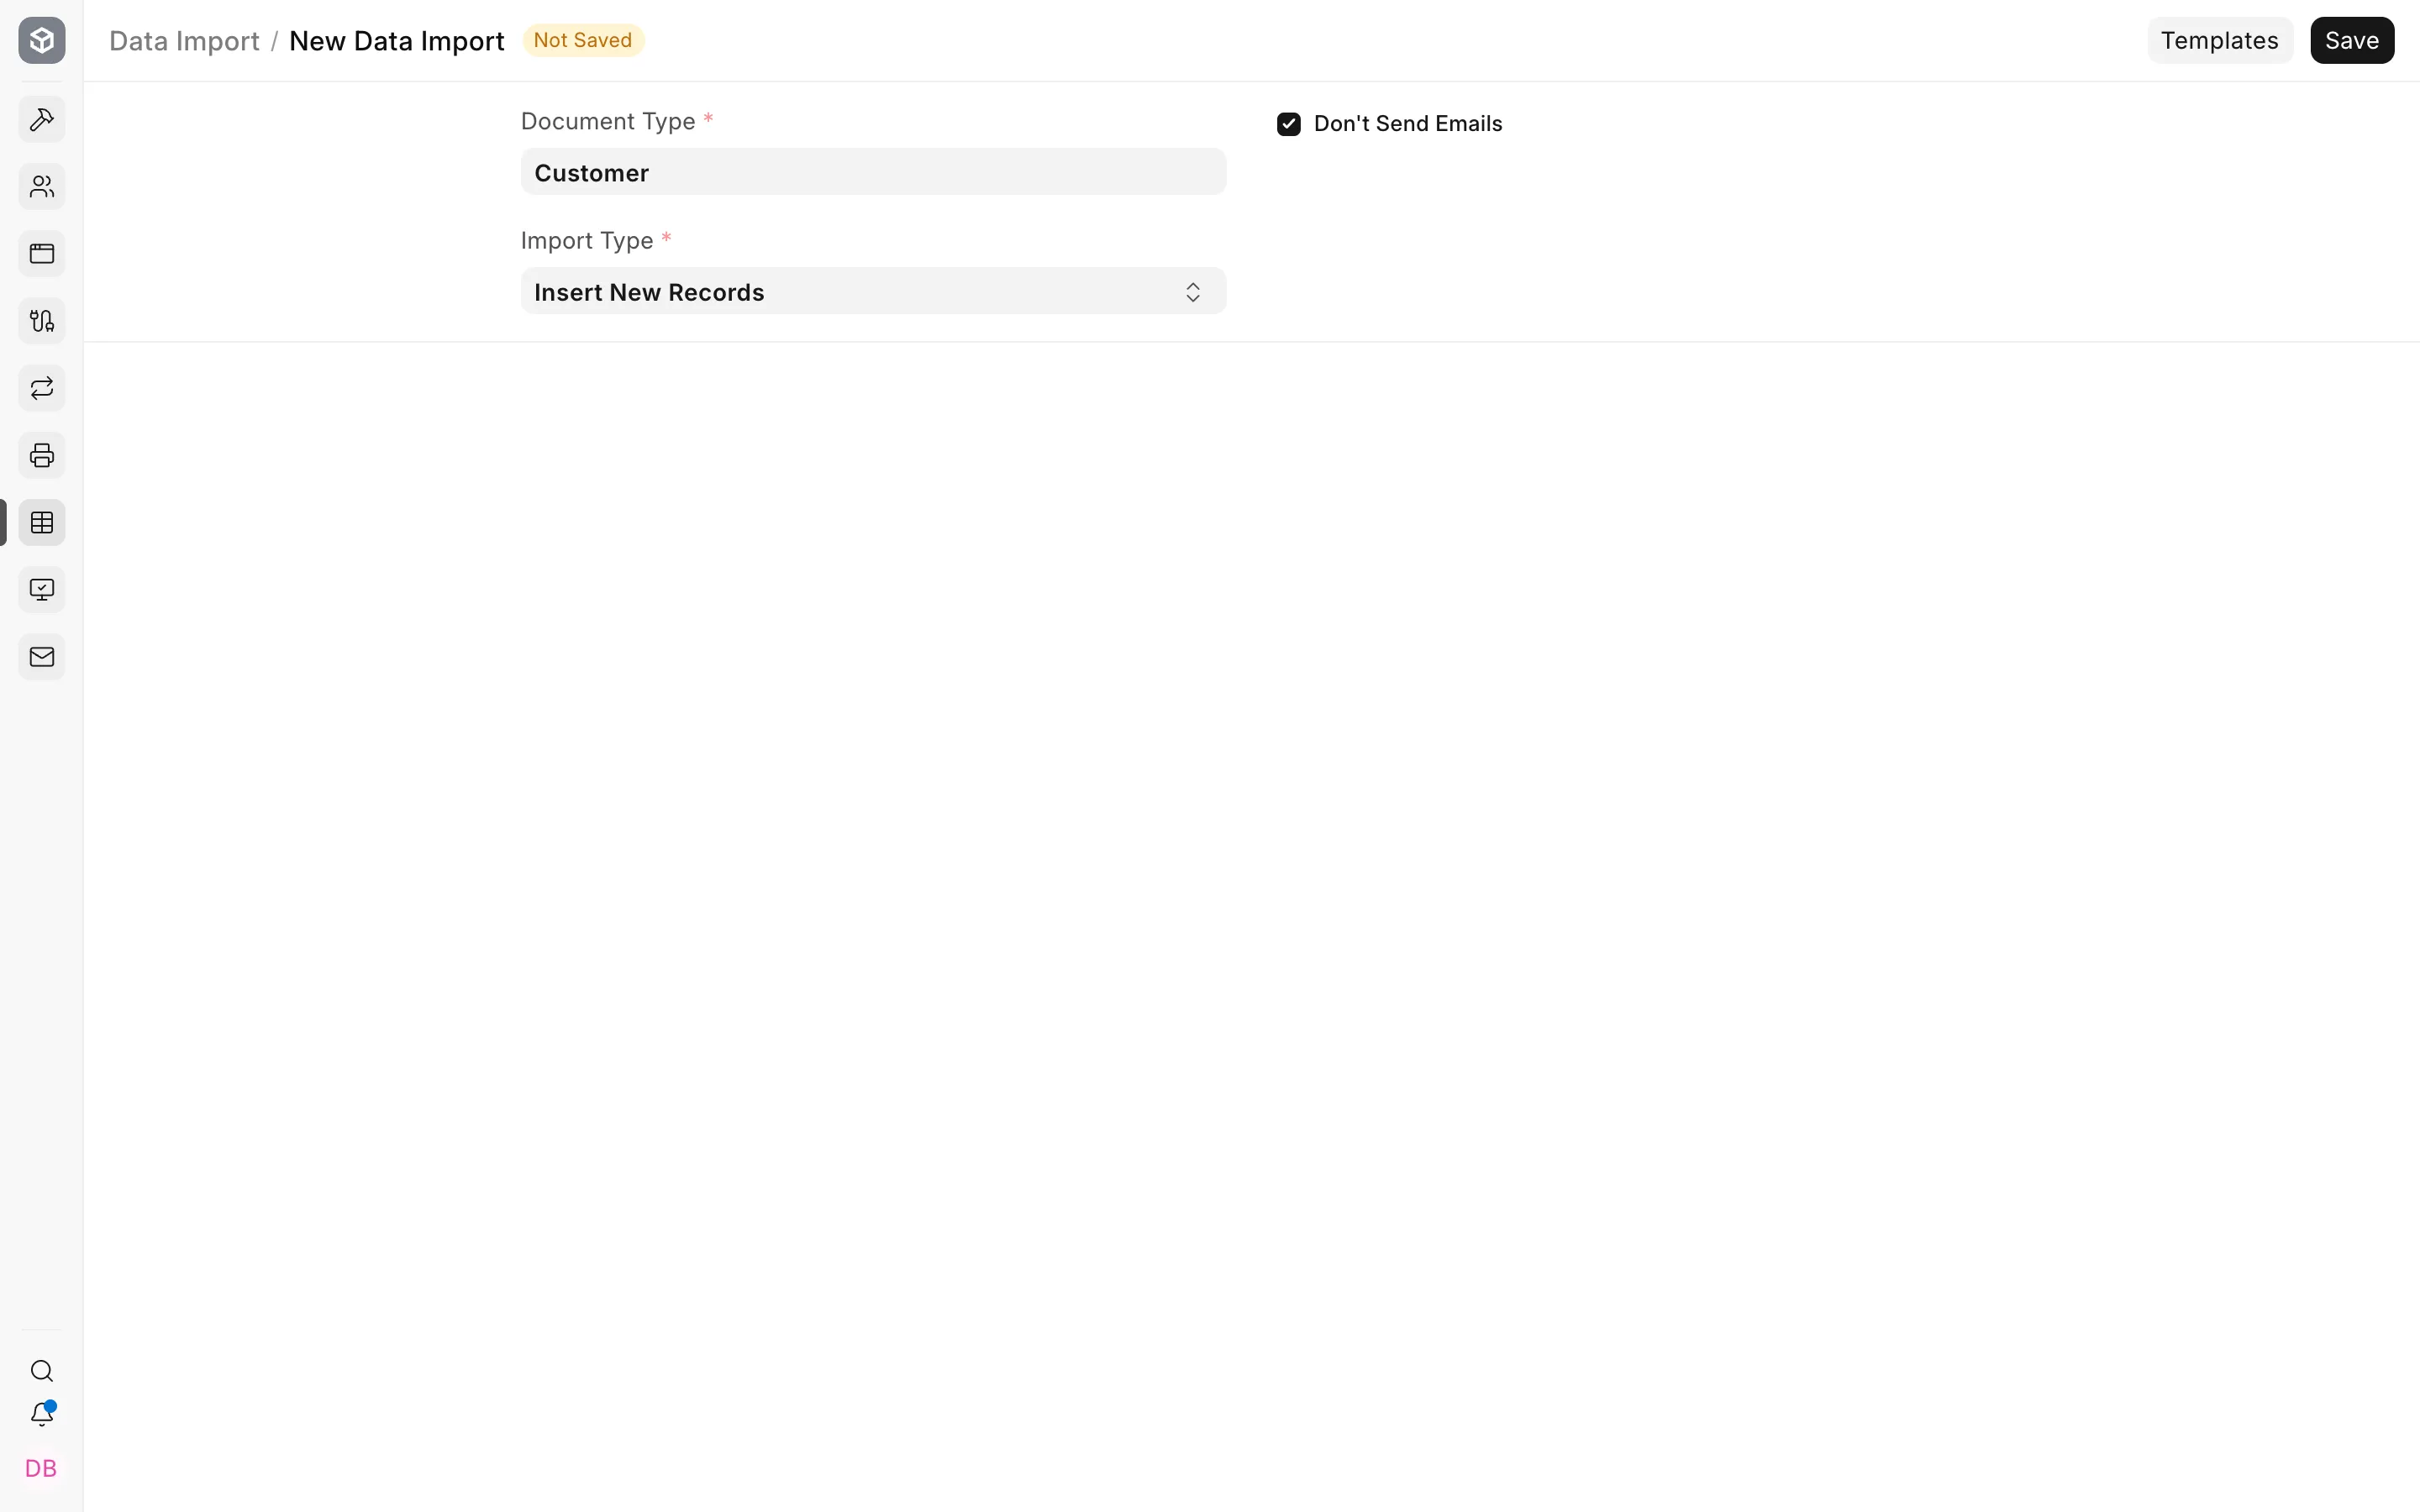
- Go to Home > Data Import and Settings > Import Data.
- Create a new Data Import.
- Select the DocType.
- Choose Insert New Records.
- Download the template.
- Include only the columns needed for the approved mapping.
Do not build a template from memory. Current mandatory and dependent fields may differ from an older version.
Fill the template
Keep column headers unchanged. Use exact ERPNext names for Link fields.
For tree masters, import parents first and set Is Group correctly. For child tables, use the importer’s row structure and test with one record before loading the full file.
Test a small batch
Import two to five representative records:
- one simple record;
- one record with every optional link;
- one record with a child table;
- one foreign-currency party, if applicable;
- one disabled or historical record.
Open each imported record and test it in a draft transaction.
Run the full import
- Upload the approved file.
- Start the import.
- Download or copy the failure log.
- Correct the source working file, not only the failed ERPNext row.
- Re-import rejected records.
- Record imported and rejected counts in the control workbook.
Addresses and Contacts
Import Address and Contact only after parties exist. Add the Links child table so each record is connected to its Customer, Supplier, or other party.
For primary records, set the appropriate billing, shipping, or primary flags and verify the party form shows the correct defaults.
Items and accounting defaults
For Items, verify:
- Maintain Stock;
- stock UOM;
- Item Group;
- default Warehouse;
- income and expense accounts;
- Cost Center;
- tax template;
- valuation method where relevant.
A successful import does not prove that accounting defaults are correct.
Correcting master imports
Use Update Existing Records for approved corrections. Do not create a second record because the first import had a spelling error. If a duplicate has already been used in a transaction, follow the supported rename or merge process.
Validation checklist
- source count equals imported plus rejected count;
- no unexpected duplicates;
- parent trees are correct;
- party and Item defaults are correct;
- addresses and contacts are linked;
- disabled records remain disabled;
- draft sales, purchase, payment, and stock transactions fetch expected values.